
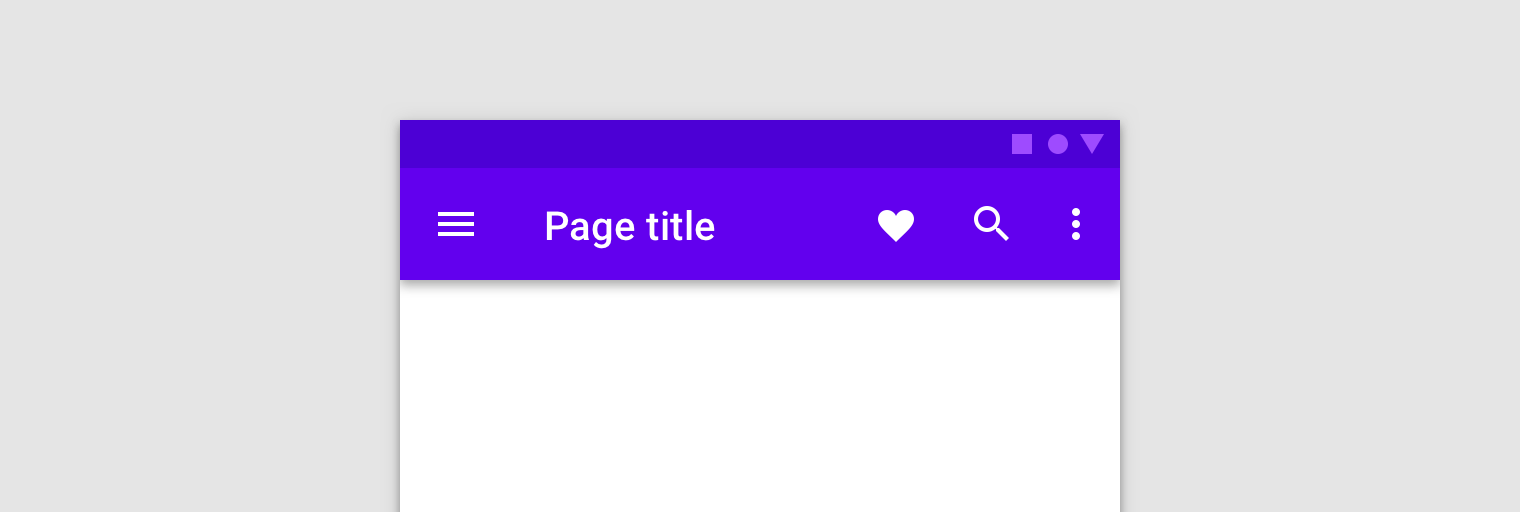
顶部应用栏在应用窗口的顶部提供了一个固定的位置,用于显示当前屏幕的信息和操作。
应用栏的所有权因应用的需求而异。使用 fragment 时,可将应用栏用作主机 activity 所拥有的 ActionBar 或 fragment 布局中的工具栏。
如果您的所有屏幕使用同一应用栏,它始终位于顶部且跨越屏幕的整个宽度,则使用由主题背景提供且由 activity 托管的操作栏。使用主题背景应用栏有助于保持一致的外观,并提供一个位置来托管选项菜单和“向上”按钮。
如果您希望更好地控制应用栏在多个屏幕上的大小、位置和动画,请使用由 fragment 托管的工具栏。例如,您可能需要一个收起的应用栏,或者一个只跨越屏幕宽度的一半且垂直居中的应用栏。
在不同的情况下需要采用不同的方法,以达到膨胀菜单和响应用户互动之类的目的。了解不同的方法并为您的应用采用最佳方法可以节省时间,并且有助于确保您的应用正常运行。
本主题中的示例引用了一个 ExampleFragment,它包含可修改的个人资料。该 fragment 在其应用栏中膨胀了以下通过 XML 定义的菜单:
<!-- sample_menu.xml -->
<menu
    xmlns:android="http://schemas.android.com/apk/res/android"
    xmlns:app="http://schemas.android.com/apk/res-auto">

    <item
        android:id="@+id/action_settings"
        android:icon="@drawable/ic_settings"
        android:title="@string/settings"
        app:showAsAction="ifRoom"/>
    <item
        android:id="@+id/action_done"
        android:icon="@drawable/ic_done"
        android:title="@string/done"
        app:showAsAction="ifRoom|withText"/>

</menu>
该菜单包含两个选项:一个用于转到个人资料屏幕,另一个用于保存对个人资料所做的任何更改。
activity 拥有的应用栏
应用栏最常由主机 activity 拥有。当应用栏由 activity 拥有时,fragment 可以通过替换在创建 fragment 期间调用的框架方法来与应用栏进行交互。
向 activity 注册
您必须告知系统您的应用栏 fragment 当前参与选项菜单的填充。为此,请在 fragment 的 onCreate(Bundle) 方法中调用 setHasOptionsMenu(true),如以下示例所示:
Kotlin
class ExampleFragment : Fragment() {
    override fun onCreate(savedInstanceState: Bundle?) {
        super.onCreate(savedInstanceState)
        setHasOptionsMenu(true)
    }
}
Java
public class ExampleFragment extends Fragment {
    @Override
    public void onCreate(Bundle savedInstanceState) {
        super.onCreate(savedInstanceState);
        setHasOptionsMenu(true);
    }
}
setHasOptionsMenu(true) 可告知系统您的 fragment 想要接收与菜单相关的回调。当发生与菜单相关的事件(例如点击)时,系统会先对 activity 调用事件处理方法,然后再对 fragment 调用该方法。
但是,请勿在应用逻辑中依赖此顺序。如果同一 activity 托管了多个 fragment,则每个 fragment 均可以提供菜单选项,在这种情况下,回调顺序取决于 fragment 的添加顺序。
膨胀菜单
如需将您的菜单合并到应用栏的选项菜单中,请替换 fragment 中的 onCreateOptionsMenu()。此方法接收当前的应用栏菜单和 MenuInflater 作为参数。使用菜单膨胀器创建 fragment 菜单的实例,然后将其合并到当前菜单中,如以下示例所示:
Kotlin
class ExampleFragment : Fragment() {
    ...
    override fun onCreateOptionsMenu(menu: Menu, inflater: MenuInflater) {
        inflater.inflate(R.menu.sample_menu, menu)
    }
}
Java
public class ExampleFragment extends Fragment {
    ...
    @Override
    public void onCreateOptionsMenu(@NonNull Menu menu, @NonNull MenuInflater inflater) {
       inflater.inflate(R.menu.sample_menu, menu);
    }
}
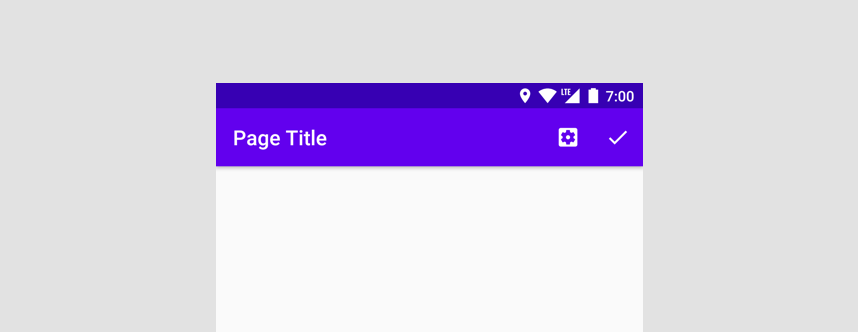
图 2 显示了更新后的菜单。
处理点击事件
参与选项菜单的每个 activity 和 fragment 都能够响应轻触操作。fragment 的 onOptionsItemSelected() 会接收选定的菜单项作为参数,并返回一个布尔值来指示是否使用了轻触操作。一旦某个 activity 或 fragment 从 onOptionsItemSelected() 返回 true,所有其他参与的 fragment 都不会接收回调。
在您的 onOptionsItemSelected() 实现中,对菜单项的 itemId 使用 switch 语句。如果选定项是您的,请妥善处理轻触操作,并返回 true 以指示已处理点击事件。如果选定项不是您的,请调用 super 实现。默认情况下,super 实现会返回 false,以便继续进行菜单处理。
Kotlin
class ExampleFragment : Fragment() {
    ...
    override fun onOptionsItemSelected(item: MenuItem): Boolean {
        return when (item.itemId) {
            R.id.action_settings -> {
                // Navigate to settings screen.
                true
            }
            R.id.action_done -> {
                // Save profile changes.
                true
            }
            else -> super.onOptionsItemSelected(item)
        }
    }
}
Java
public class ExampleFragment extends Fragment {
    ...
    @Override
    public boolean onOptionsItemSelected(@NonNull MenuItem item) {
        switch (item.getItemId()) {
            case R.id.action_settings:  {
                // Navigate to settings screen.
                return true;
            }
            case R.id.action_done: {
                // Save profile changes.
                return true;
            }
            default:
                return super.onOptionsItemSelected(item);
        }

    }

}
动态修改菜单
将用于隐藏/显示某个按钮或更改图标的逻辑放入 onPrepareOptionsMenu()。系统会在显示菜单之前调用此方法。
接着前面的示例来讲,保存按钮在用户开始修改之前应不可见,并且在用户保存之后应消失。将此逻辑添加到 onPrepareOptionsMenu() 可正确呈现菜单:
Kotlin
class ExampleFragment : Fragment() {
    ...
    override fun onPrepareOptionsMenu(menu: Menu){
        super.onPrepareOptionsMenu(menu)
        val item = menu.findItem(R.id.action_done)
        item.isVisible = isEditing
    }
}
Java
public class ExampleFragment extends Fragment {
    ...
    @Override
    public void onPrepareOptionsMenu(@NonNull Menu menu) {
        super.onPrepareOptionsMenu(menu);
        MenuItem item = menu.findItem(R.id.action_done);
        item.setVisible(isEditing);
    }
}
当您需要更新菜单时(例如,当用户按编辑以编辑个人资料信息时),请对主机 activity 调用 invalidateOptionsMenu() 以请求系统调用 onCreateOptionsMenu()。
失效后,您可以在 onCreateOptionsMenu() 中进行更新。菜单膨胀后,系统会调用 onPrepareOptionsMenu() 并更新菜单以反映 fragment 的当前状态。
Kotlin
class ExampleFragment : Fragment() {
    ...
    fun updateOptionsMenu() {
        isEditing = !isEditing
        requireActivity().invalidateOptionsMenu()
    }
}
Java
public class ExampleFragment extends Fragment {
    ...
    public void updateOptionsMenu() {
        isEditing = !isEditing;
        requireActivity().invalidateOptionsMenu();
    }
}
fragment 拥有的应用栏
如果应用中的大多数屏幕都不需要应用栏,或者一个屏幕需要不同于其他屏幕的应用栏,您可以将 Toolbar 添加到 fragment 布局。虽然您可以在 fragment 的视图层次结构中的任何位置添加 Toolbar,但通常使其始终位于屏幕的顶部。如需在 fragment 中使用 Toolbar,请提供一个 ID 并在 fragment 中获取对它的引用,就像对其他任何视图所做的一样。您还可以考虑使用 CoordinatorLayout 行为为工具栏添加动画效果。
<androidx.appcompat.widget.Toolbar
    android:id="@+id/myToolbar"
    ... />
使用 fragment 拥有的应用栏时,Google 建议您直接使用 Toolbar API。请勿使用 setSupportActionBar() 和 Fragment 菜单 API,它们只适合 activity 拥有的应用栏。
膨胀菜单
Toolbar 便捷方法 inflateMenu(int) 将菜单资源的 ID 作为参数。如需将 XML 菜单资源膨胀到工具栏中,请将 resId 传递给此方法,如以下示例所示:
Kotlin
class ExampleFragment : Fragment() {
    ...
    override fun onViewCreated(view: View, savedInstanceState: Bundle?) {
        ...
        viewBinding.myToolbar.inflateMenu(R.menu.sample_menu)
    }
}
Java
public class ExampleFragment extends Fragment {
    ...
    @Override
    public void onViewCreated(@NonNull View view, @Nullable Bundle savedInstanceState) {
        ...
        viewBinding.myToolbar.inflateMenu(R.menu.sample_menu);
    }

}
如需膨胀其他 XML 菜单资源,请使用新菜单的 resId 再次调用该方法。系统会将新的菜单项添加到菜单,且不会修改或移除现有的菜单项。
如果想替换现有菜单集,请先清除菜单,然后再使用新菜单 ID 调用 inflateMenu(int),如以下示例所示:
Kotlin
class ExampleFragment : Fragment() {
    ...
    fun clearToolbarMenu() {
        viewBinding.myToolbar.menu.clear()
    }
}
Java
public class ExampleFragment extends Fragment {
    ...
    public void clearToolbarMenu() {

        viewBinding.myToolbar.getMenu().clear()

    }

}
处理点击事件
您可以使用 setOnMenuItemClickListener() 方法直接将 OnMenuItemClickListener 传递给工具栏。当用户通过显示在工具栏末尾的操作按钮或从关联的溢出菜单中选择菜单项时,就会调用此监听器。选定的 MenuItem 会传递给该监听器的 onMenuItemClick() 方法,并且可用于消耗操作,如以下示例所示:
Kotlin
class ExampleFragment : Fragment() {
    ...
    override fun onViewCreated(view: View, savedInstanceState: Bundle?) {
        ...
        viewBinding.myToolbar.setOnMenuItemClickListener {
            when (it.itemId) {
                R.id.action_settings -> {
                    // Navigate to settings screen.
                    true
                }
                R.id.action_done -> {
                    // Save profile changes.
                    true
                }
                else -> false
            }
        }
    }
}
Java
public class ExampleFragment extends Fragment {
    ...
    @Override
    public void onViewCreated(@NonNull View view, @Nullable Bundle savedInstanceState) {
        ...
        viewBinding.myToolbar.setOnMenuItemClickListener(item -> {
            switch (item.getItemId()) {
                case R.id.action_settings:
                    // Navigate to settings screen.
                    return true;
                case R.id.action_done:
                    // Save profile changes.
                    return true;
                default:
                    return false;
            }
        });
    }
}
动态修改菜单
当 fragment 拥有应用栏时,您可以在运行时修改 Toolbar,就像对任何其他视图所做的一样。
接着前面的示例来讲,保存菜单选项在用户开始修改之前应不可见,并且在用户按保存按钮之后应再次消失:
Kotlin
class ExampleFragment : Fragment() {
    ...
    fun updateToolbar() {
        isEditing = !isEditing

        val saveItem = viewBinding.myToolbar.menu.findItem(R.id.action_done)
        saveItem.isVisible = isEditing

    }
}
Java
public class ExampleFragment extends Fragment {
    ...
    public void updateToolbar() {
        isEditing = !isEditing;

        MenuItem saveItem = viewBinding.myToolbar.getMenu().findItem(R.id.action_done);
        saveItem.setVisible(isEditing);
    }

}
添加导航图标
导航按钮(如果存在)会出现在工具栏开头。在工具栏上设置导航图标会使其可见。您还可以设置每当用户点击导航按钮时都会调用的导航专用 onClickListener(),如以下示例所示:
Kotlin
class ExampleFragment : Fragment() {
    ...
    override fun onViewCreated(view: View, savedInstanceState: Bundle?) {
        ...
        myToolbar.setNavigationIcon(R.drawable.ic_back)

        myToolbar.setNavigationOnClickListener { view ->
            // Navigate somewhere.
        }
    }
}
Java
public class ExampleFragment extends Fragment {
    ...
    @Override
    public void onViewCreated(@NonNull View view, @Nullable Bundle savedInstanceState) {
        ...
        viewBinding.myToolbar.setNavigationIcon(R.drawable.ic_back);
        viewBinding.myToolbar.setNavigationOnClickListener(new View.OnClickListener() {
            @Override
            public void onClick(View view) {
                // Navigate somewhere.
            }
        });
    }
}