Android Studio Ladybug Feature Drop introduces the New UI from the IntelliJ Platform 2024.2 update as the default theme. The New UI brings a streamlined design and enhanced features, making it easier for both new and experienced developers to navigate their workflow more efficiently.
Key design changes
The New UI brings a host of improvements to enhance your workflow and provides a more consistent environment. It has been designed to reduce visual complexity, provide easy access to essential features, and progressively disclose advanced features as needed, resulting in a cleaner look and feel. The following sections explain the biggest changes you'll see in the New UI in Android Studio.
Themes and icons
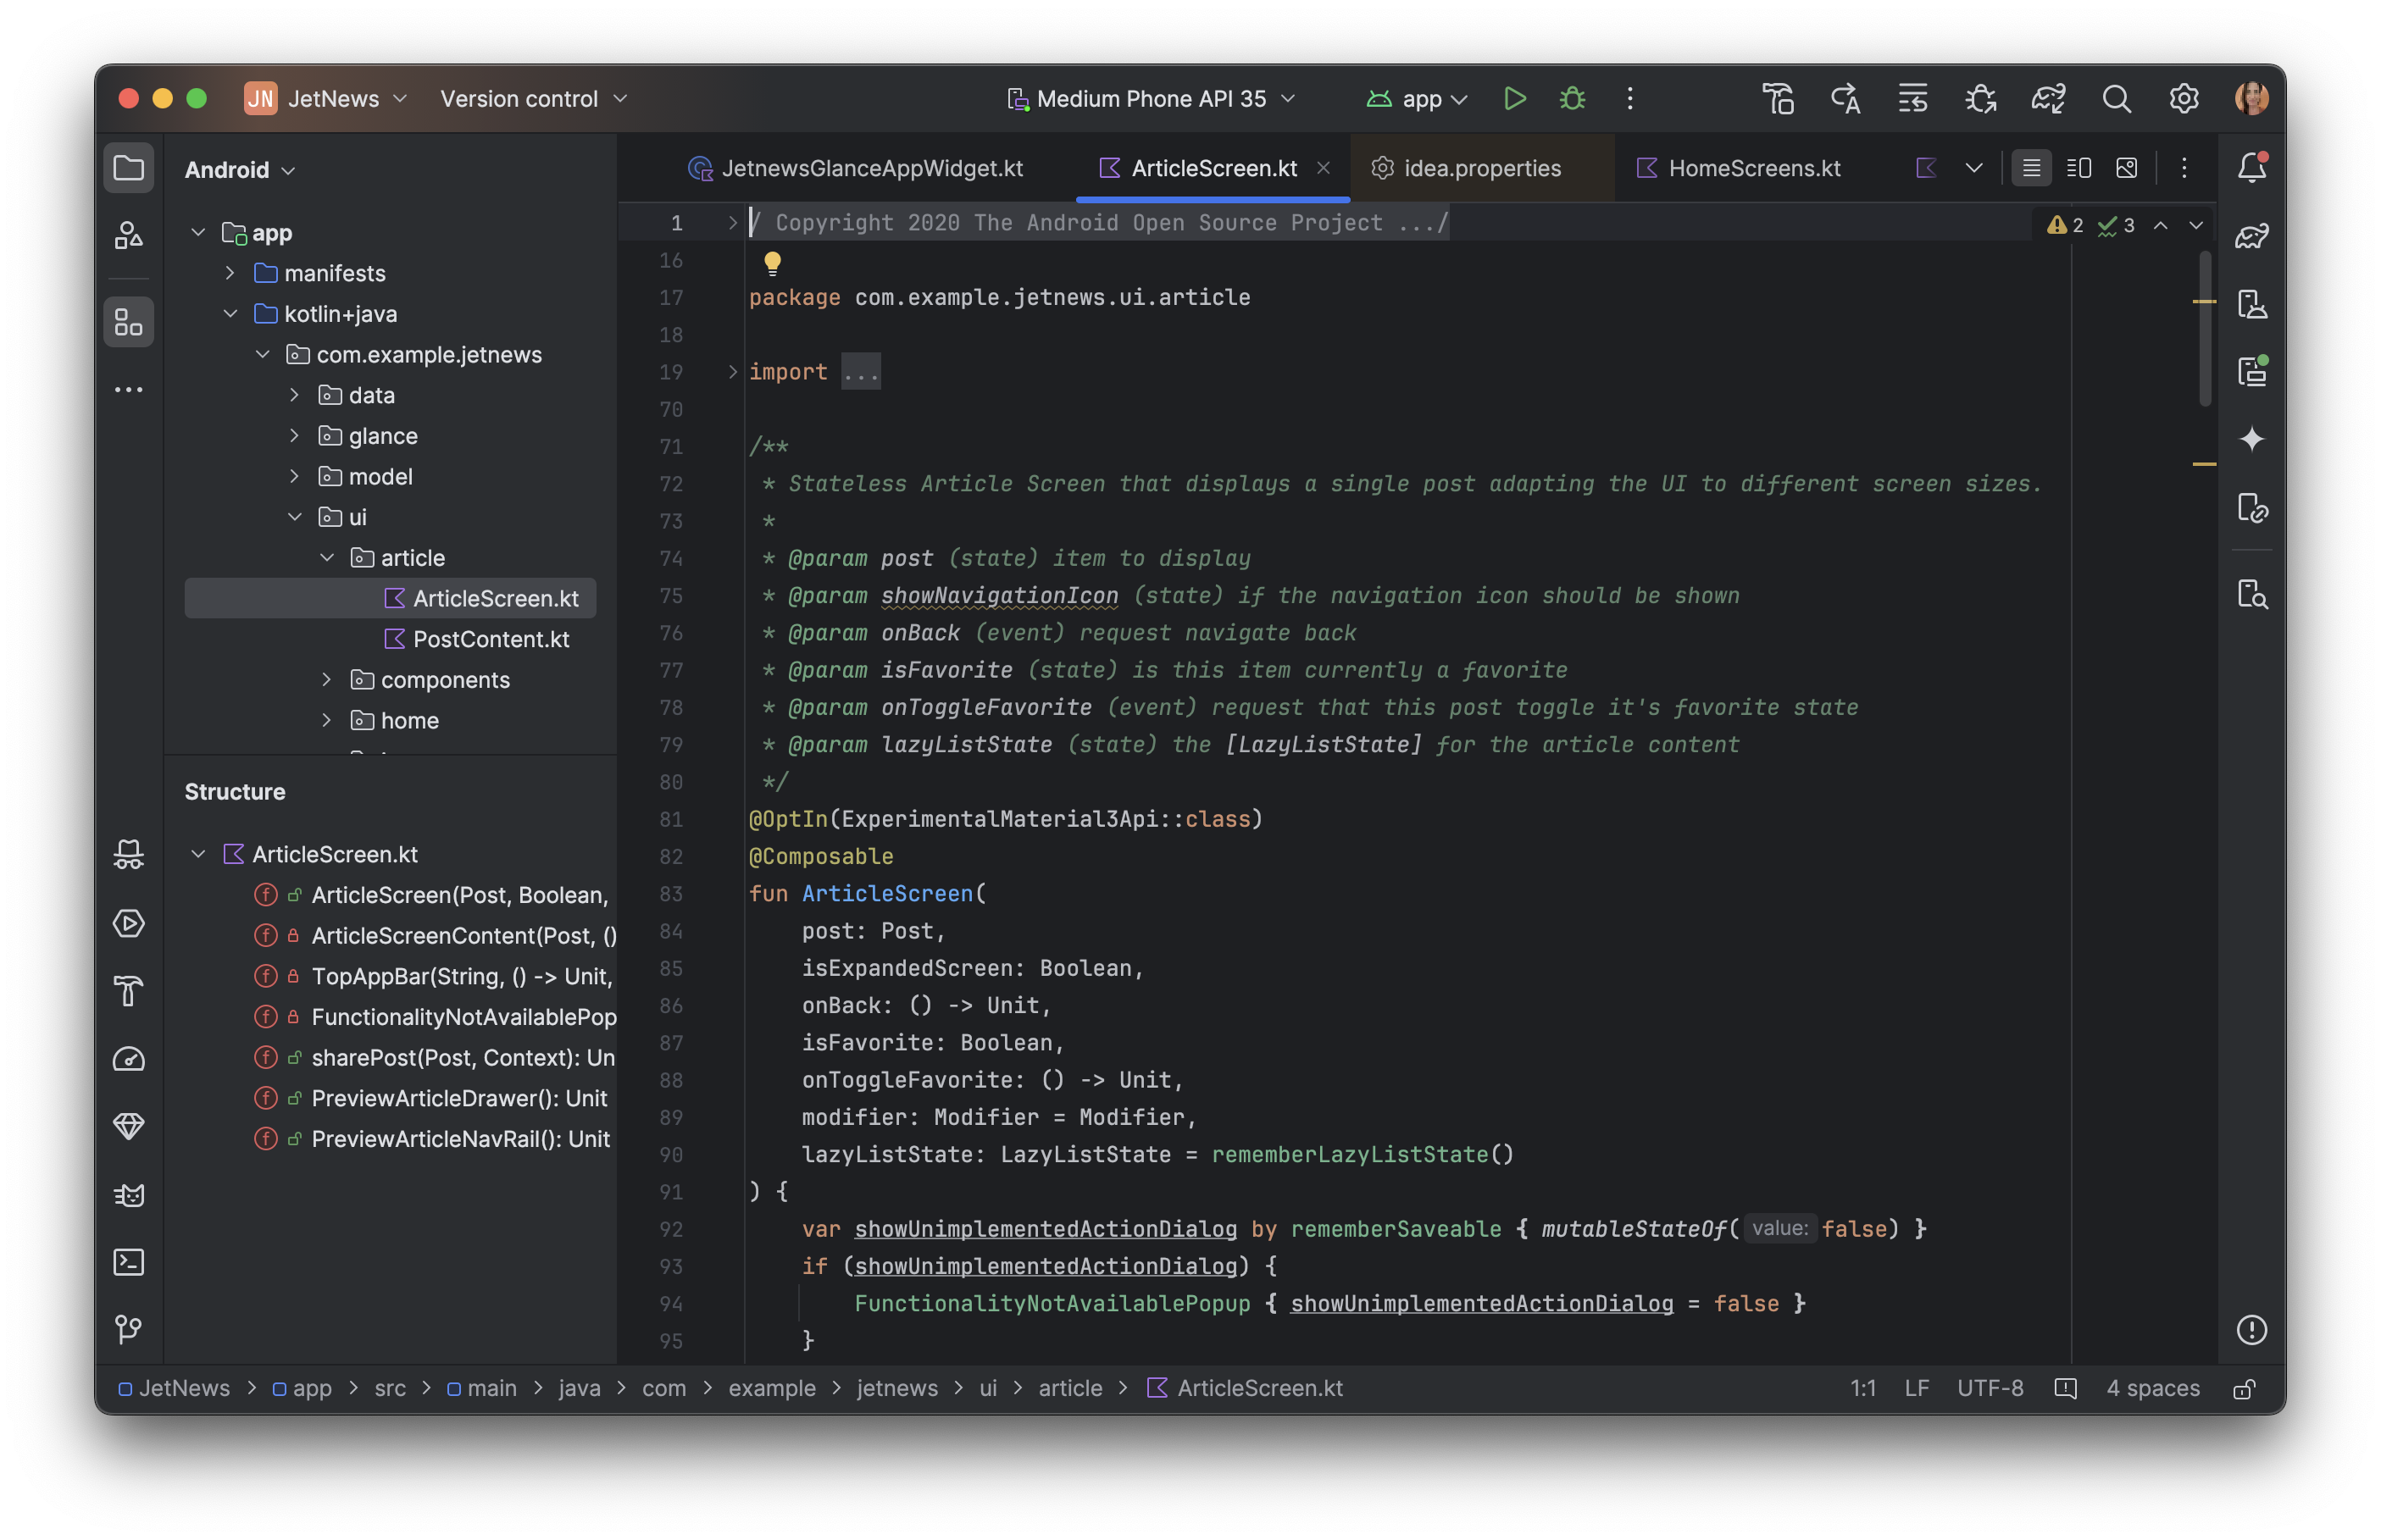
The updated light and dark themes offer improved color contrast and more consistent design for a visually appealing experience. You can now easily toggle between themes based on your preference.
Light
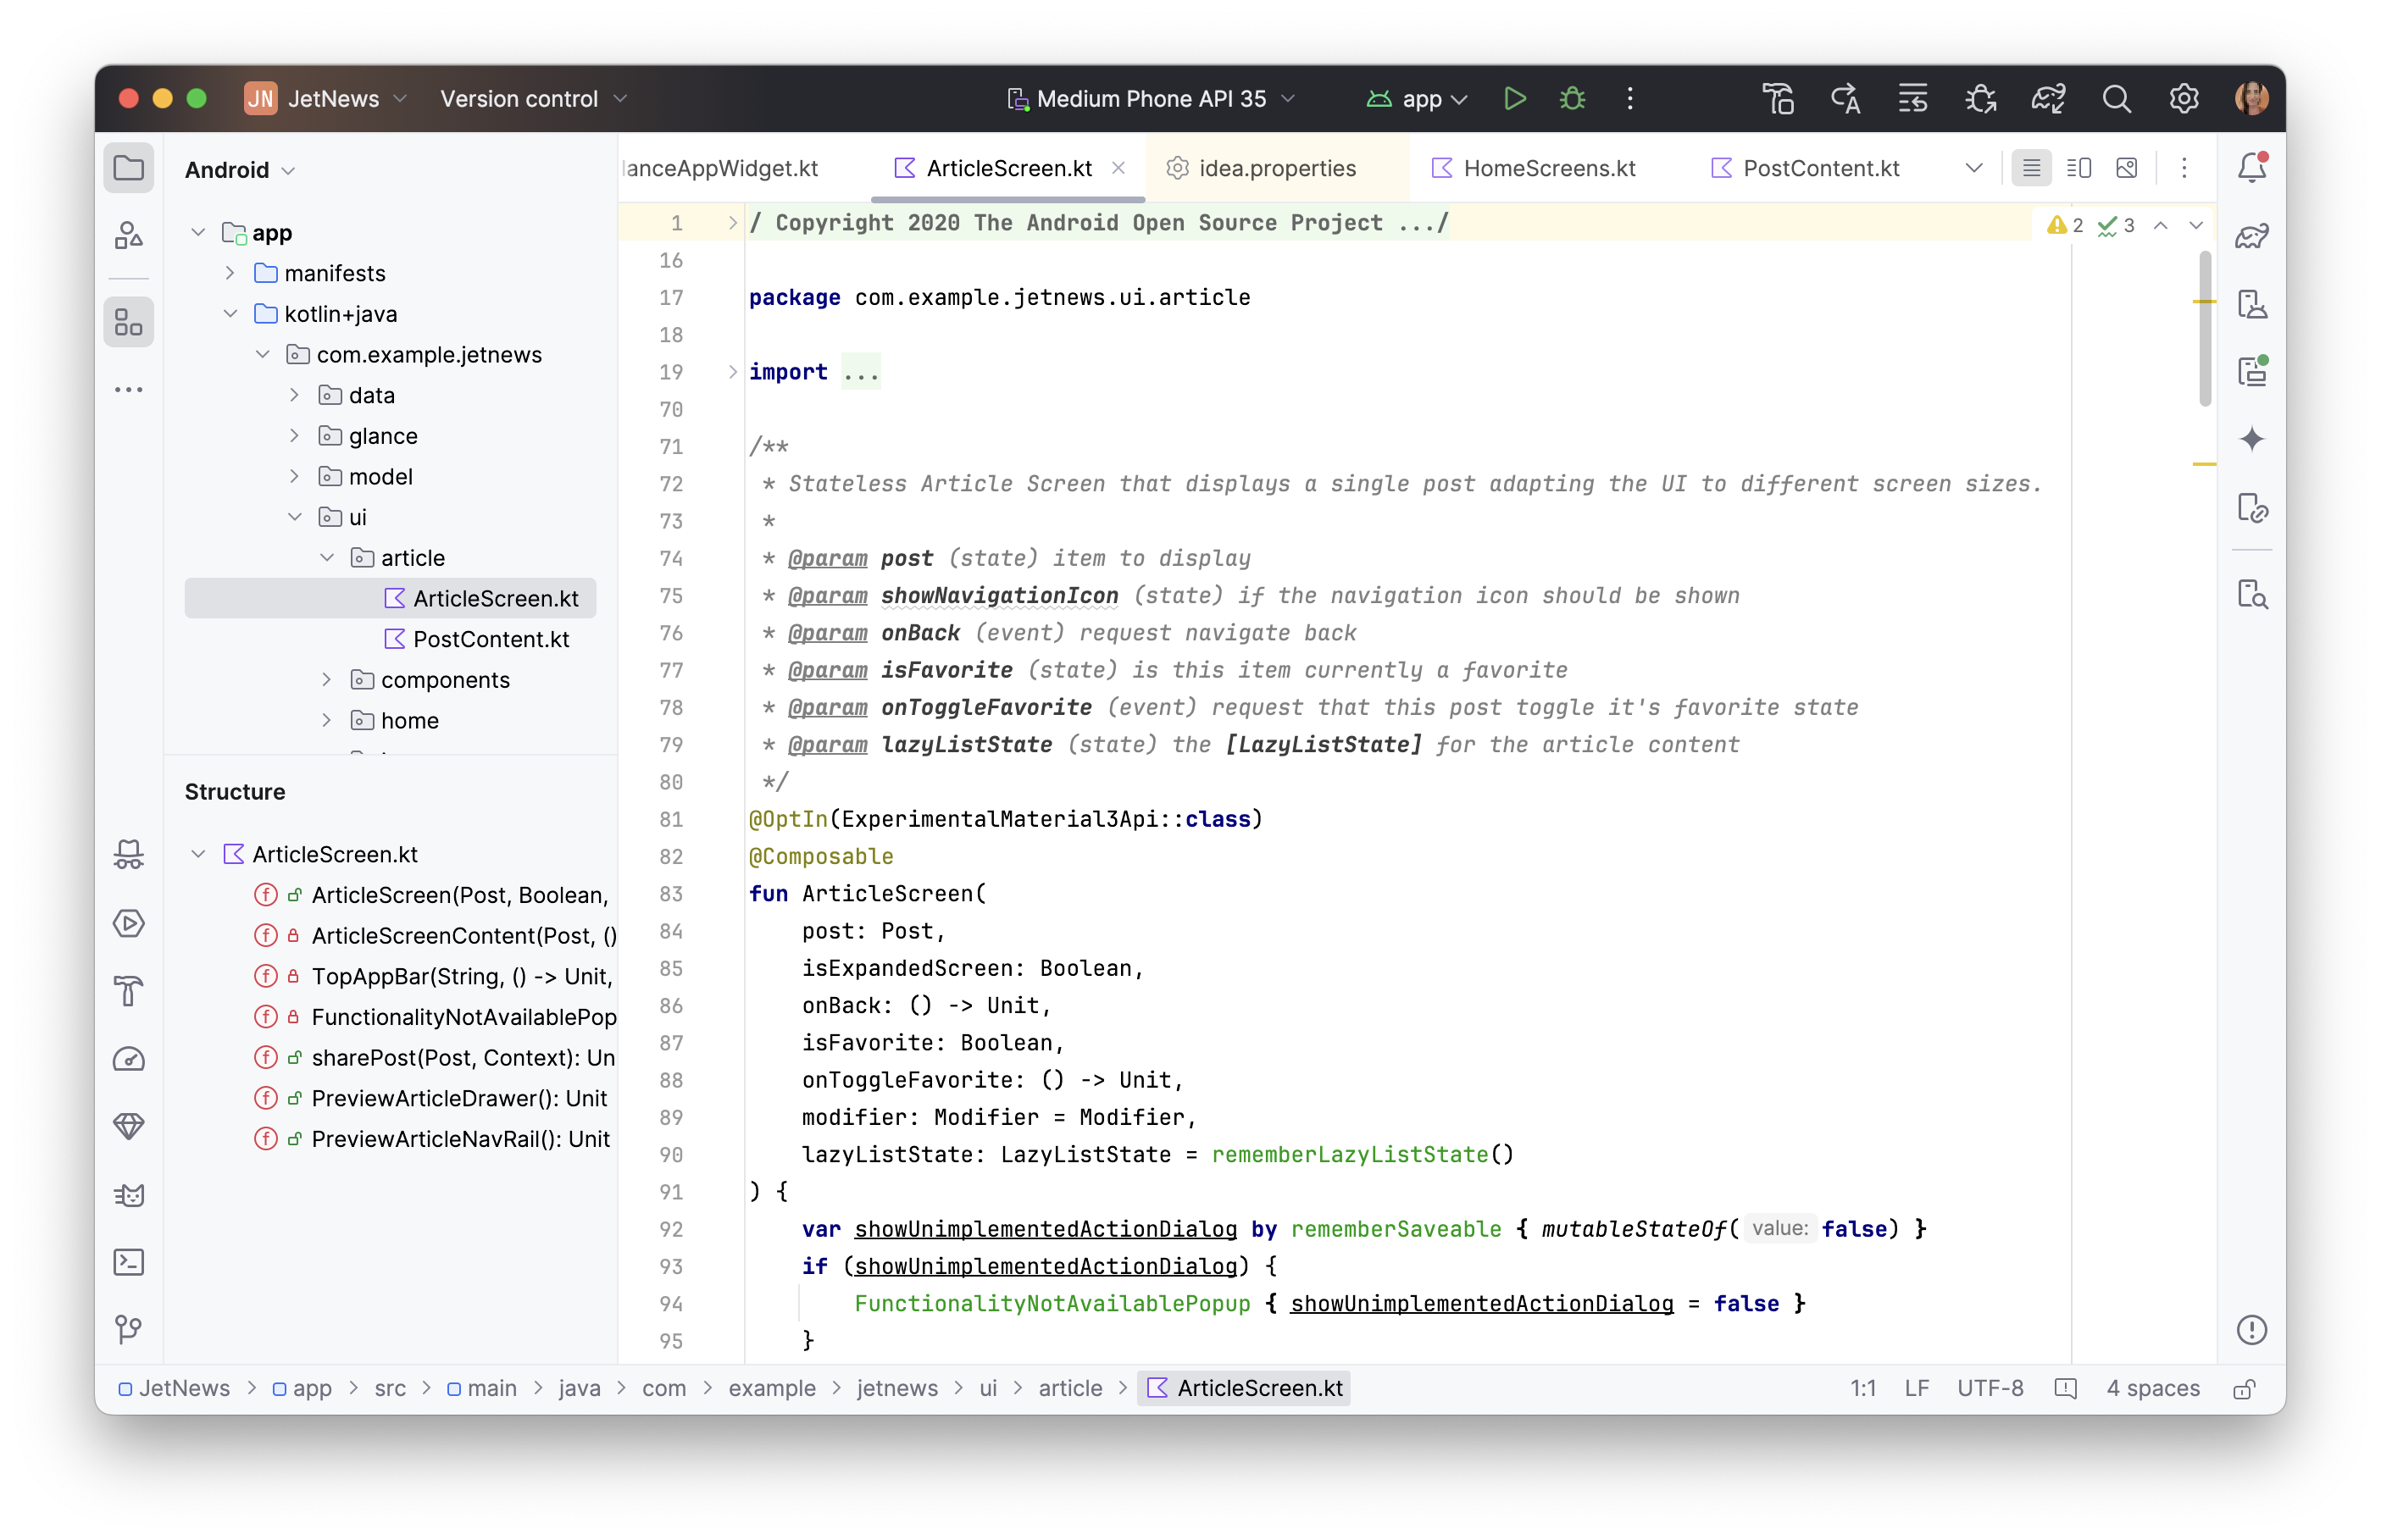
Light with Light Header
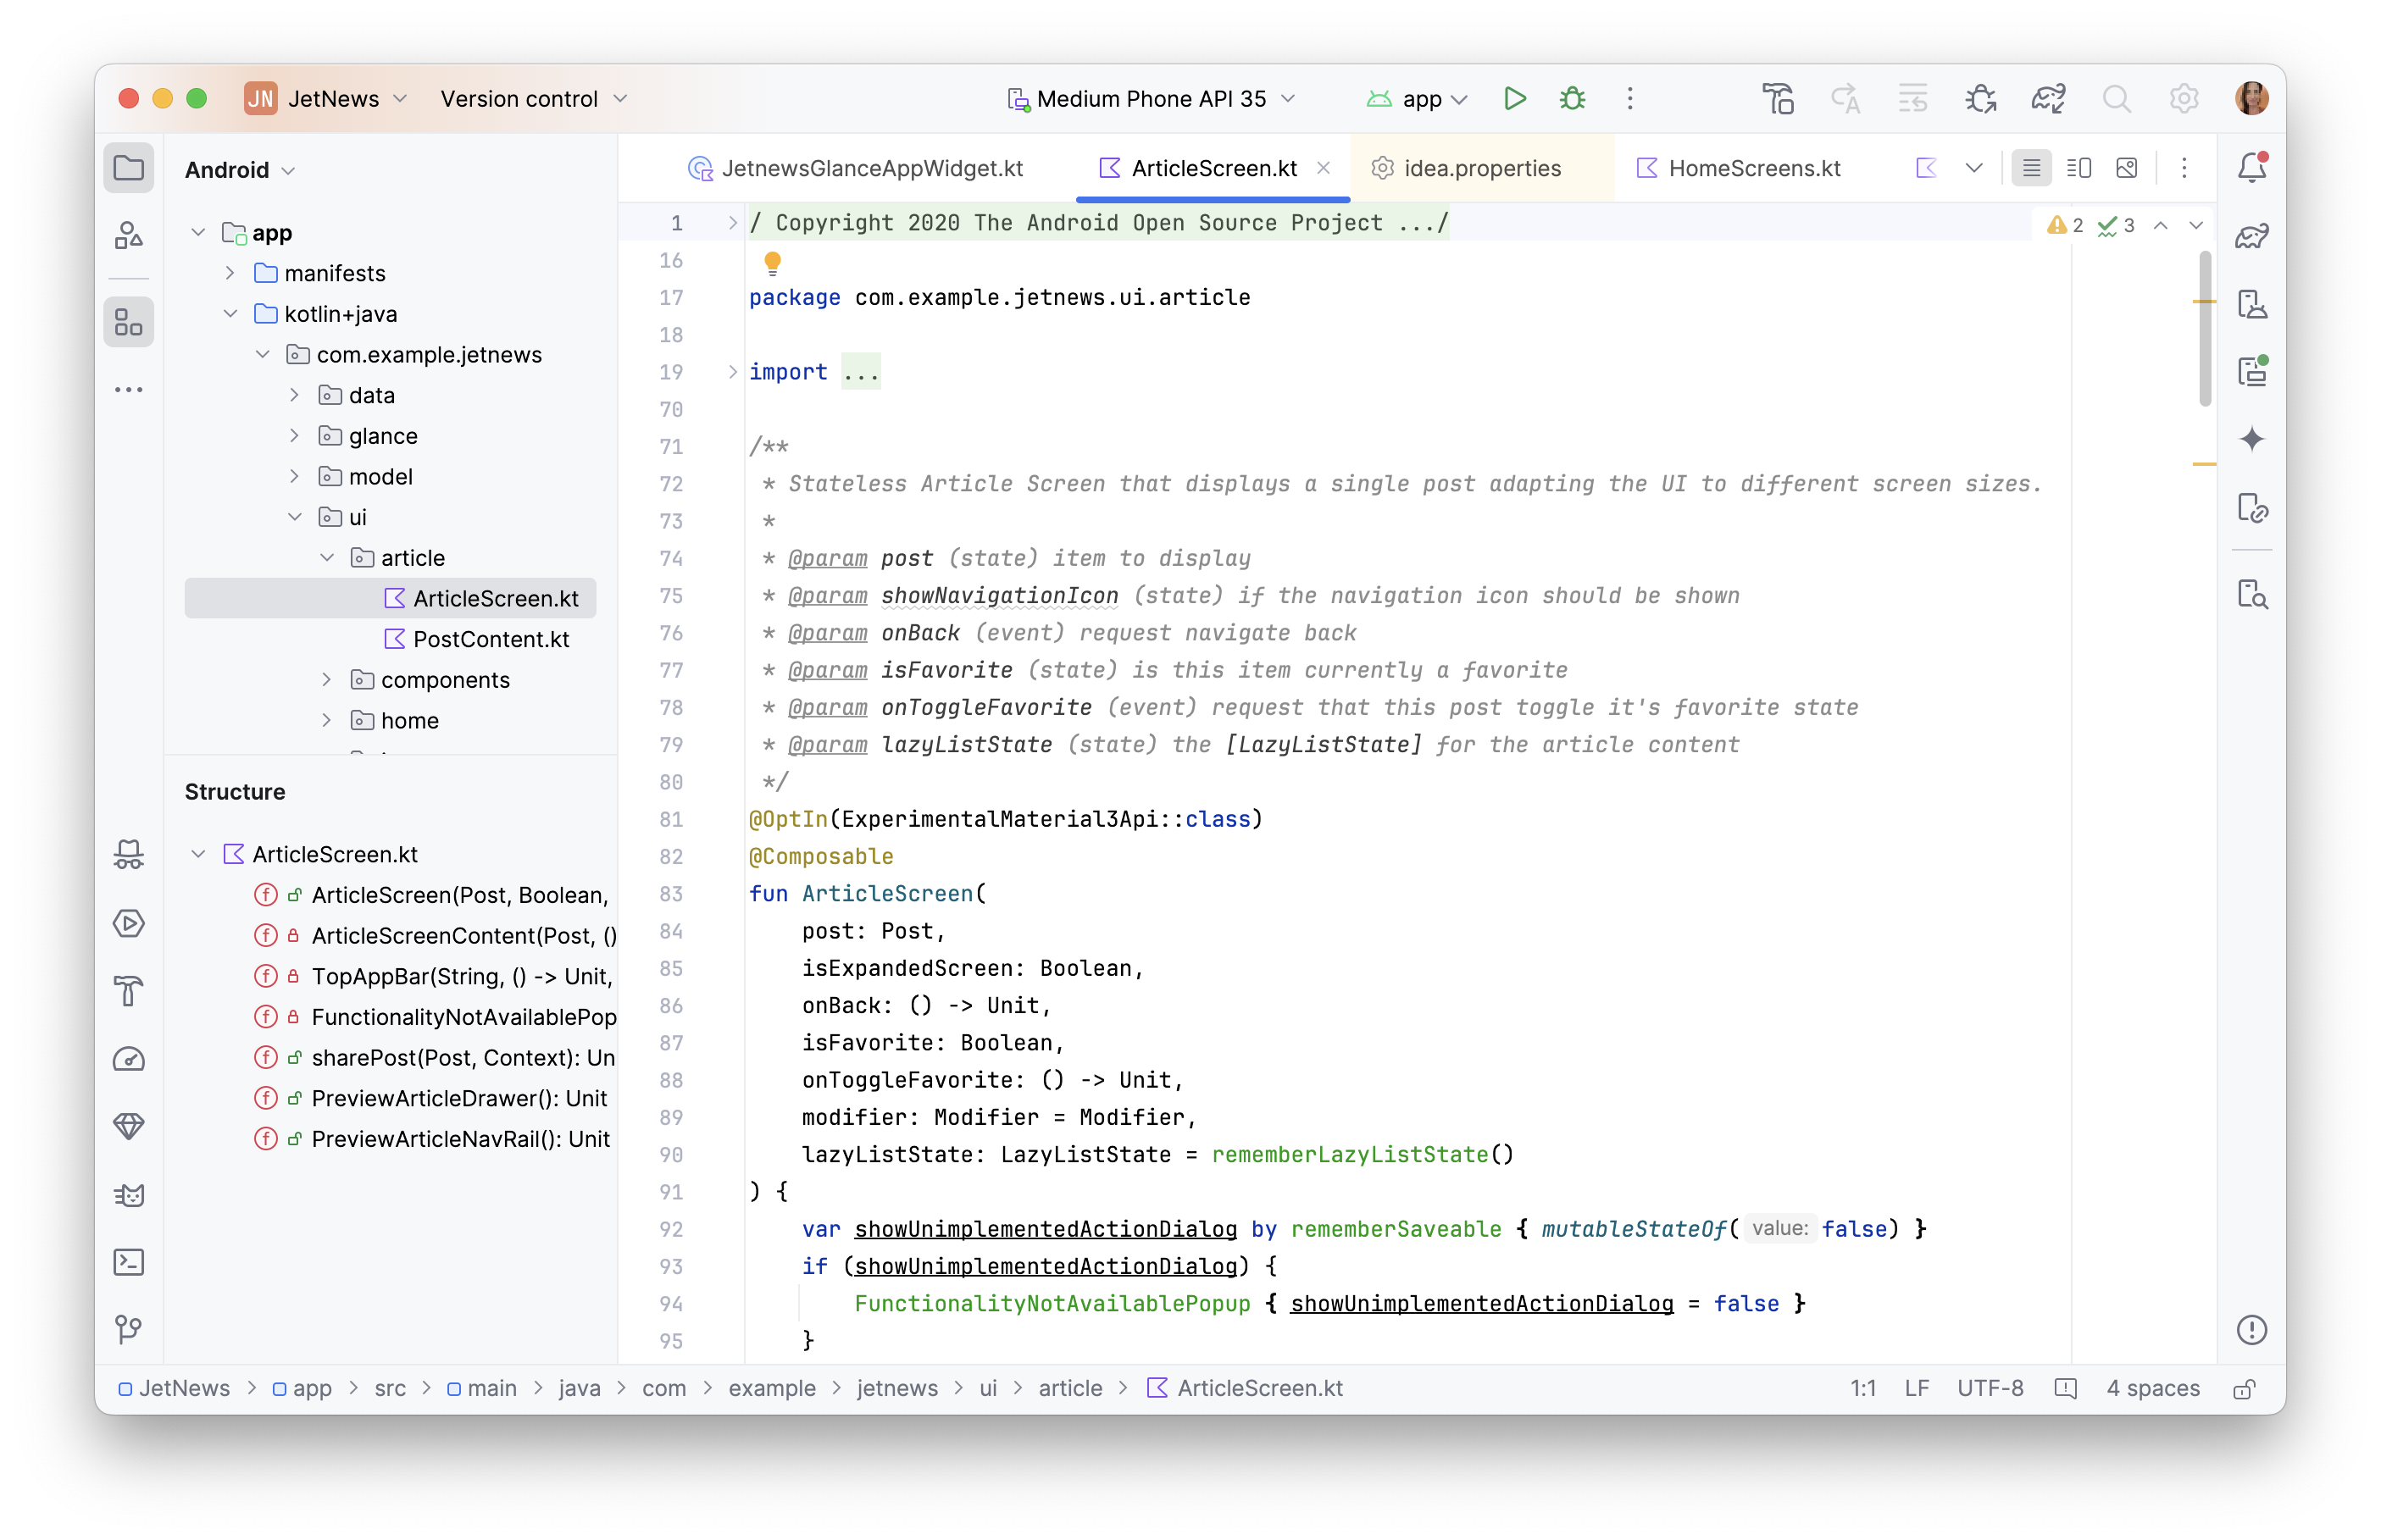
Dark
The New UI also features a modernized set of icons that are cleaner, more legible, and easier to distinguish, providing a more visually consistent experience across the IDE.
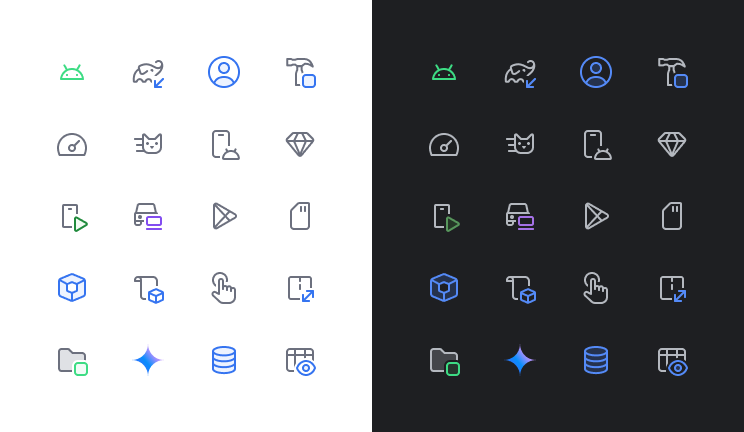
Simplified main toolbar
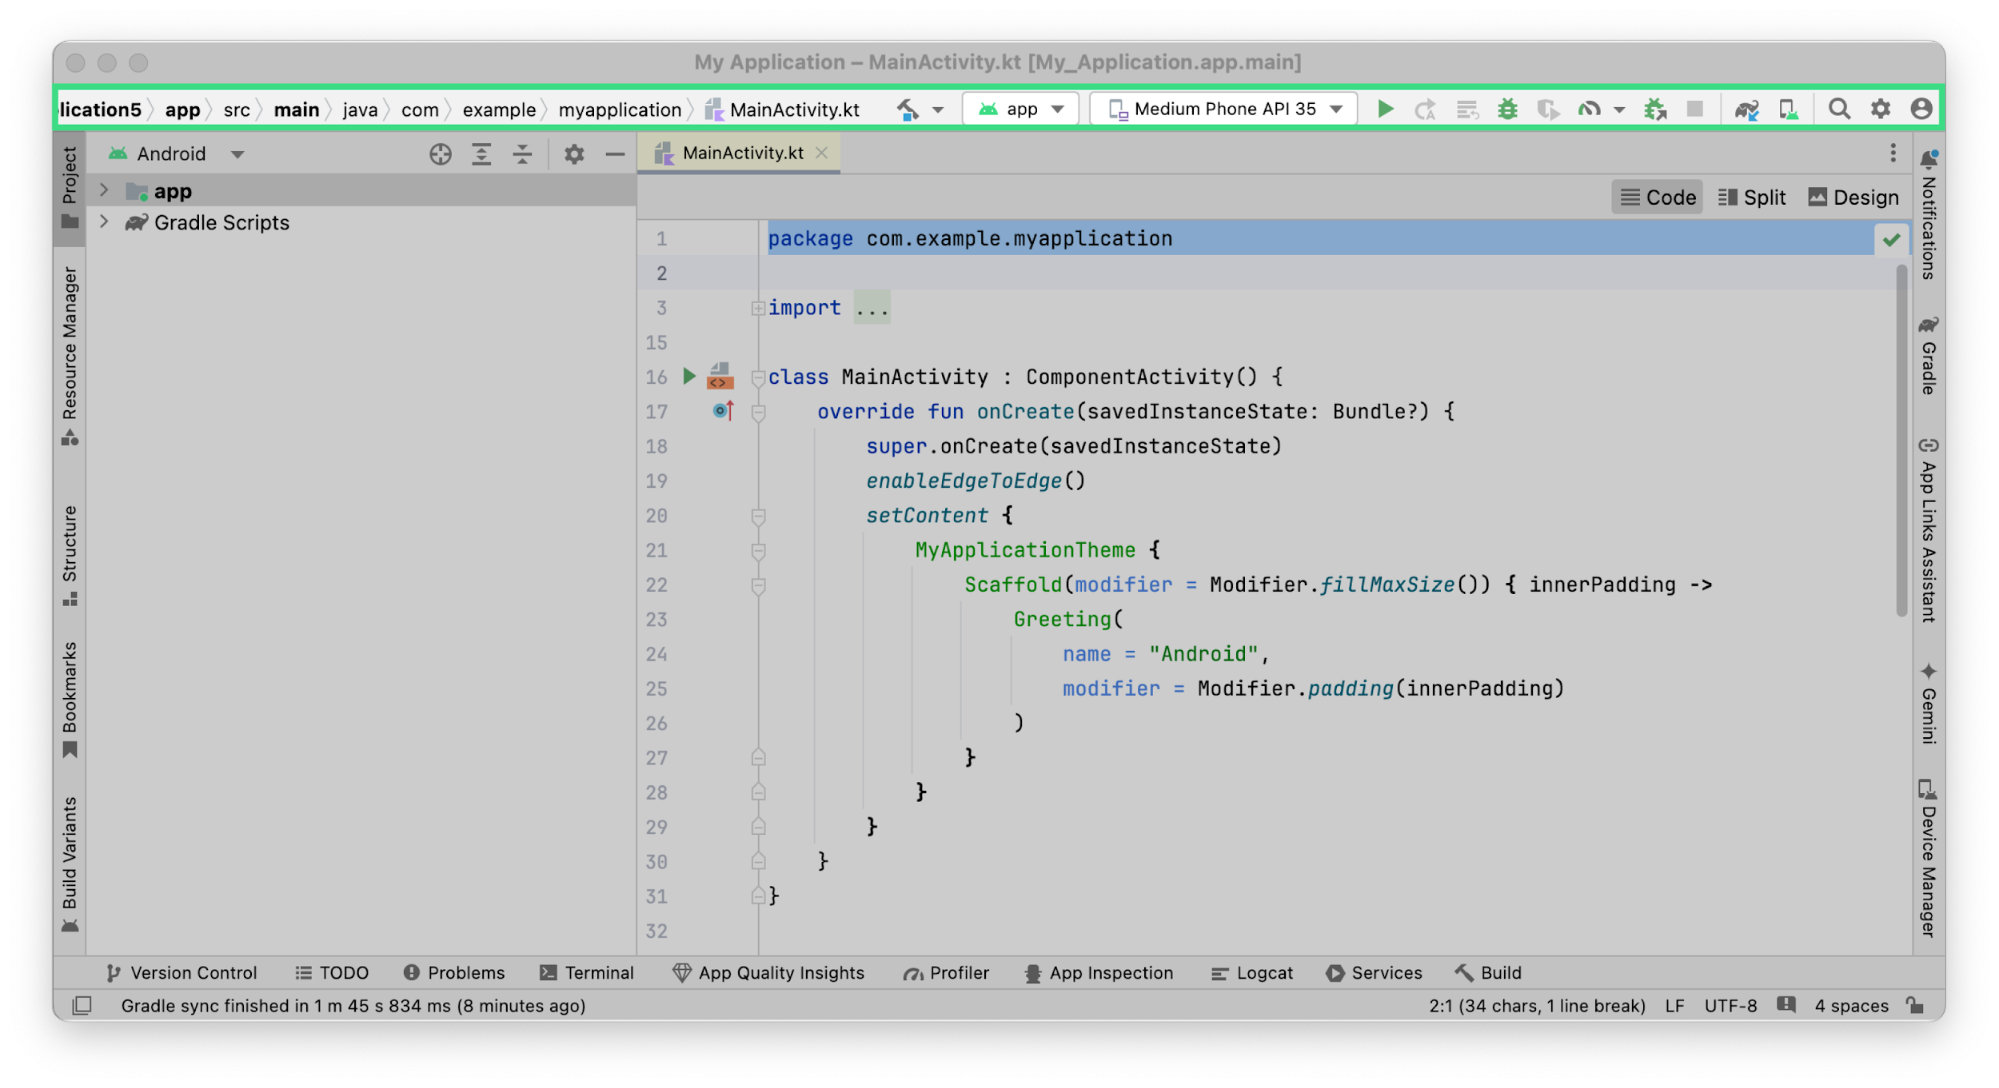
The New UI features a decluttered main toolbar that prioritizes the most-used actions, such as selecting the running device, managing version control, and switching projects. This lets you spend less time searching for tools and more time coding.

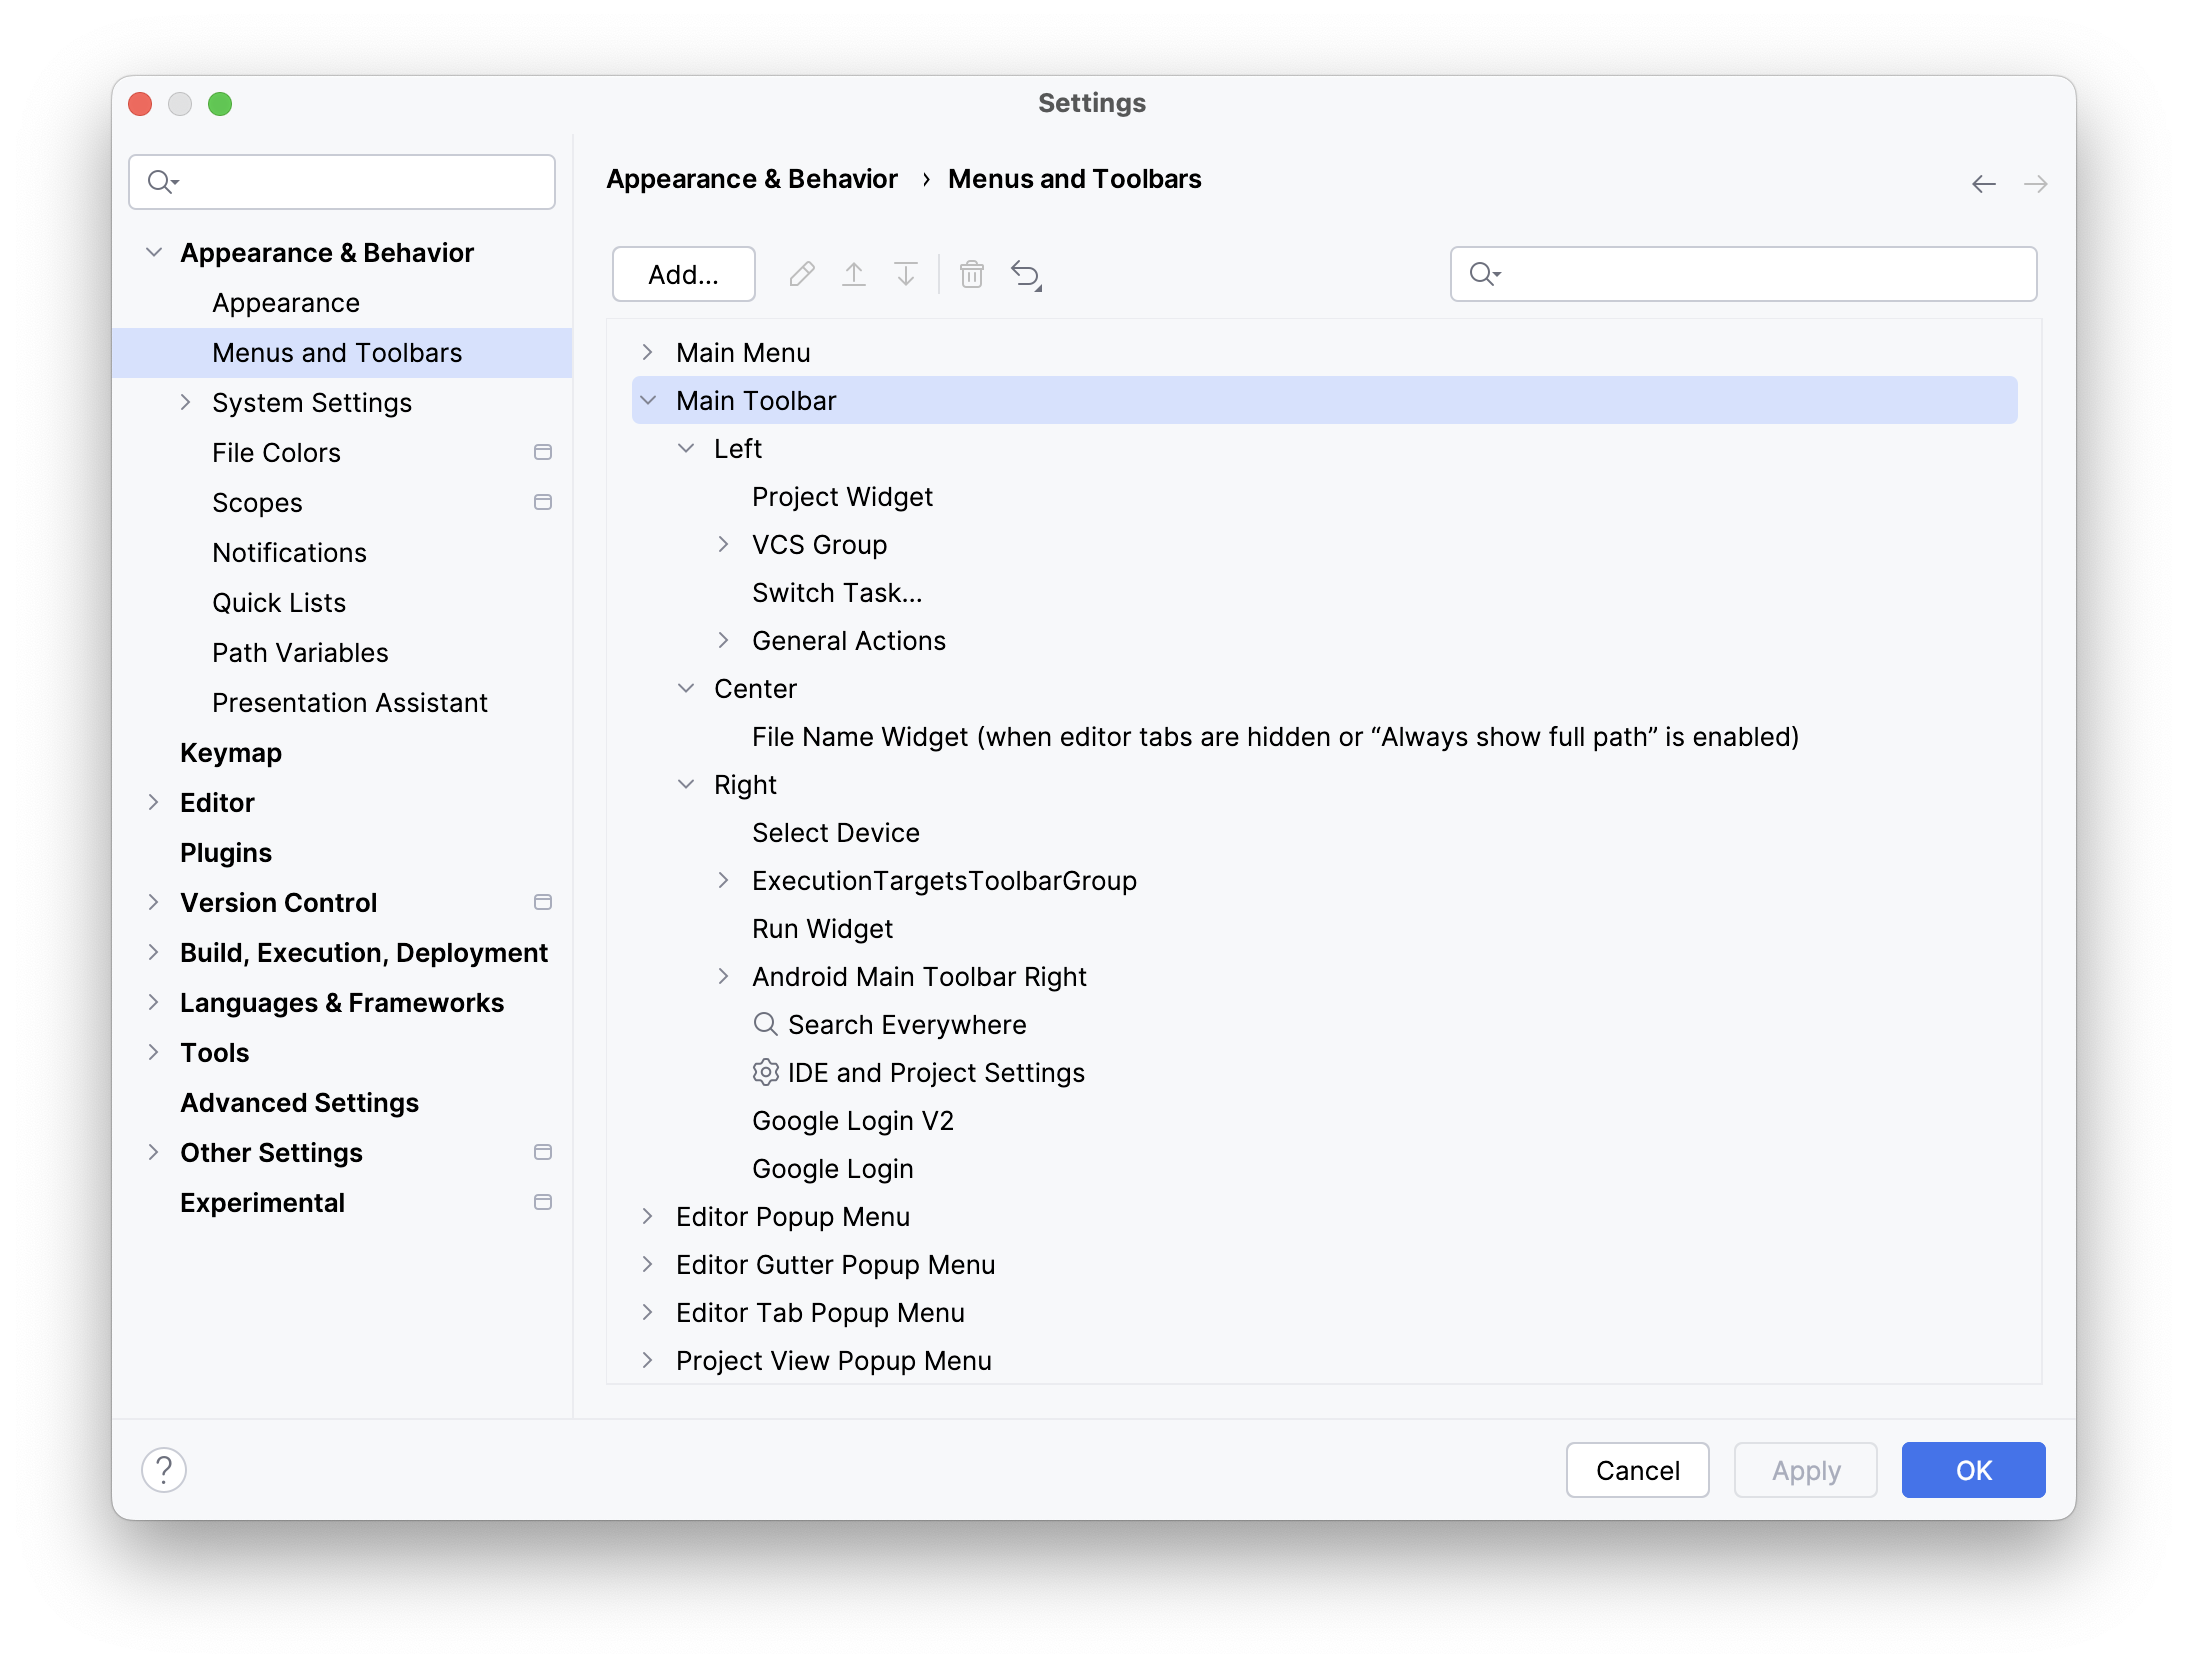
Customize the main toolbar with your essential actions in Settings > Appearance & Behavior > Menus and Toolbars.
Widgets for Git and projects
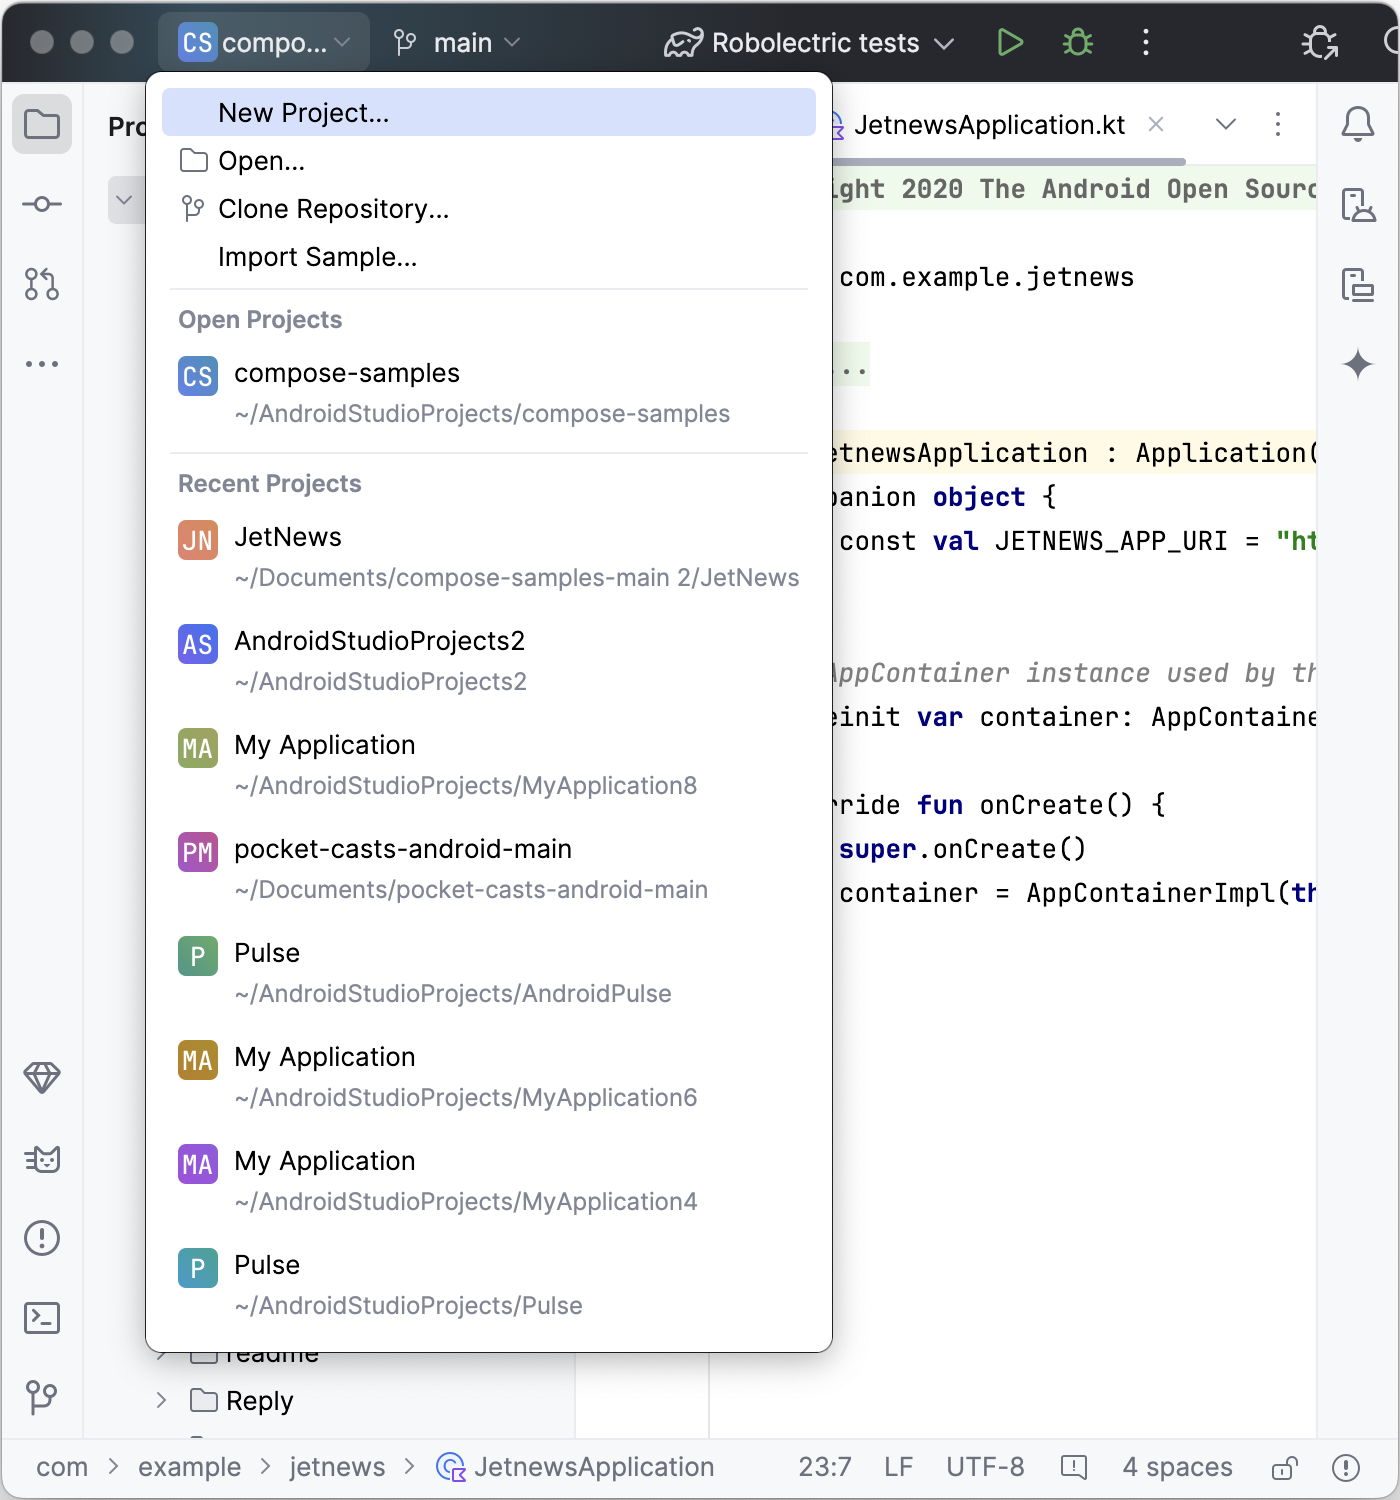
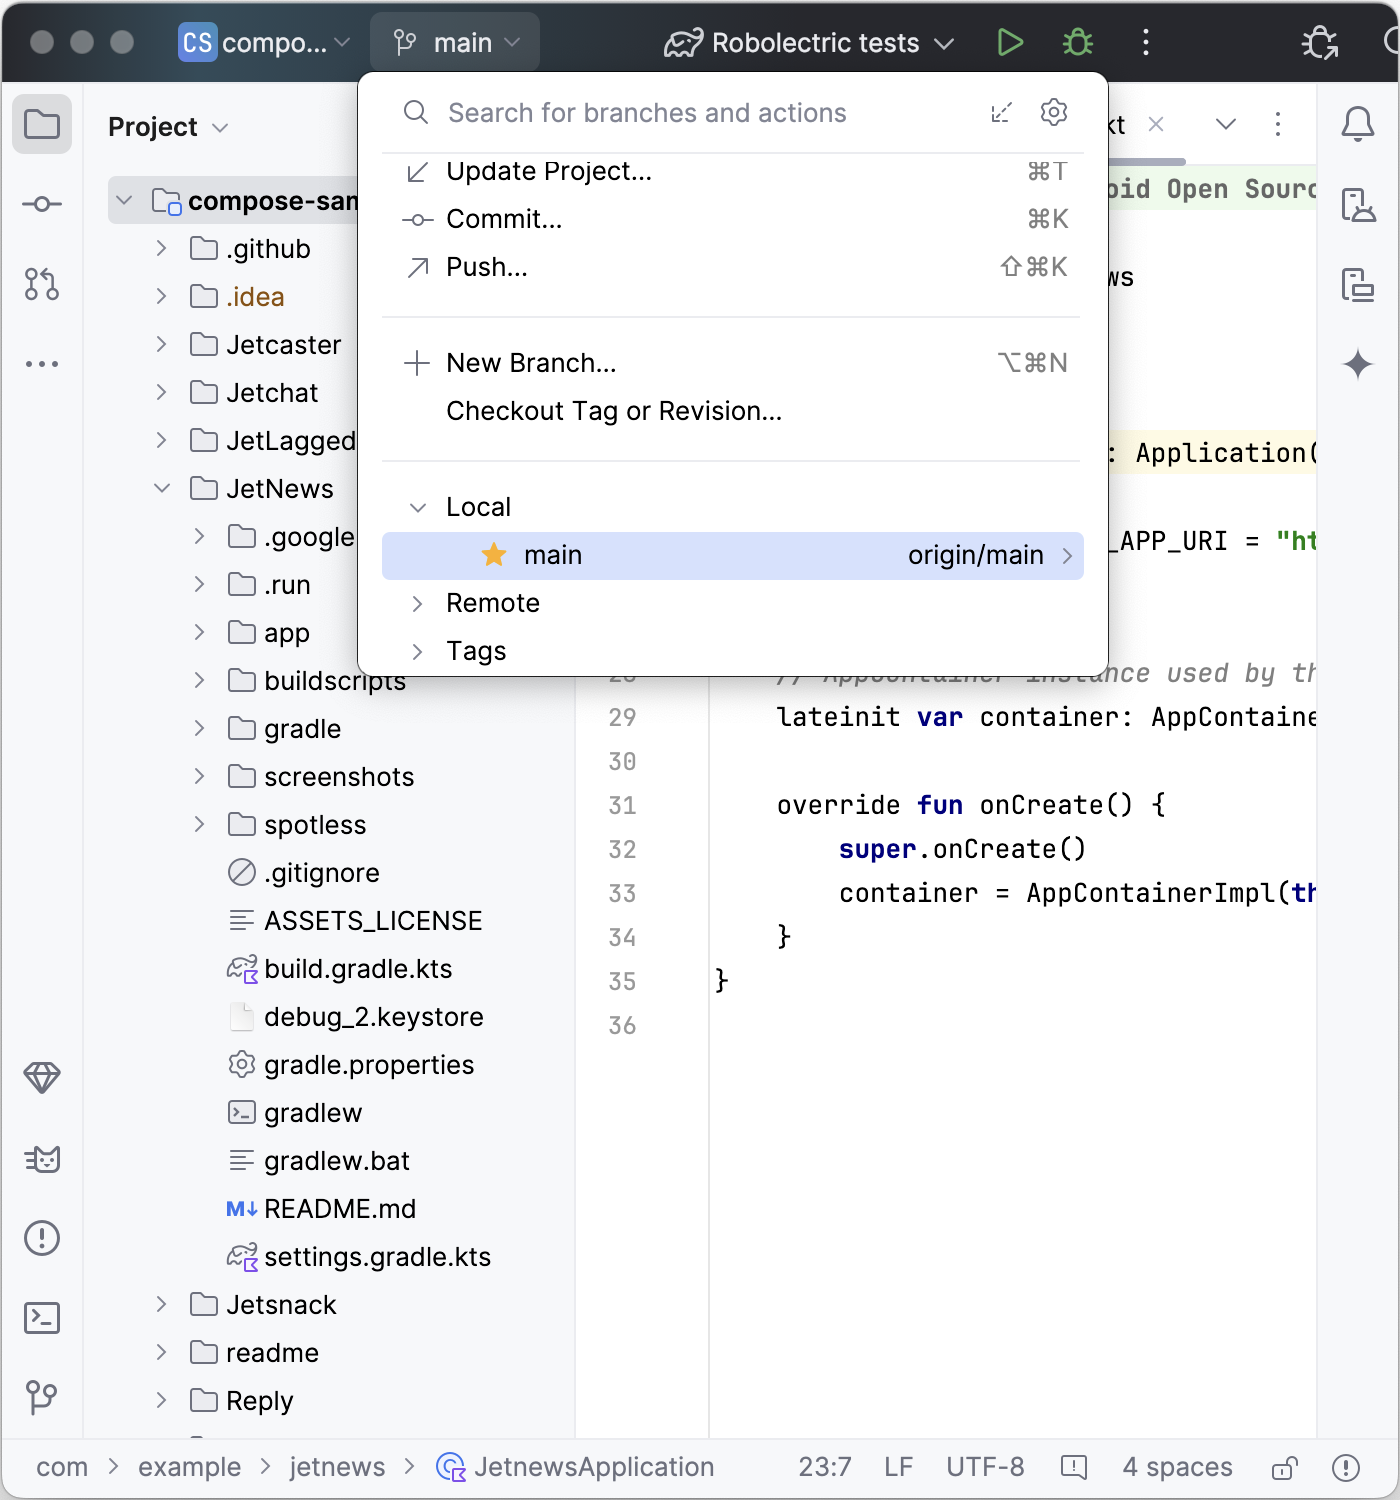
The main toolbar now includes two new menu widgets:
- A Project Widget for browsing recent projects or creating a new one.
- A Git Widget for version control management and commonly-used Git actions. The Git Widget has moved to the top of the status bar, but you can move it back to its previous location in the bottom right.
Run configurations and profiling actions
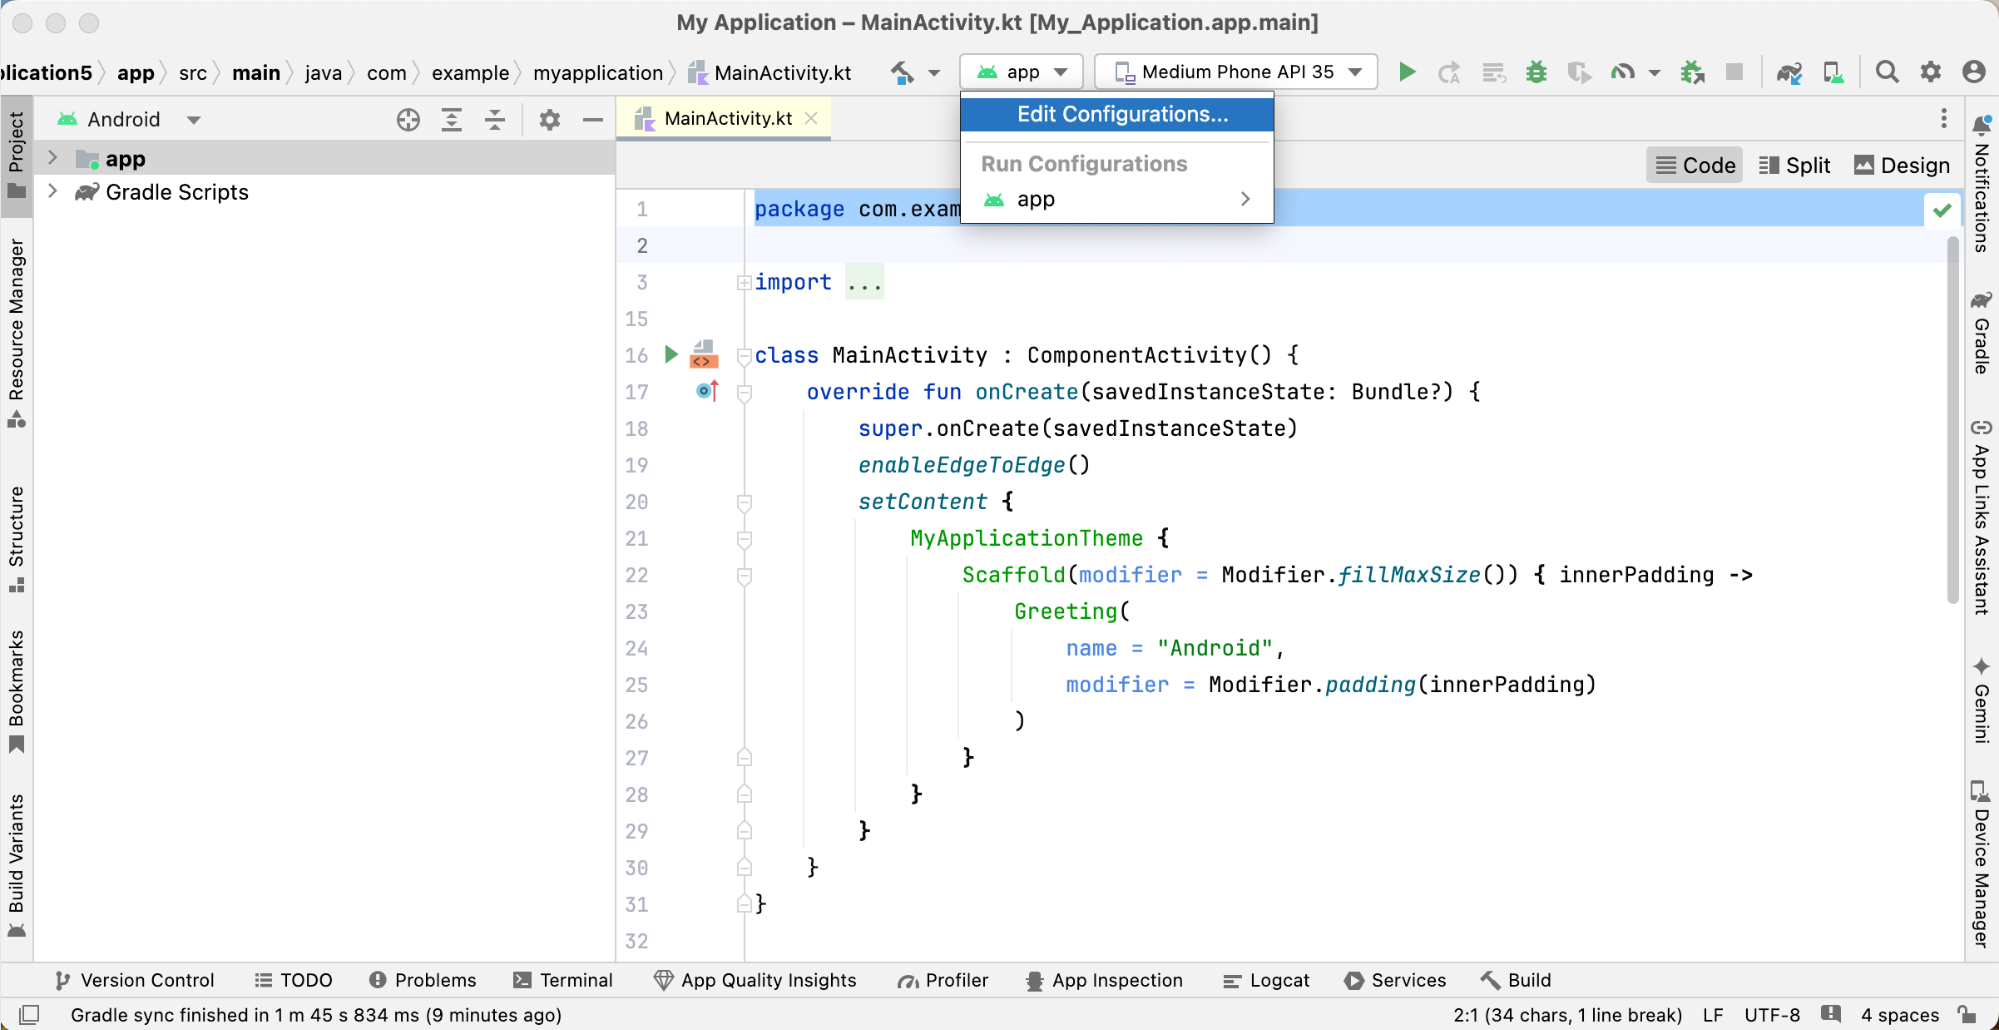
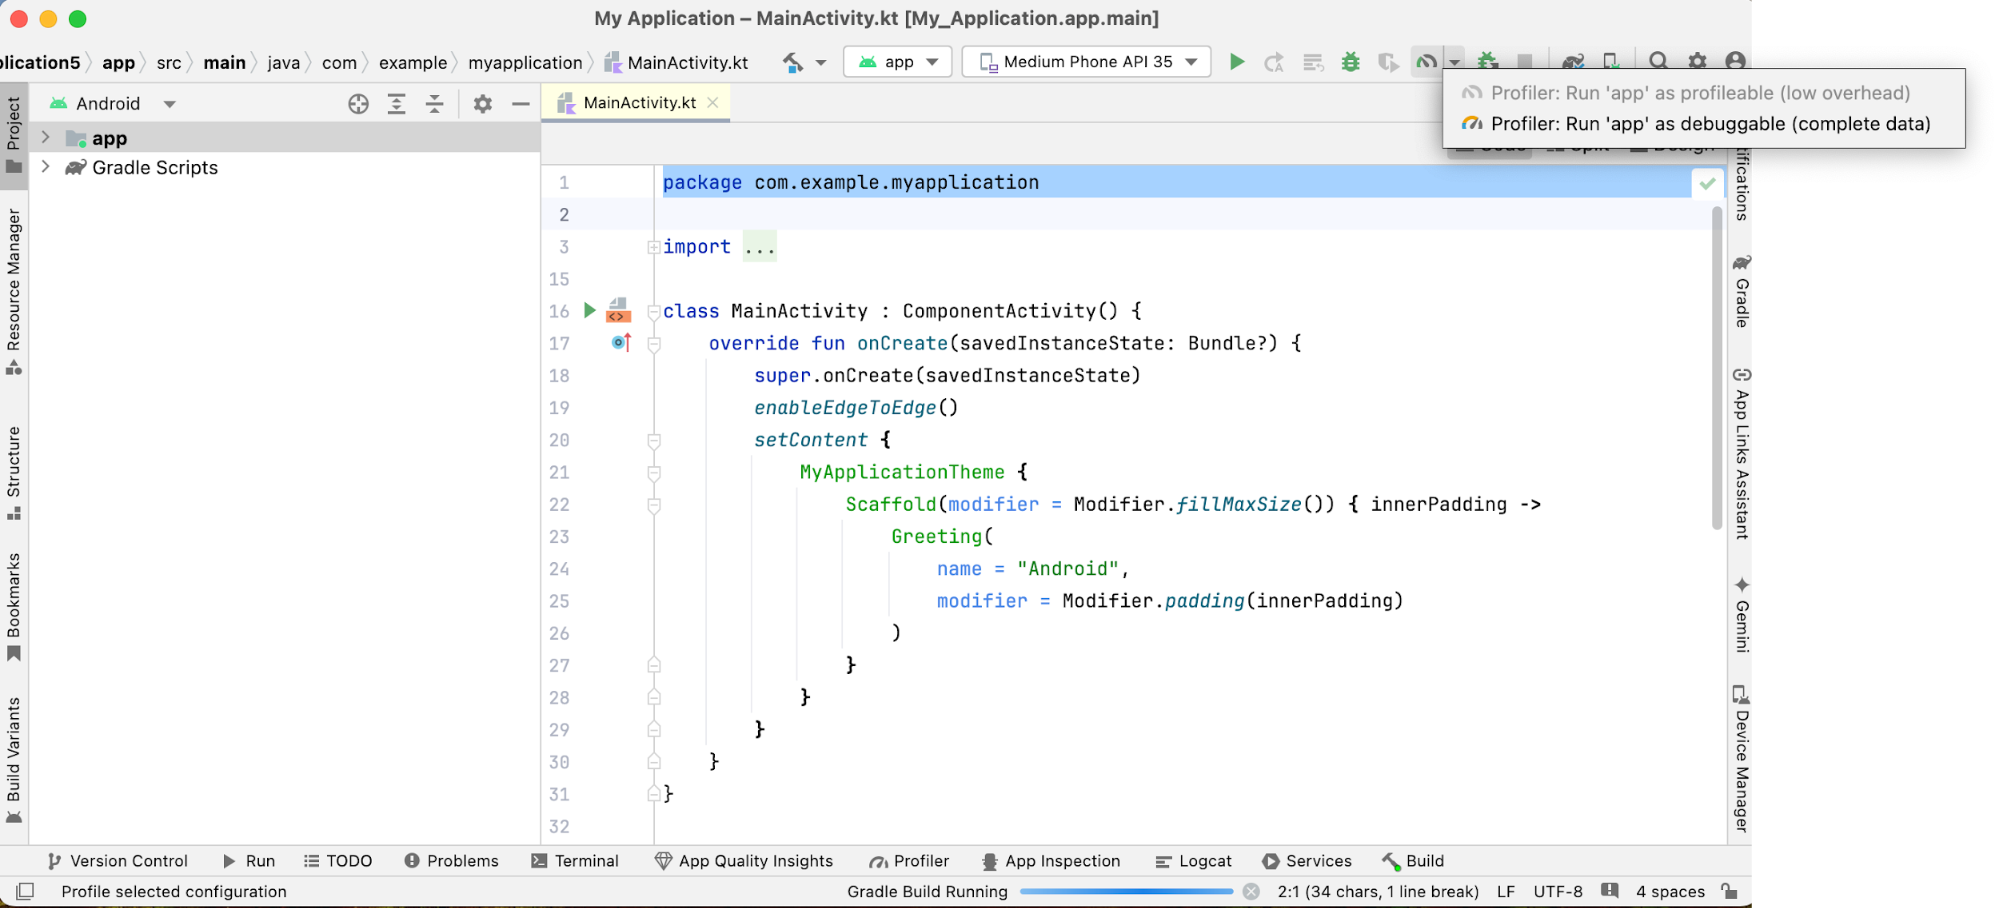
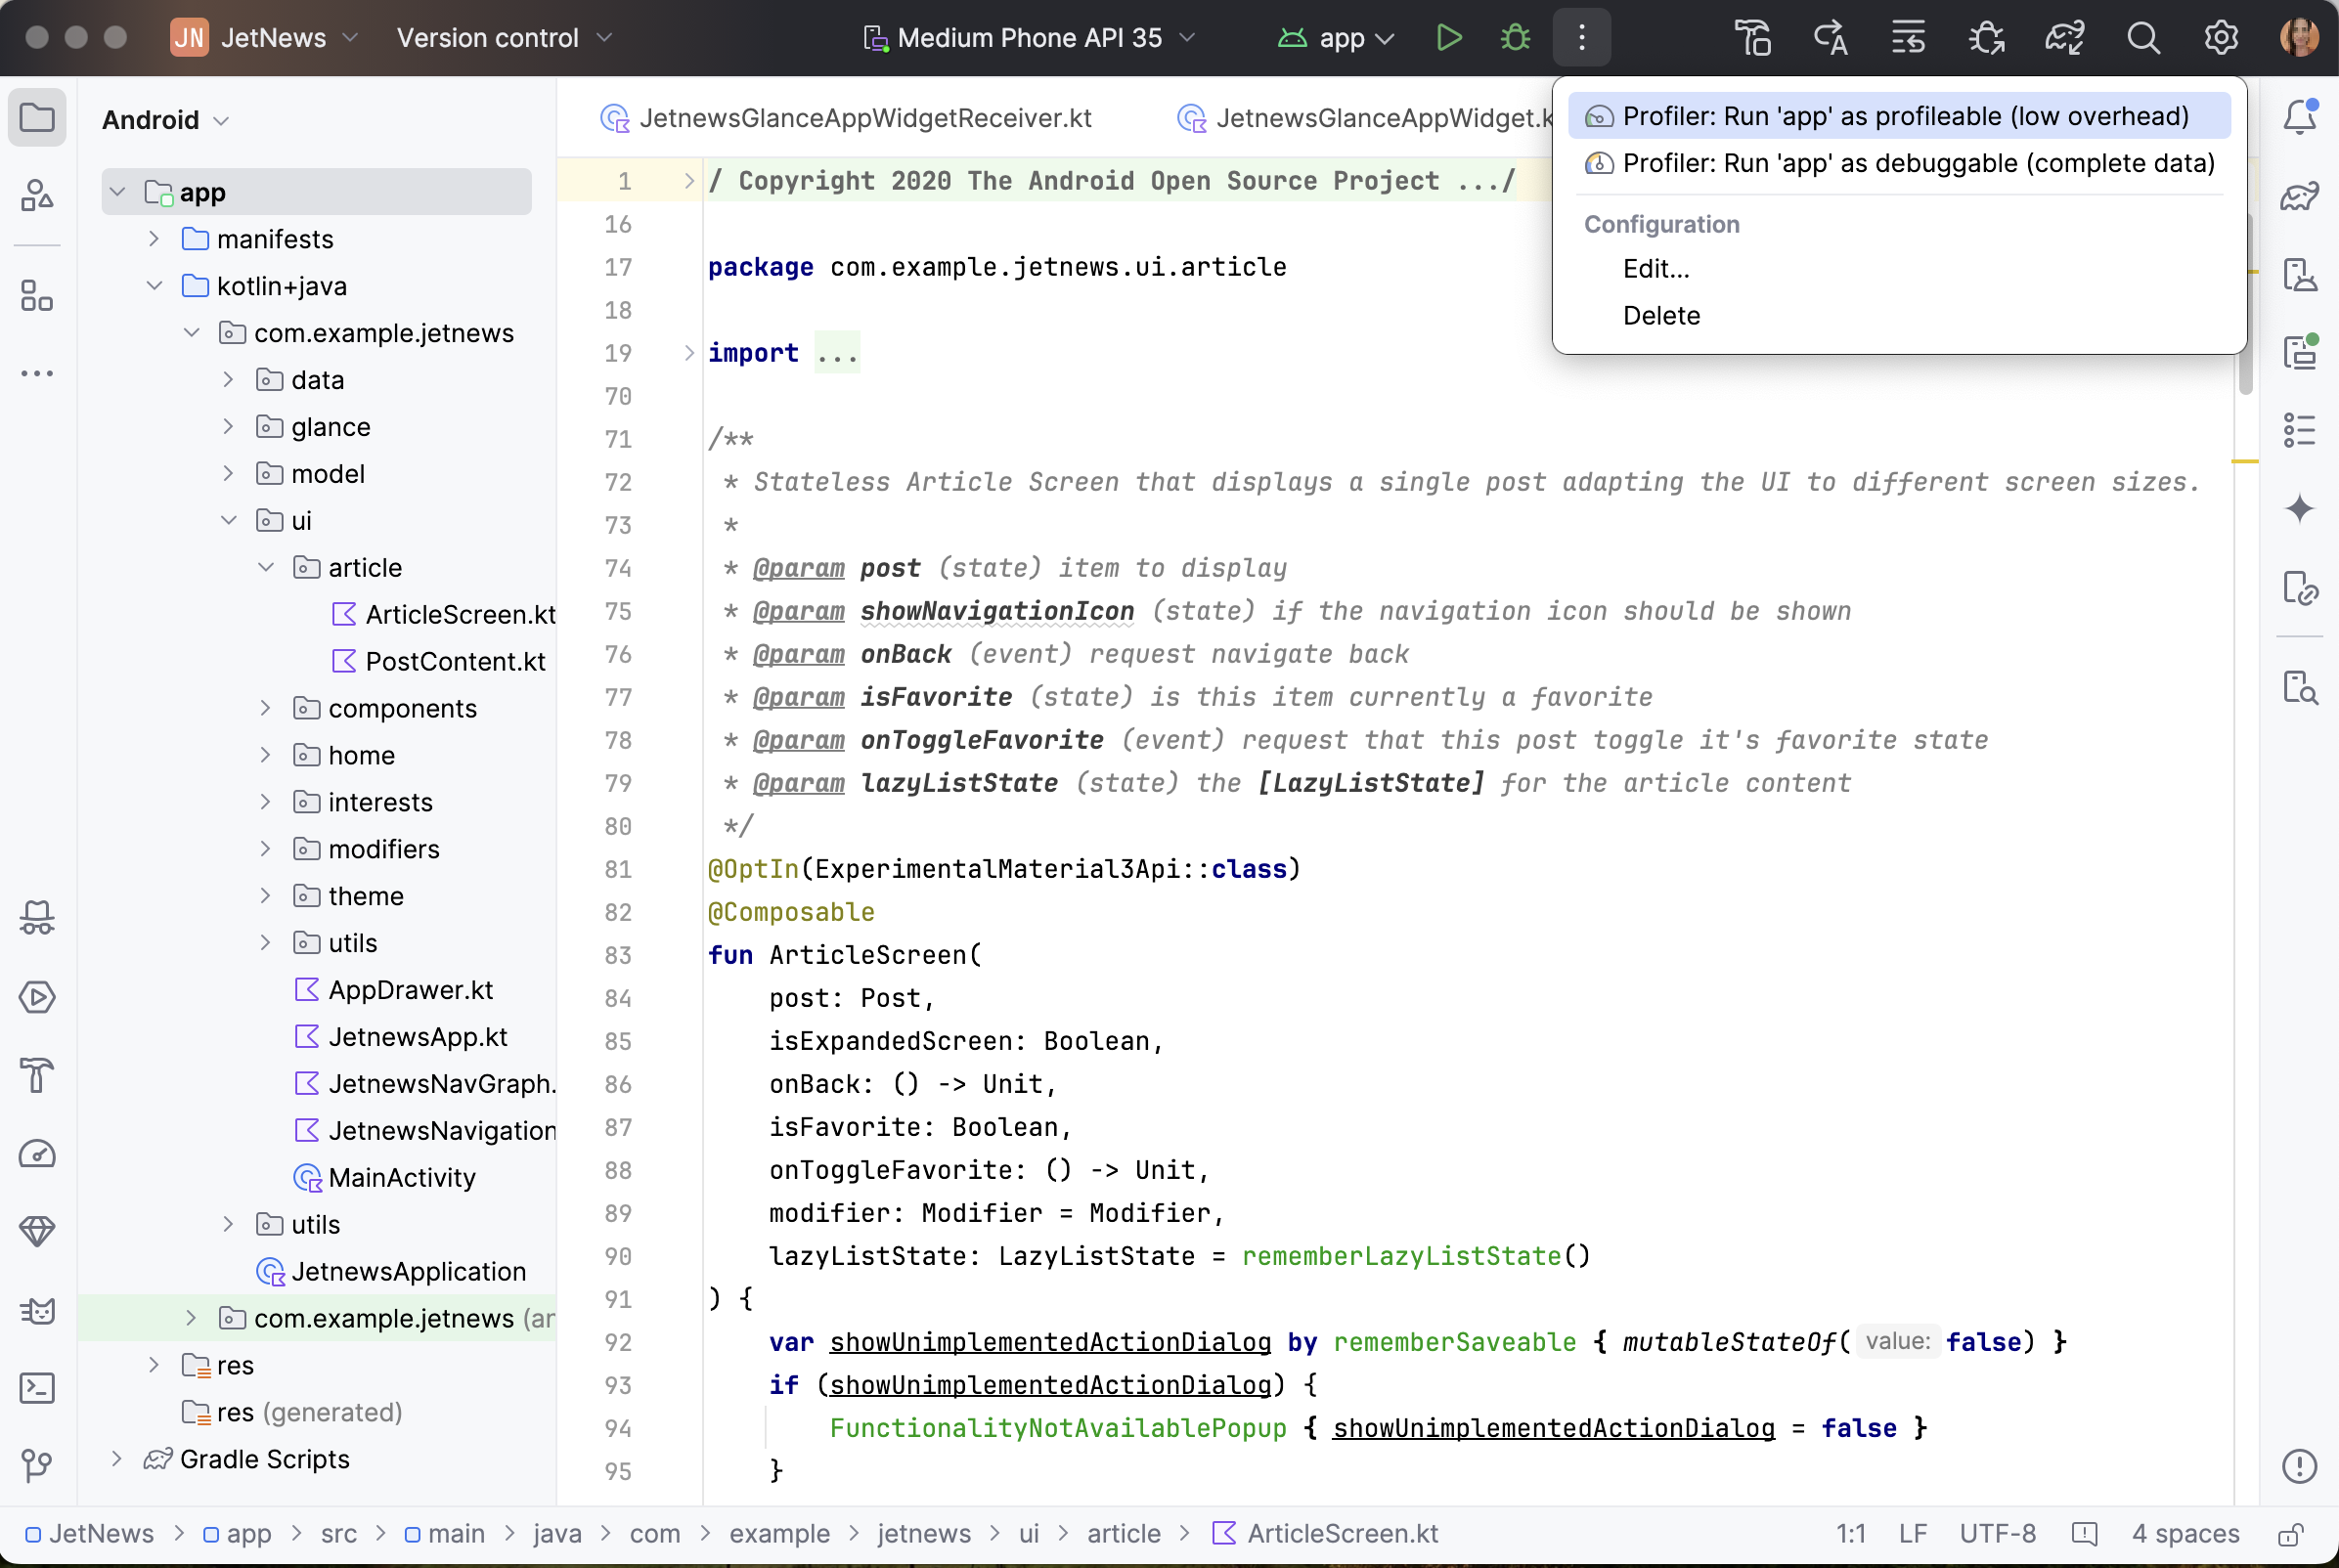
Run configurations and profiling actions are streamlined into a new Run Widget, with profiling actions being moved to an overflow menu.
Redesigned tool windows
Tool windows are now better organized and docked to the sides of the main window. The tool window bar has been streamlined to only display a selection of tool window icons, with the rest accessible from an overflow menu. This new tool window layout is more intuitive and offers flexible options to customize your workspace.
Access hidden tool windows using the More tool windows button. Once selected, the tool window opens and its button appears on the default toolbar.
Vertical and horizontal splits
Split your workspace by dragging tool window icons. Drop them below the sidebar separator for a vertical split, or to the opposite sidebar for a horizontal split.
New location for UI Tool Controls
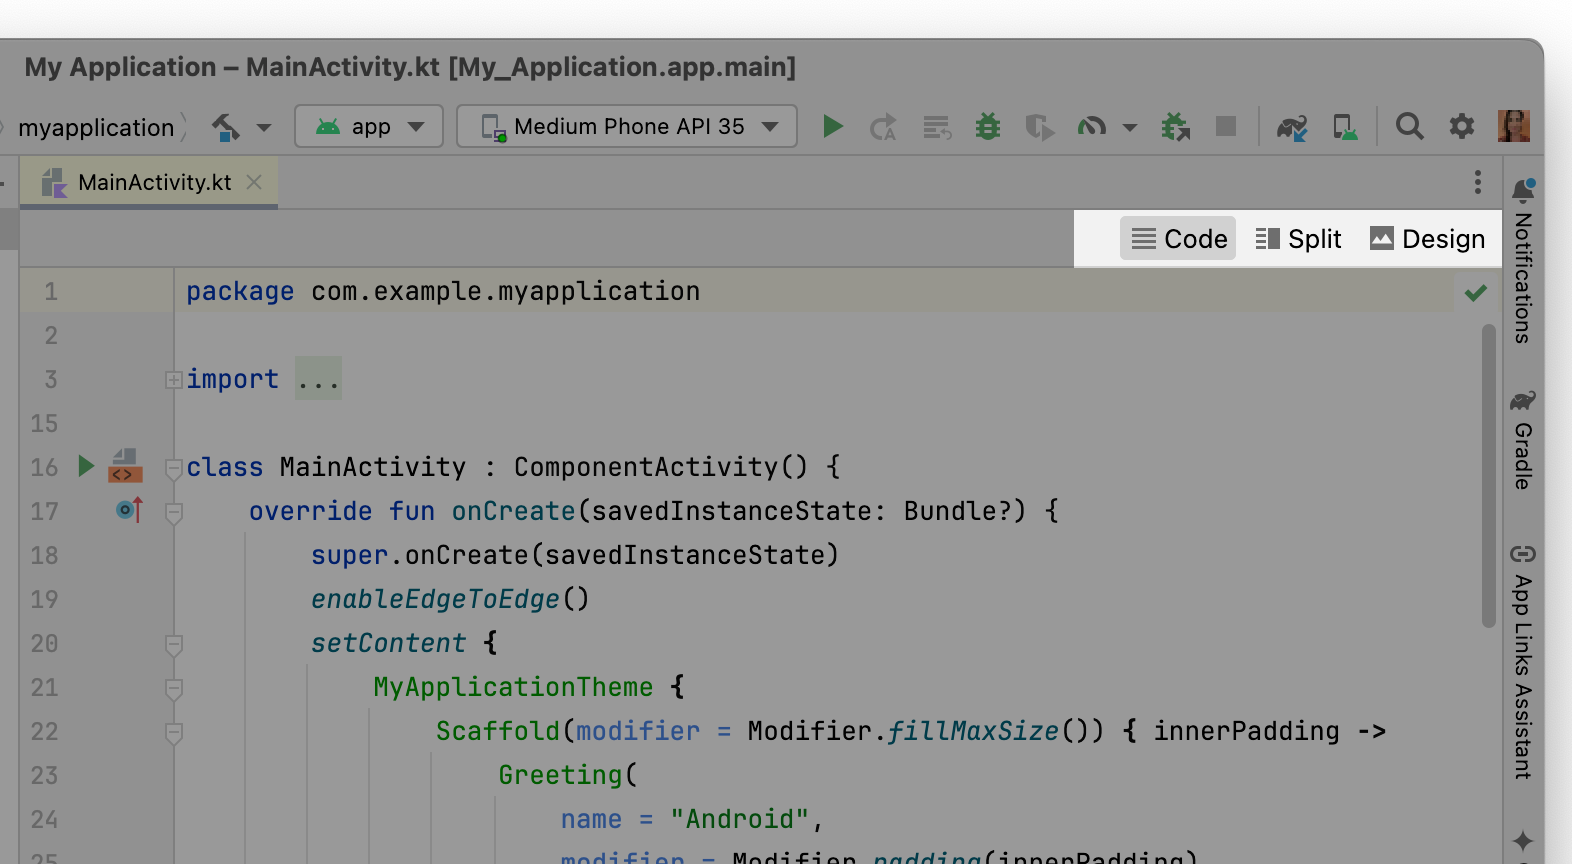
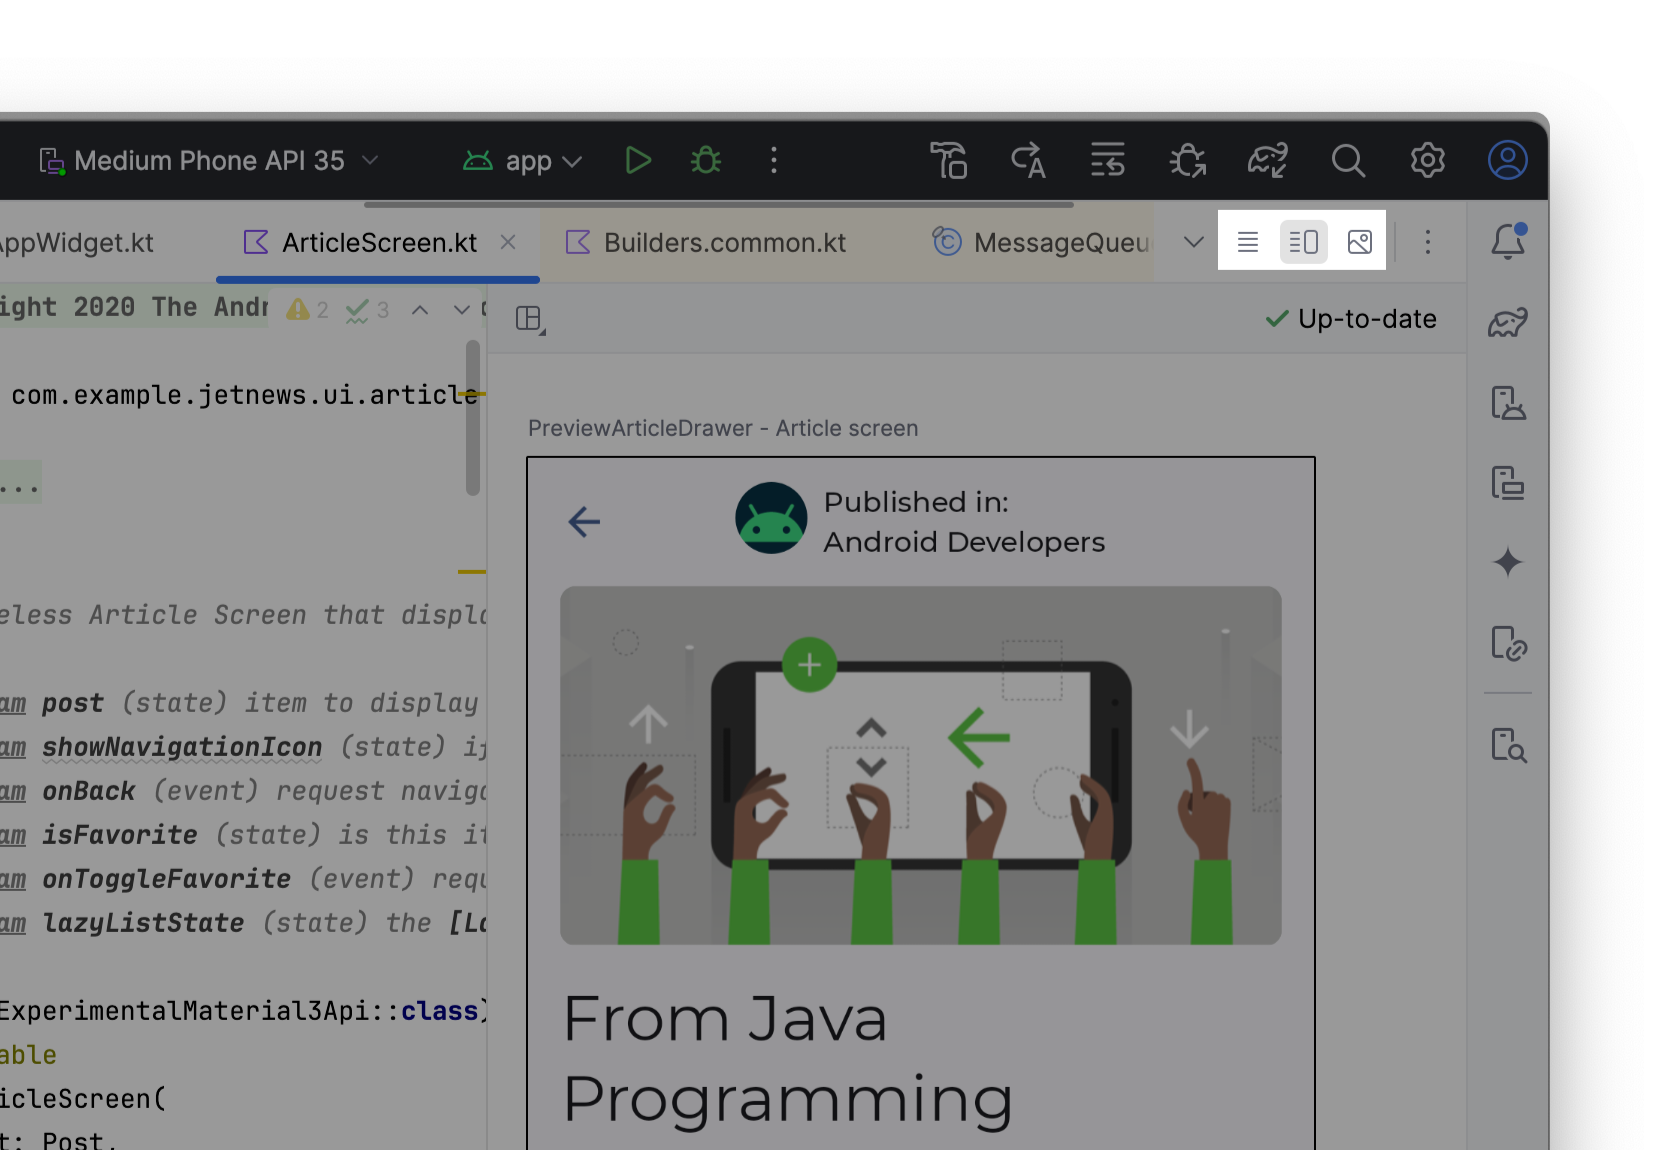
UI Tool Controls (Code/Split/Design) for both Compose and view-based previews now reside outside the editor tabs, offering easier access.
Navigation bar
The navigation bar displays the full path to your selected file. You can move the navigation bar to the top of the window by going to View > Appearance > Navigation Bar in the main menu.

Compact Mode
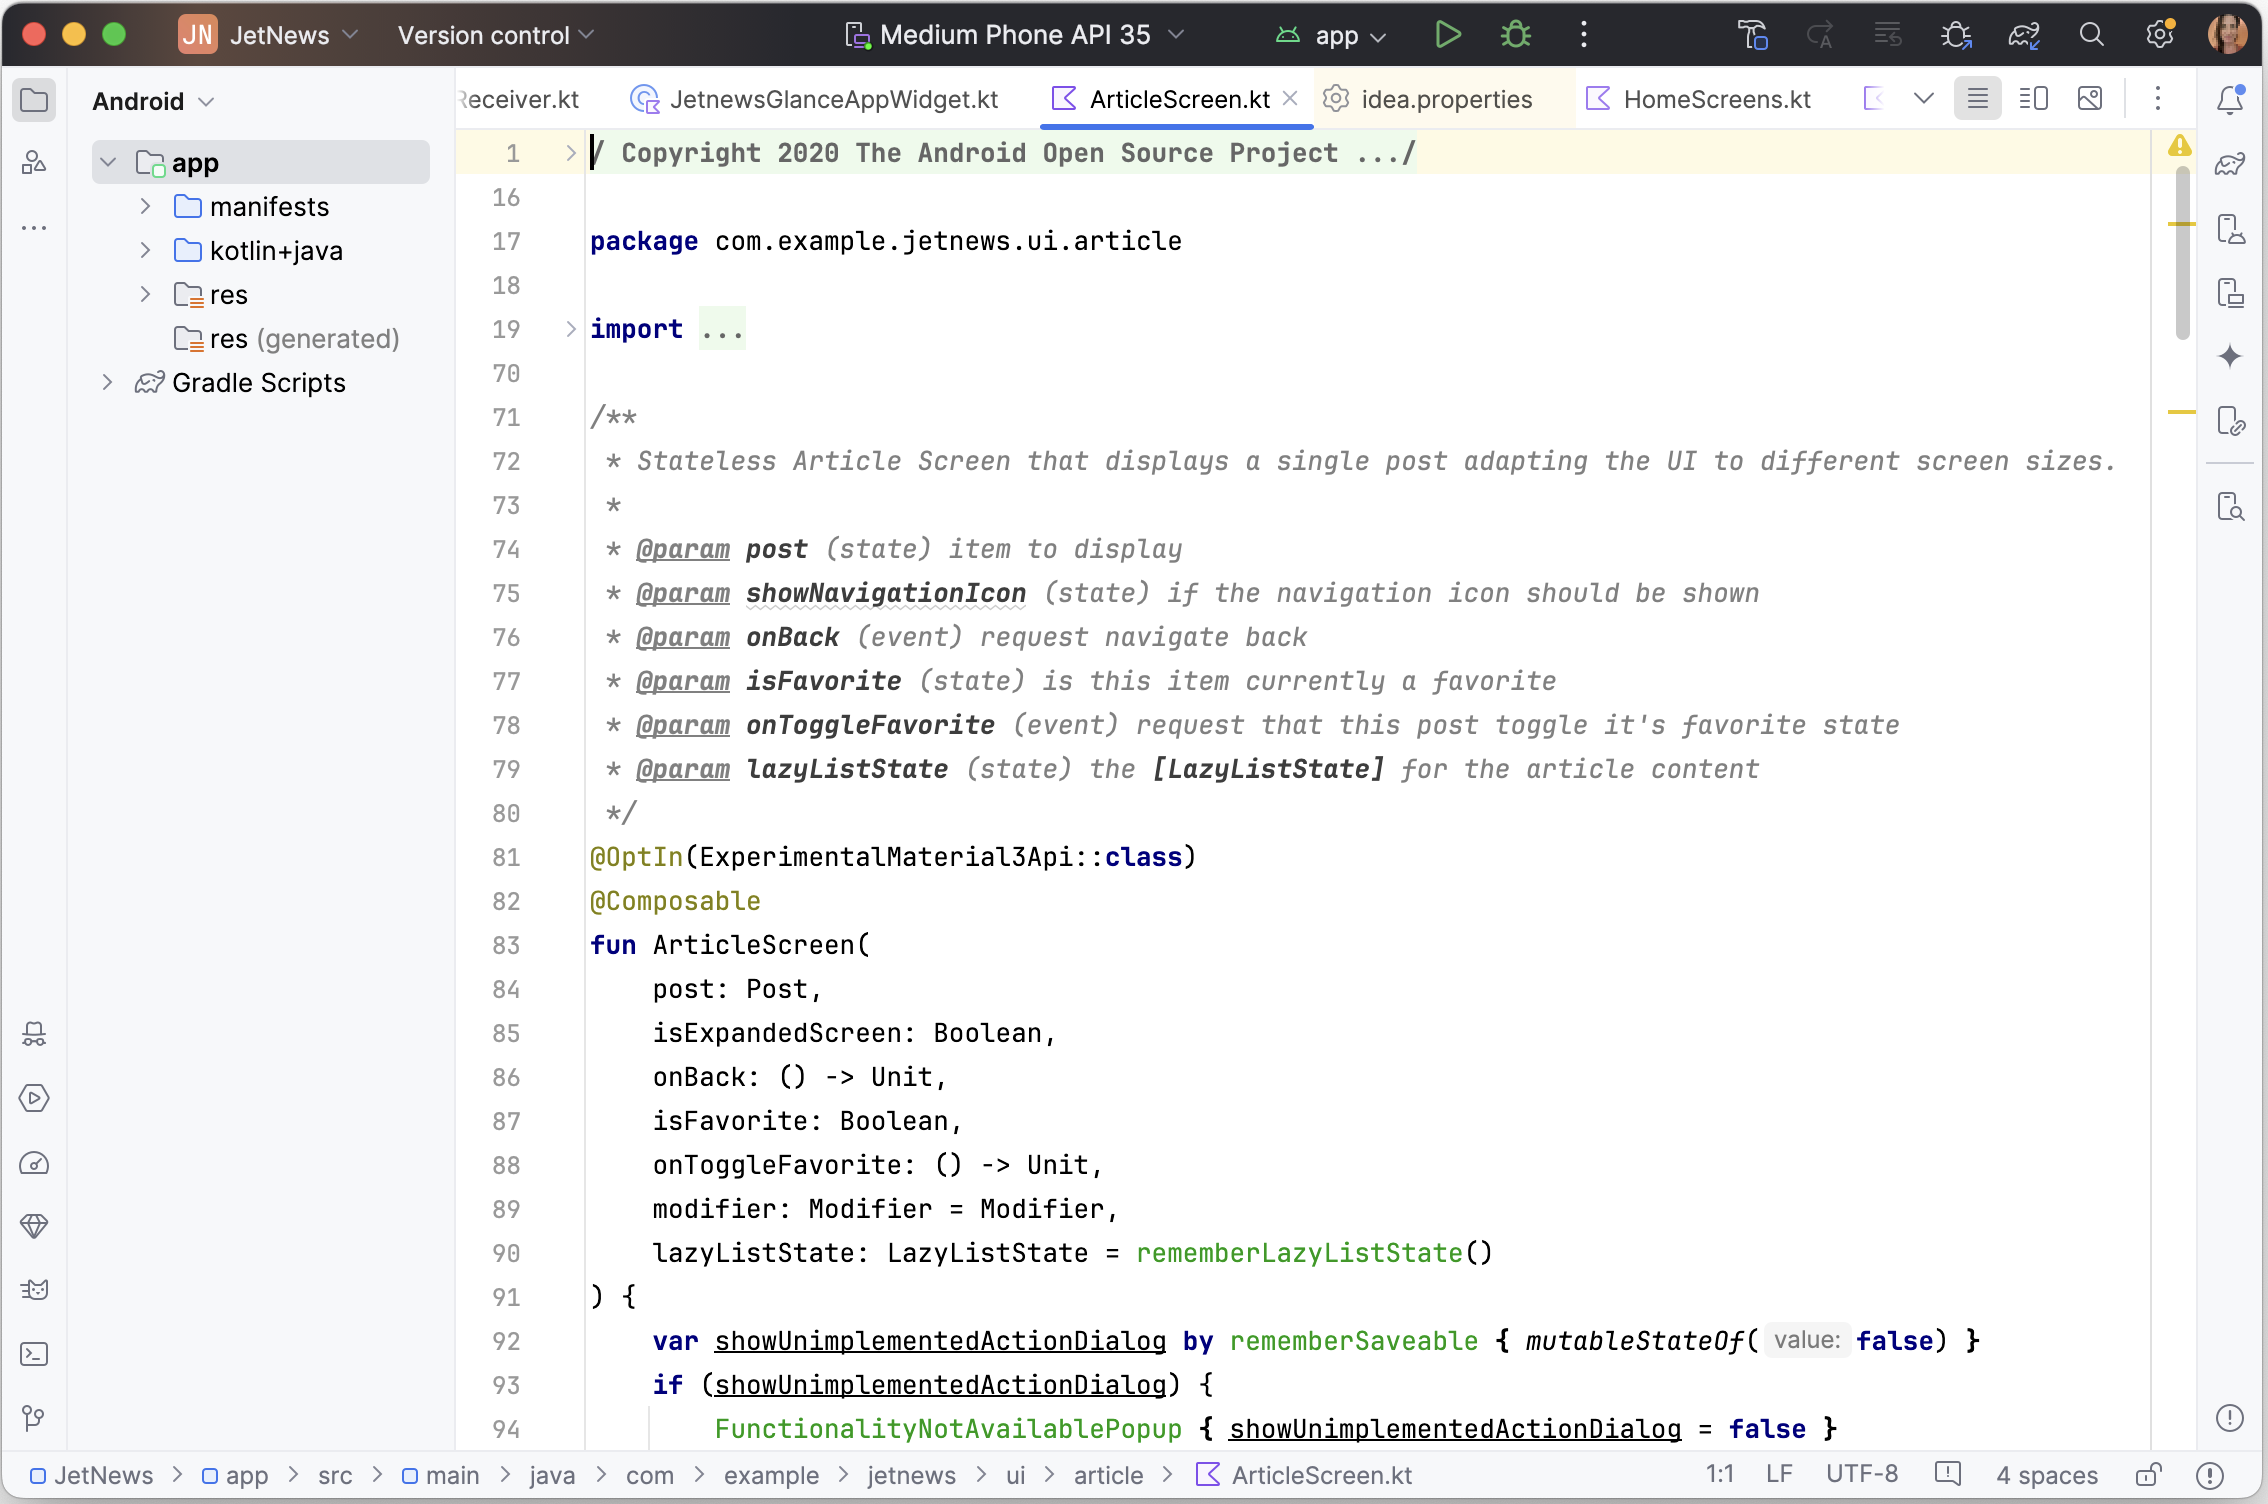
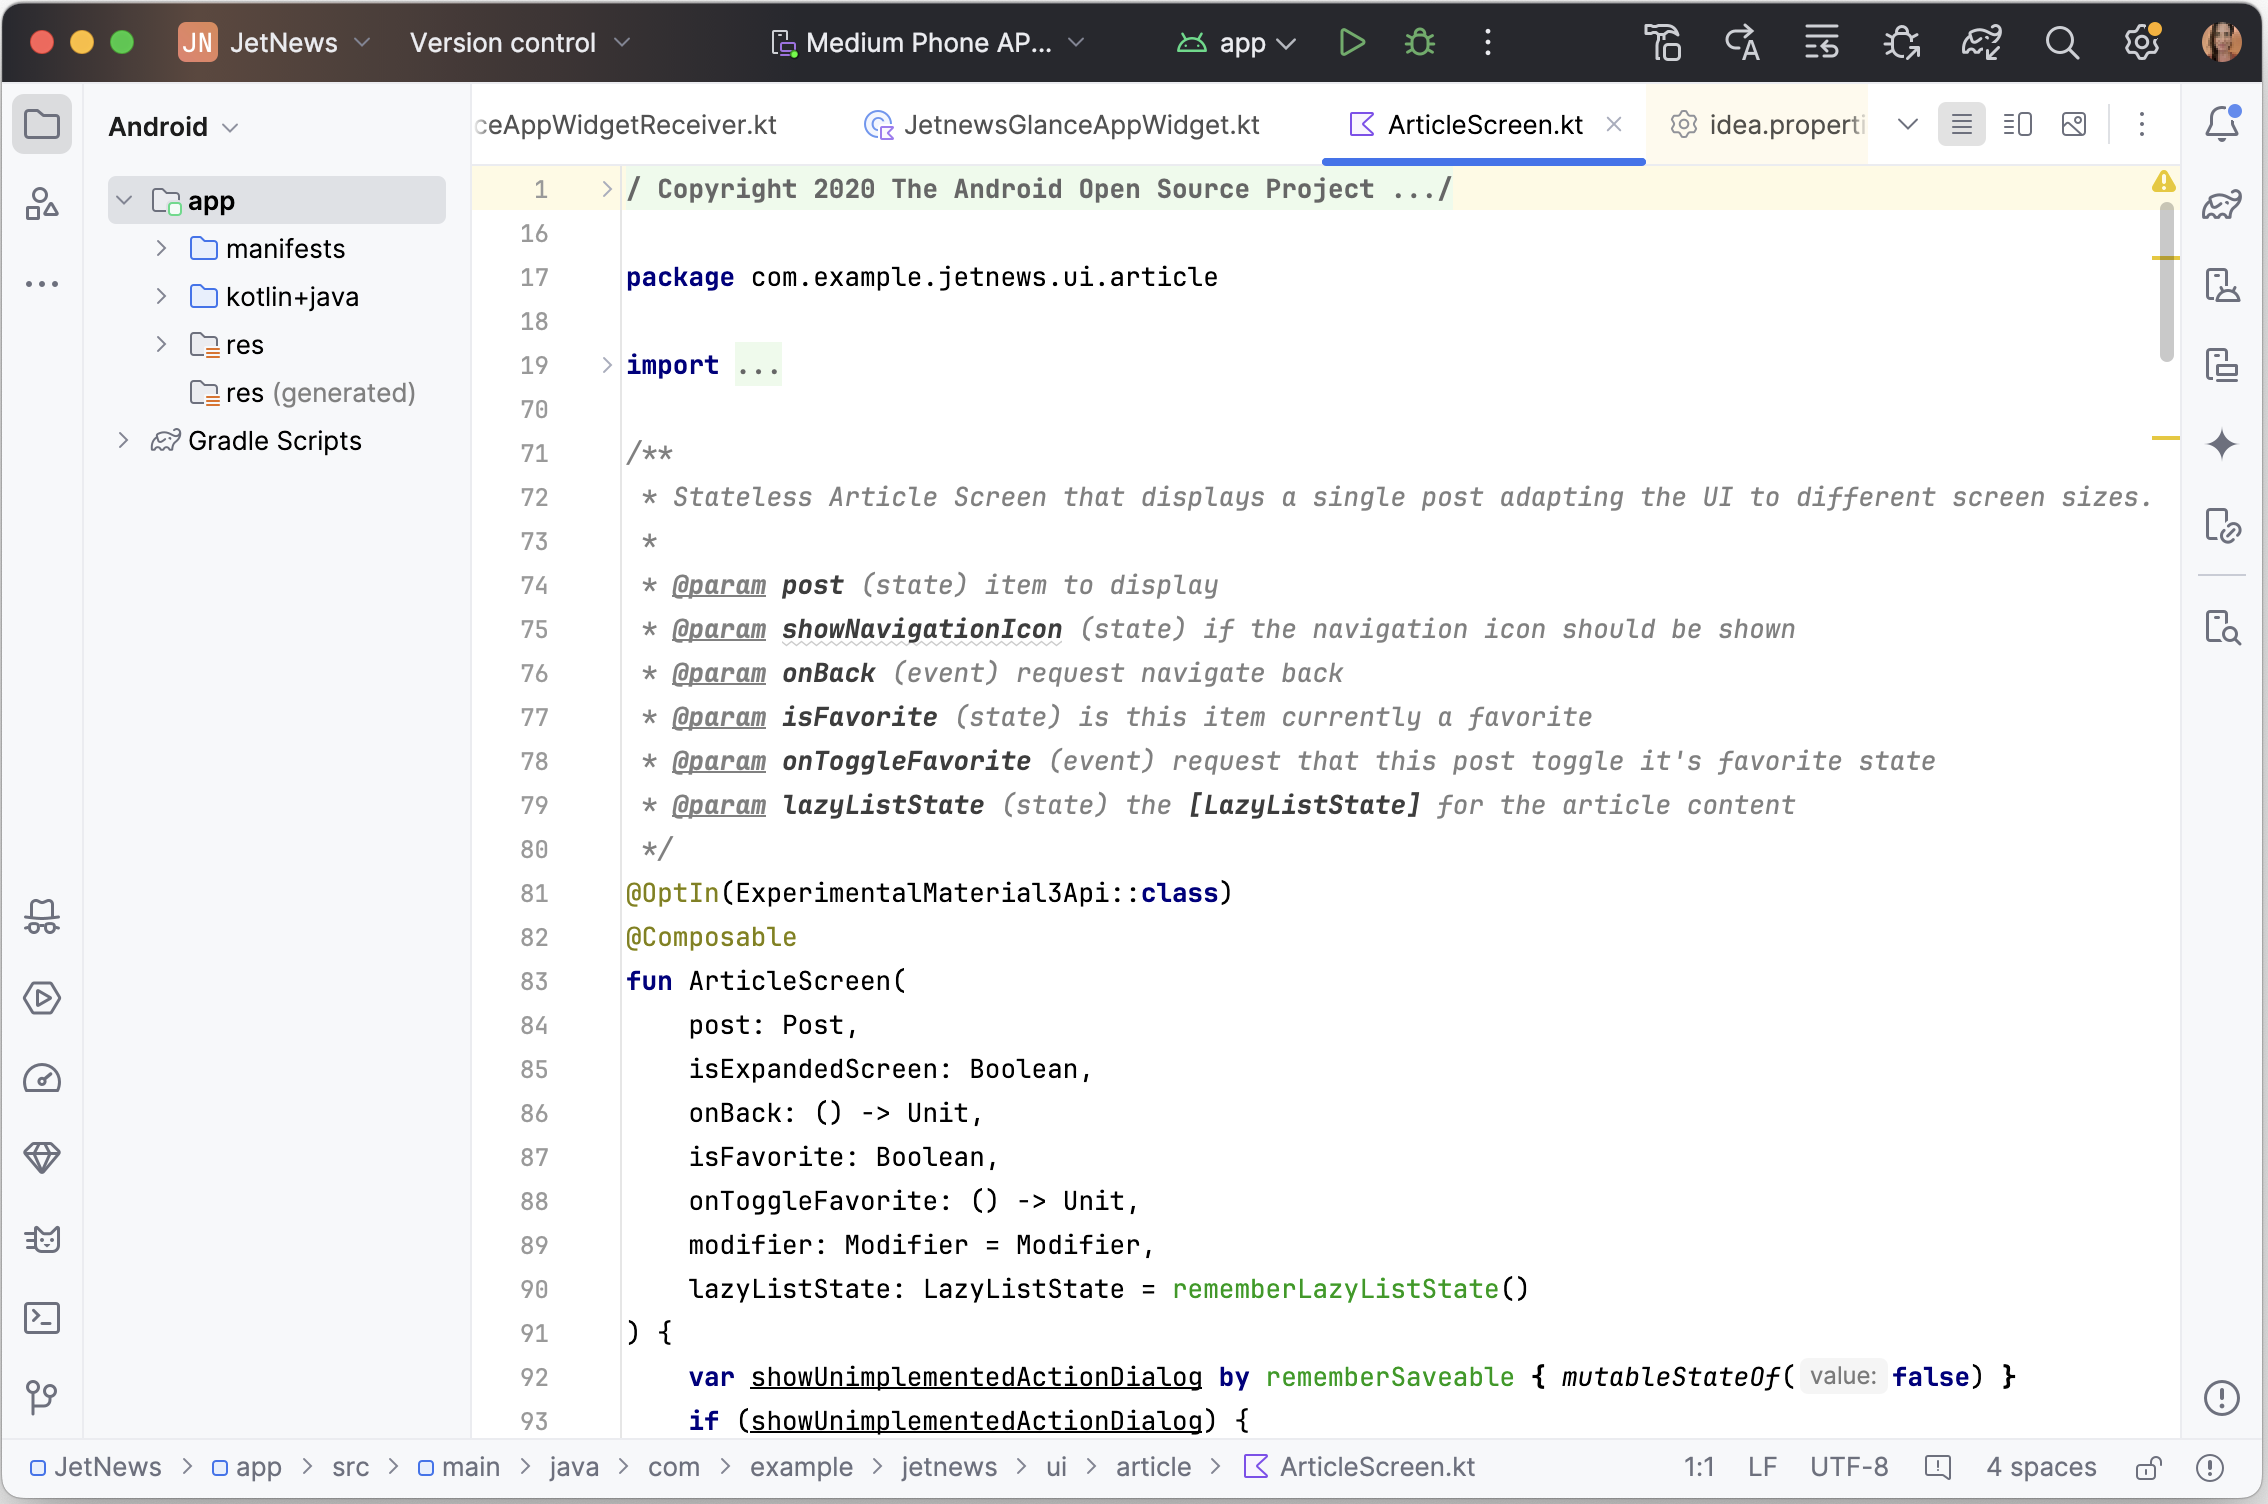
Designed for smaller screens, this mode makes the IDE more compact. Toolbars and headers are shorter, icons and buttons are smaller, and there's less space between elements.
On

Off

You can enable Compact Mode in either of the following ways:
- Navigate to View > Appearance > Compact Mode.
- Open the IDE settings, select Appearance and Behavior > Appearance, and enable the Compact mode option.
Continued support for Classic UI
Developers who prefer the Classic UI can access it through a plugin available on the JetBrains Marketplace. IntelliJ will continue to support the Classic UI plugin for at least one year to help ensure a smooth transition for all developers.
To learn more, see the announcement blog post from JetBrains.
