
功能块有助于用户快速访问完成各种任务所需的信息和操作。在表盘上滑动即可显示功能块轮播界面,再次滑动即可在功能块之间切换。功能块本身无法滚动。
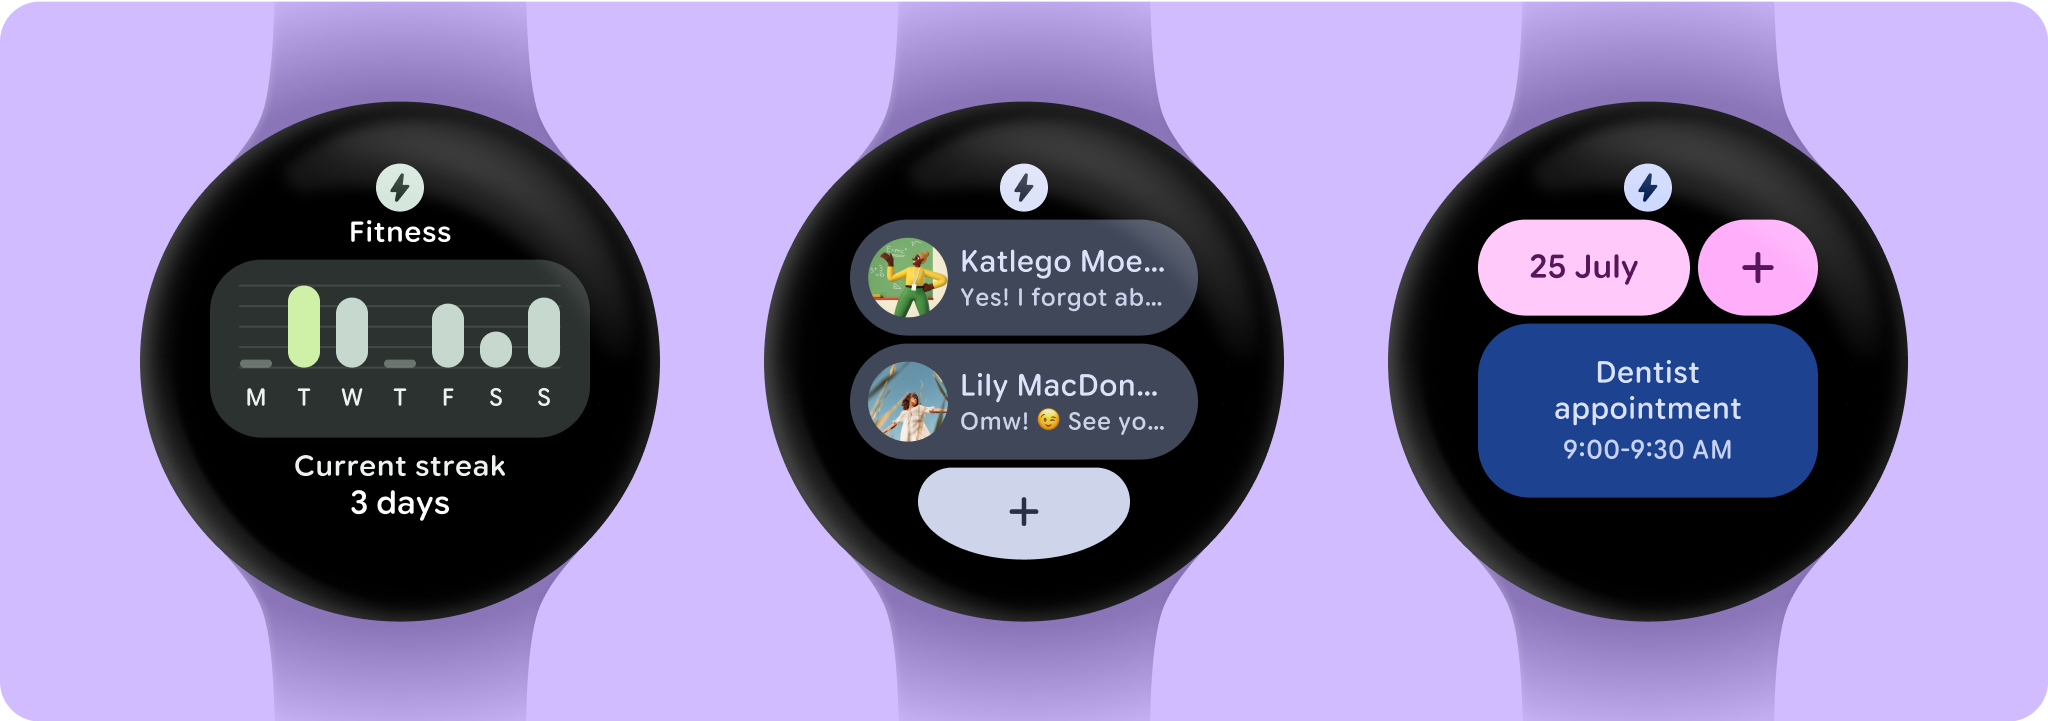
用户可以选择自己想看到的功能块。目前已有许多不同用途的功能块,可供用户查看天气、设置计时器、跟踪每日健身进度、快速开始锻炼、播放歌曲、浏览即将召开的会议,以及向收藏的联系人发送消息。
功能块是使用 Jetpack 的 protolayout 和 tiles 库以声明方式定义的,而不是使用 Compose(或 View)。由于功能块是在单独的远程环境中呈现的,因此需要采用不同的方法来加载、显示和更新其中的数据。由于其简单性,因此构建、测试和部署都非常简单。
核心原则
您可以使用 Wear OS 提供的功能块来显示少量关键信息,让用户可以在扫一眼功能块的几秒钟内,看完这些信息。如需为用户提供这种优质体验,请遵循以下最佳实践:
- 不要在功能块上放置过多内容。改为允许用户通过点按功能块在应用的另一个 surface 上了解详情并执行操作。请参阅添加(至少)一个容器。
- 以声明方式定义功能块的布局和内容。系统负责最终呈现。
- 请勿频繁提取内容,也不要在功能块服务中启动长时间运行的异步工作。如需执行可能需要一些时间才能完成的工作(例如网络调用),请使用 WorkManager 调度后台任务,并将结果缓存或存储在本地存储空间中。
为您推荐
- 注意:当 JavaScript 处于关闭状态时,系统会显示链接文字
- 在功能块中显示动态更新
- 迁移到 ProtoLayout 命名空间