ערכת Jetpack XR SDK כוללת כמה תכונות ושינויים שלא תואמים לכמה גרסאות ישנות יותר של Android Studio. כדי ליהנות מחוויית הפיתוח הטובה ביותר כשמפתחים אפליקציות ל-Android XR, מומלץ להשתמש בגרסת Canary העדכנית של Android Studio. יכול להיות שגרסאות אחרות לא יכללו כלים של Android XR. חשוב לזכור שאפשר להשאיר את הגרסה הקיימת של Android Studio מותקנת, כי אפשר להתקין כמה גרסאות זו לצד זו.
התקנה של Android Studio
כדי להוריד ולהגדיר את Android Studio ל-Android XR, פועלים לפי השלבים הבאים:
סוגרים את כל הגרסאות של Android Studio שכבר מותקנות.
מורידים את גרסת ה-Canary העדכנית של Android Studio, מחלצים אותה למיקום הרצוי ומפעילים את האפליקציה.
פועלים לפי הוראות ההתקנה באשף.
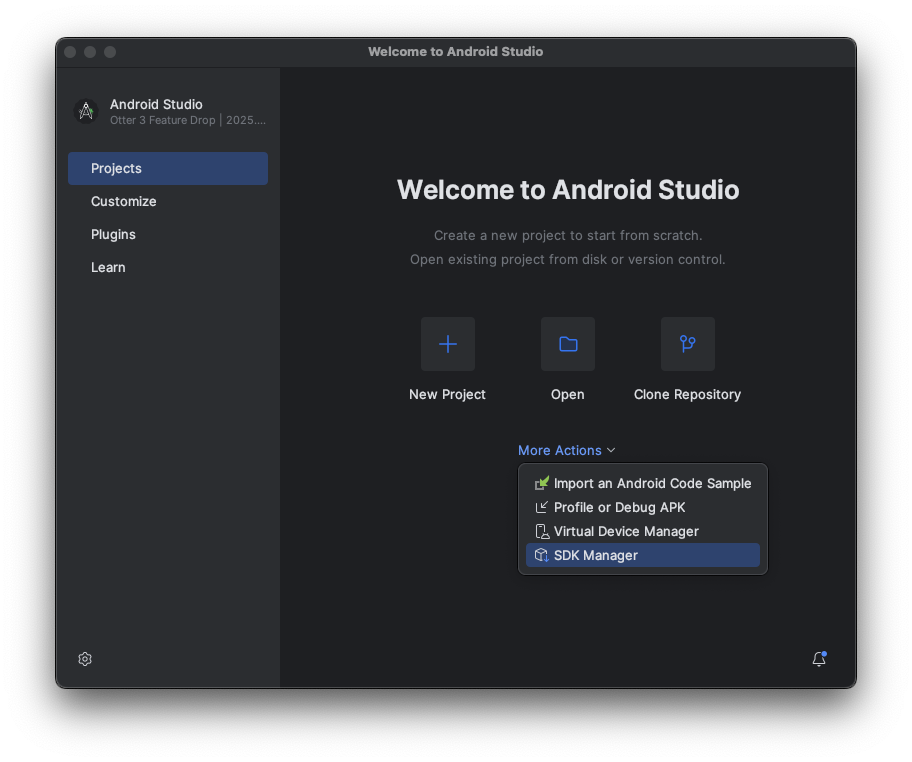
בתיבת הדו-שיח Welcome to Android Studio (ברוכים הבאים ל-Android Studio), לוחצים על More Actions (פעולות נוספות) ואז בוחרים באפשרות SDK Manager (כלי לניהול SDK).
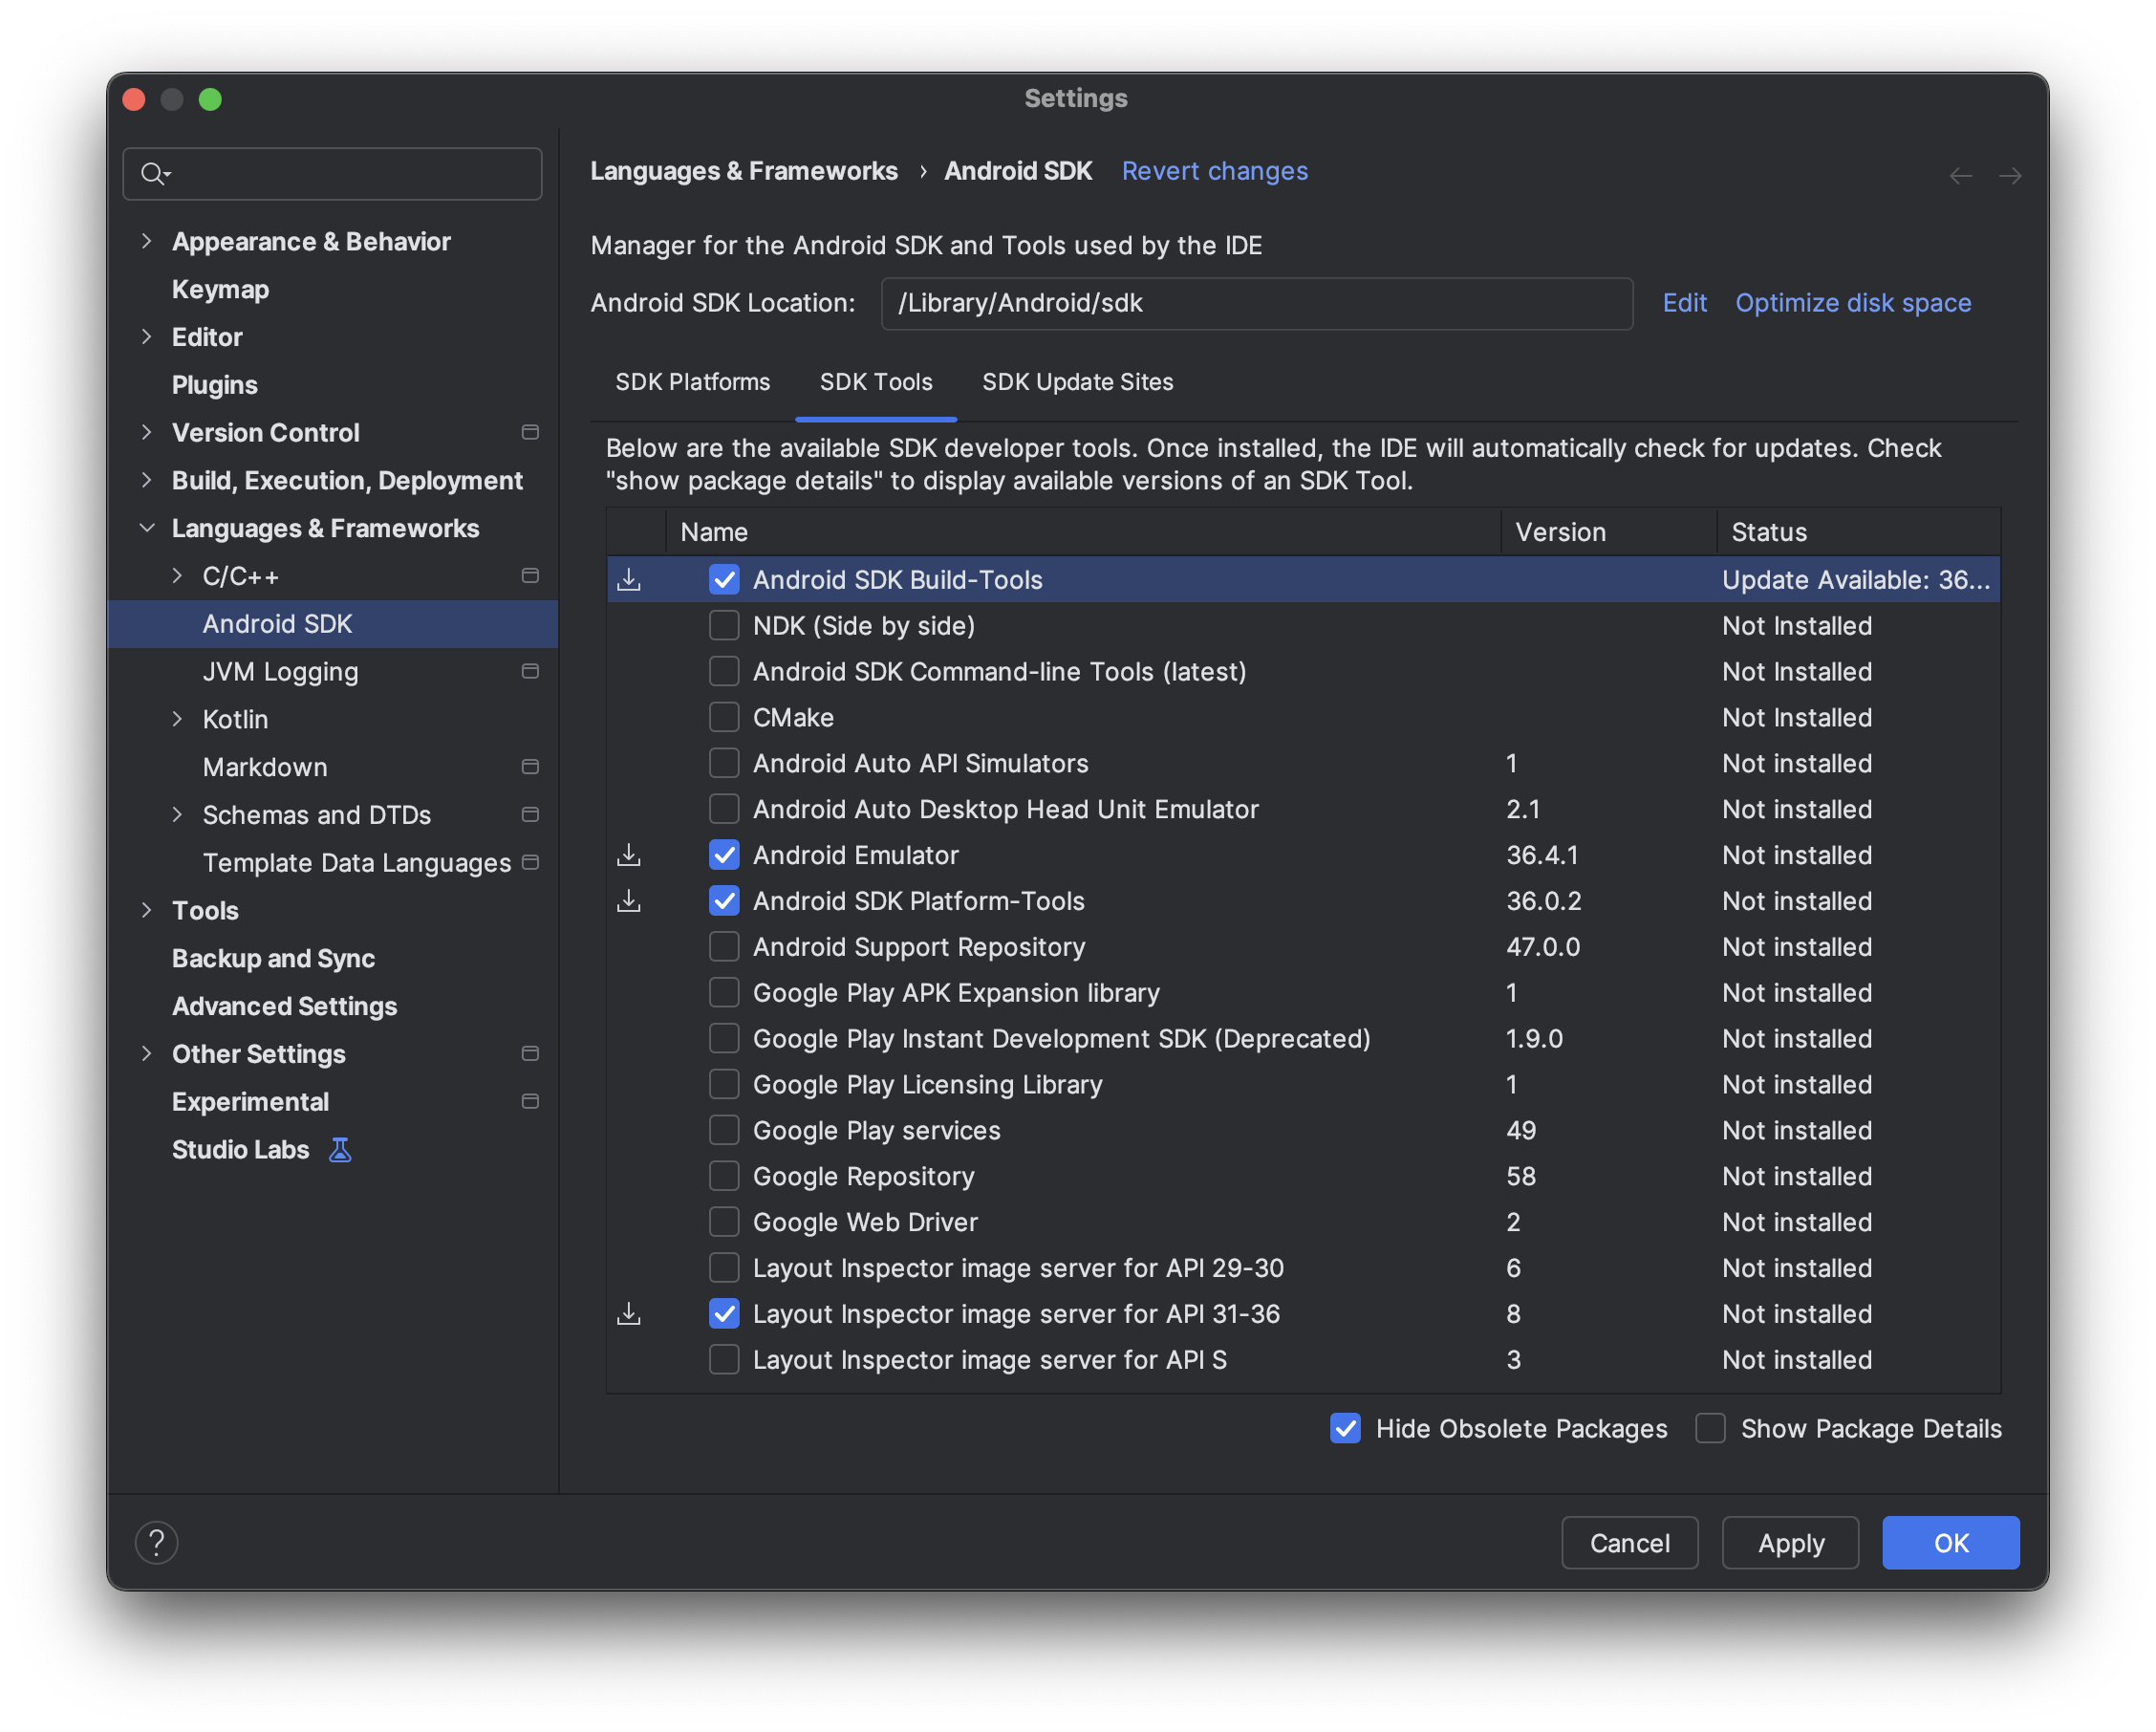
בהגדרות של Android SDK, לוחצים על הכרטיסייה SDK Tools ובוחרים את הכלים הבאים להתקנה:
- Android SDK Build-Tools
- Android Emulator
- Android SDK Platform-Tools
- Layout Inspector ל-API 31 עד API 36
יצירת מכשירים וירטואליים להפעלה ב-Android XR Emulator
כדי לראות איך חוויית השימוש באפליקציה נראית ומתנהגת בסוגים שונים של מכשירי XR, אפשר להריץ את האפליקציה במכשירי XR וירטואליים באמולטור Android XR. בקישורים הבאים מוסבר איך להגדיר את האמולטור לסוגים שונים של מכשירי XR וירטואליים:
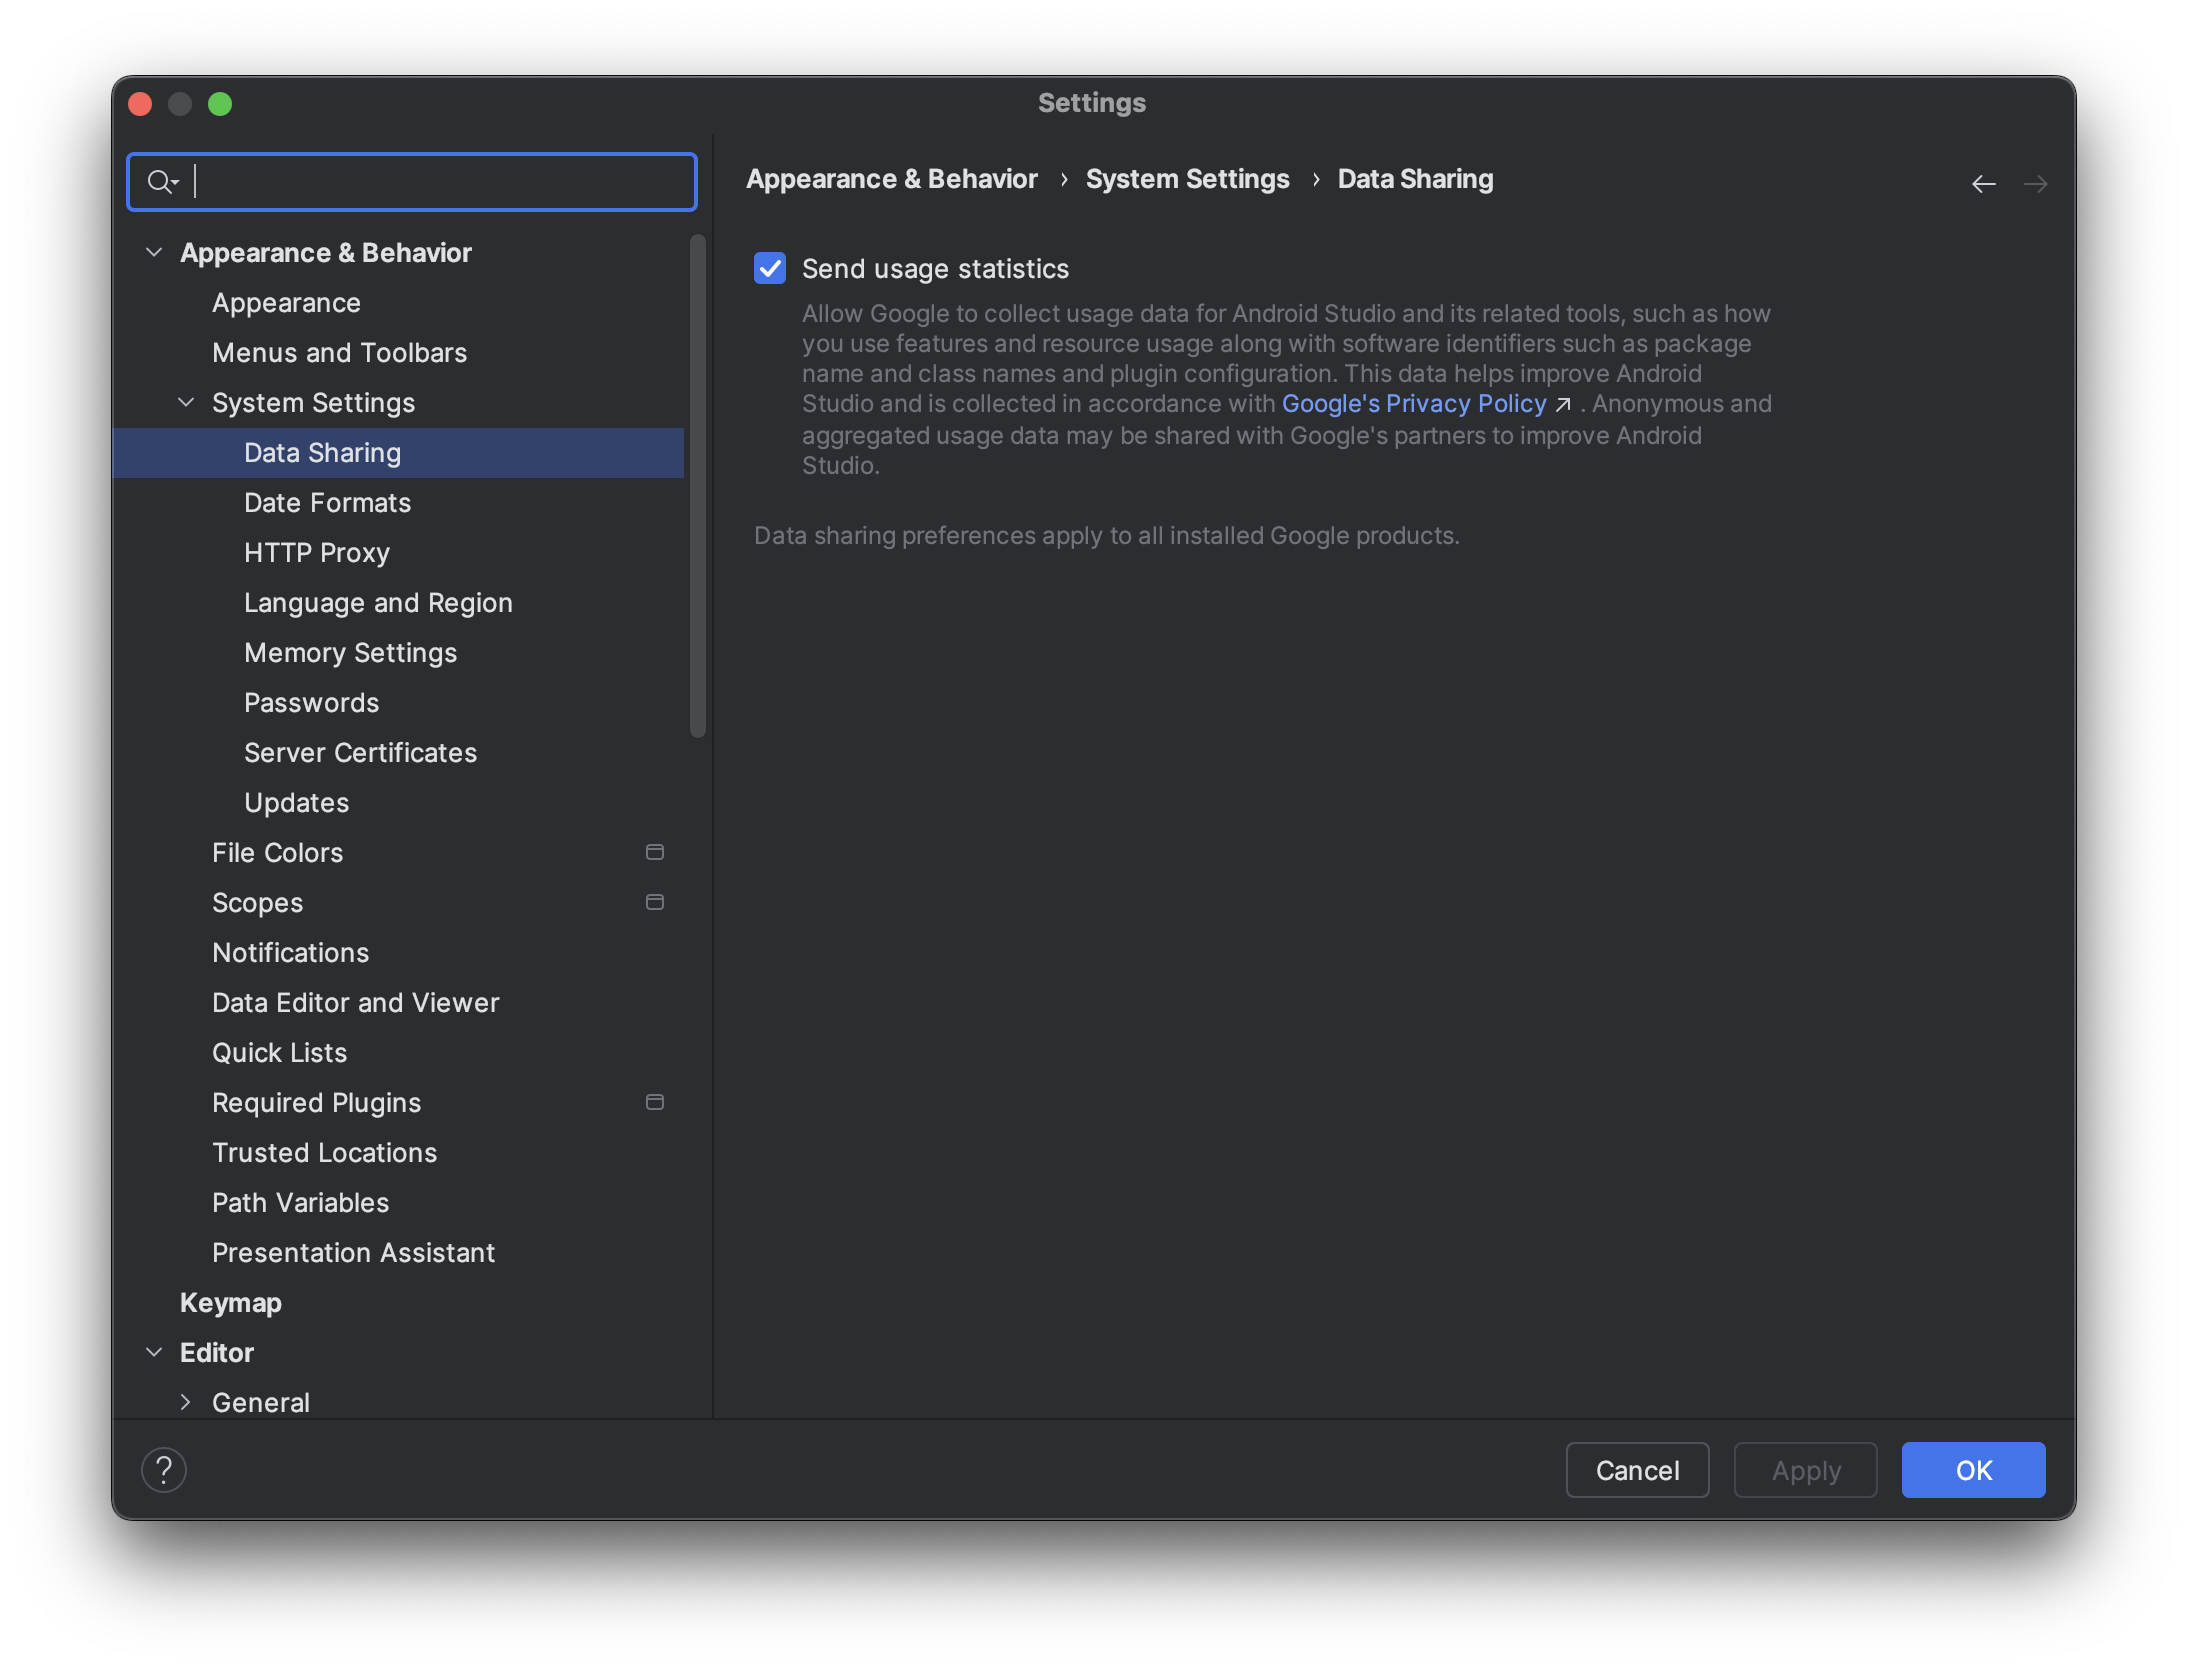
הפעלת נתוני שימוש כדי לעזור בשיפור Android Studio ל-XR (אופציונלי)
מכיוון שזוהי גרסת Canary של Android Studio, הרבה מהתכונות עדיין נמצאות בשלבי פיתוח. כדאי להפעיל את נתוני השימוש ולשלוח משוב כדי לעזור לנו לשפר את הכלים האלה.
כדי להפעיל את נתוני השימוש:
- לוחצים על הגדרות > מראה והתנהגות > הגדרות מערכת > שיתוף נתונים.
בוחרים באפשרות שליחת נתוני שימוש.