

Compose มีกลไกภาพเคลื่อนไหวในตัวมากมาย และอาจเป็นเรื่องยากที่จะทราบว่าควรเลือกกลไกใด ต่อไปนี้คือรายการกรณีการใช้งานภาพเคลื่อนไหวที่พบบ่อย ดูข้อมูลโดยละเอียดเพิ่มเติมเกี่ยวกับตัวเลือก API ต่างๆ ทั้งหมดที่มีให้คุณได้ที่เอกสารประกอบเกี่ยวกับ Compose Animation ฉบับเต็ม
สร้างภาพเคลื่อนไหวให้กับพร็อพเพอร์ตี้ Composable ทั่วไป
Compose มี API ที่สะดวกซึ่งช่วยให้คุณแก้ปัญหา Use Case ของภาพเคลื่อนไหวที่พบบ่อยได้หลายกรณี ส่วนนี้จะสาธิตวิธีทำให้พร็อพเพอร์ตี้ทั่วไปของ Composable เคลื่อนไหว
ทำให้การปรากฏ/หายไปเคลื่อนไหว
ใช้ AnimatedVisibility เพื่อซ่อนหรือแสดง Composable เด็กๆ ที่อยู่ในAnimatedVisibilityสามารถใช้Modifier.animateEnterExit()เพื่อเข้าหรือออกได้ด้วยตนเอง
var visible by remember { mutableStateOf(true) } // Animated visibility will eventually remove the item from the composition once the animation has finished. AnimatedVisibility(visible) { // your composable here // ... }
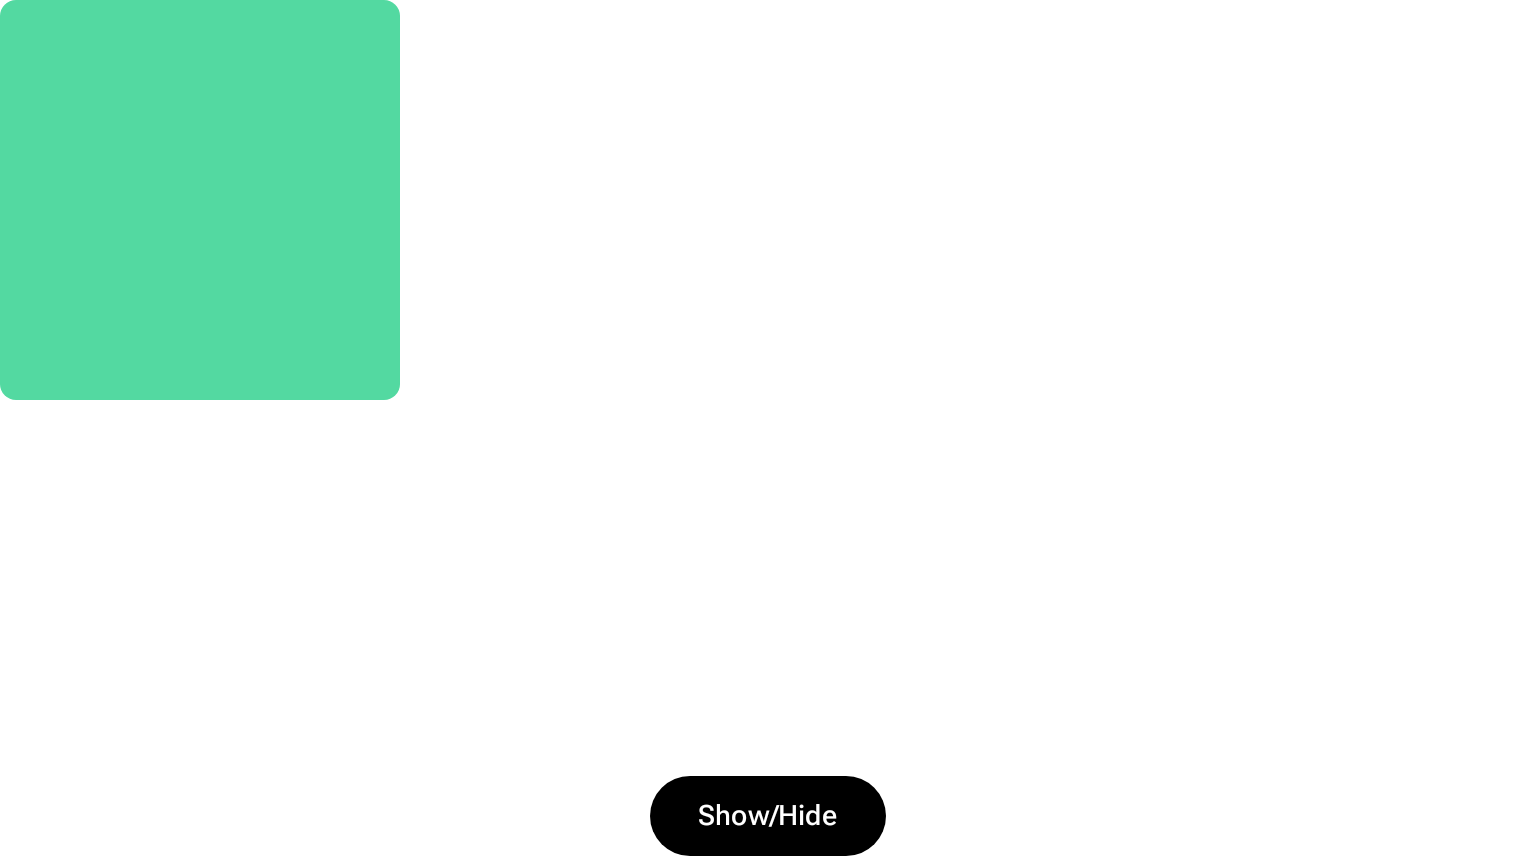
พารามิเตอร์ enter และ exit ของ AnimatedVisibility ช่วยให้คุณกำหนดค่าลักษณะการทำงานของ Composable เมื่อปรากฏและหายไปได้ อ่านเอกสารประกอบฉบับเต็มเพื่อดูข้อมูลเพิ่มเติม
อีกตัวเลือกหนึ่งสำหรับการทำให้ระดับการมองเห็นของ Composable เคลื่อนไหวคือการทำให้ค่าอัลฟ่าเคลื่อนไหวเมื่อเวลาผ่านไปโดยใช้ animateFloatAsState
var visible by remember { mutableStateOf(true) } val animatedAlpha by animateFloatAsState( targetValue = if (visible) 1.0f else 0f, label = "alpha" ) Box( modifier = Modifier .size(200.dp) .graphicsLayer { alpha = animatedAlpha } .clip(RoundedCornerShape(8.dp)) .background(colorGreen) .align(Alignment.TopCenter) ) { }
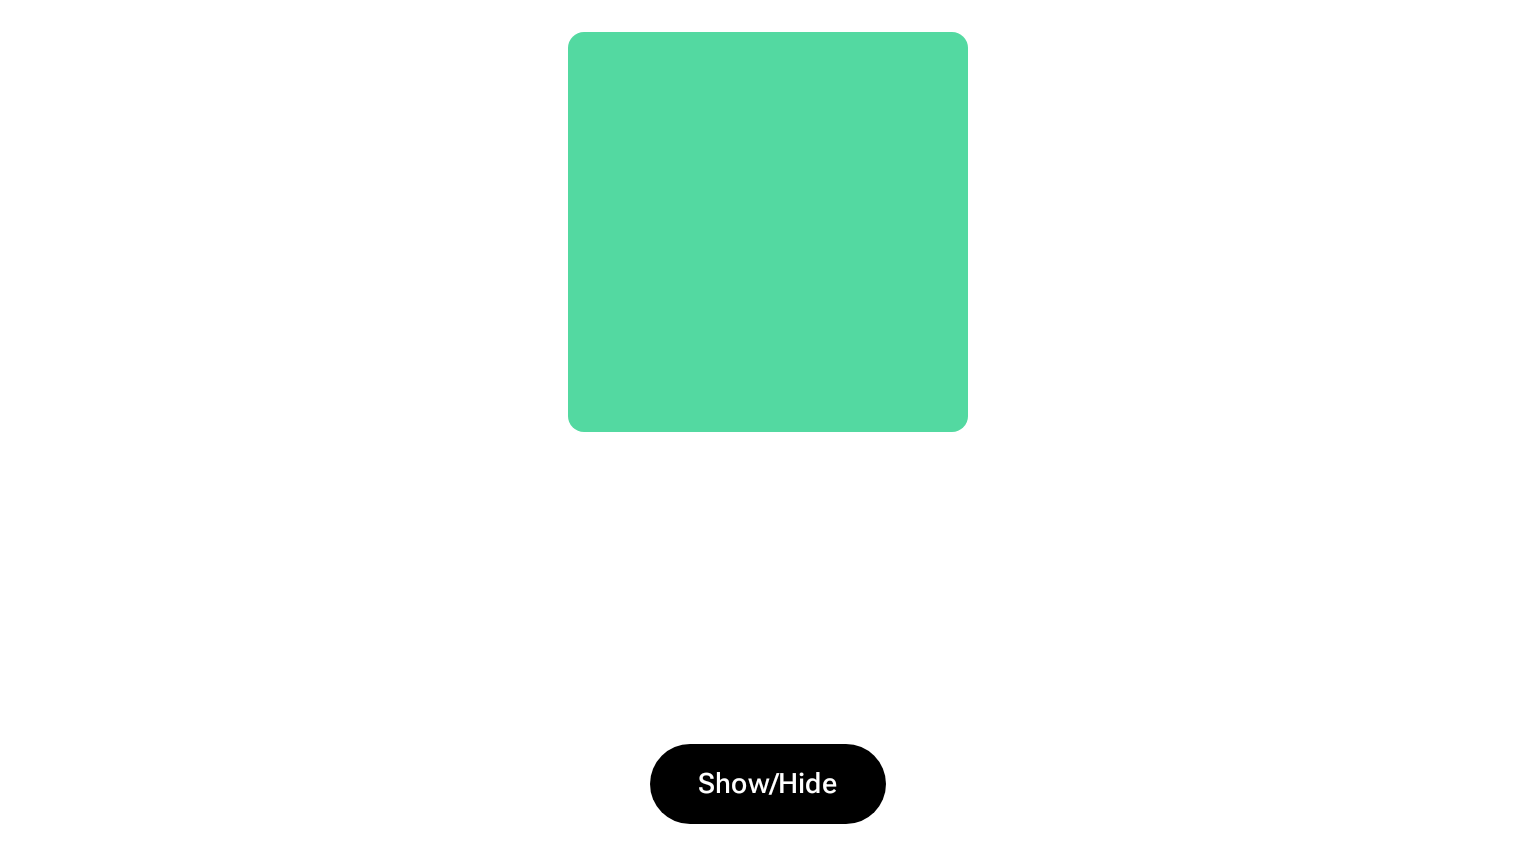
อย่างไรก็ตาม การเปลี่ยนอัลฟ่ามาพร้อมกับข้อควรระวังที่ว่า Composable จะยังคงอยู่ในองค์ประกอบและยังคงใช้พื้นที่ที่จัดวางไว้ต่อไป ซึ่งอาจทำให้โปรแกรมอ่านหน้าจอและกลไกการช่วยเหลือพิเศษอื่นๆ ยังคงพิจารณารายการบนหน้าจออยู่ ในทางกลับกัน AnimatedVisibility จะนำรายการออกจาก Composition ในที่สุด
ทำให้สีพื้นหลังเคลื่อนไหว
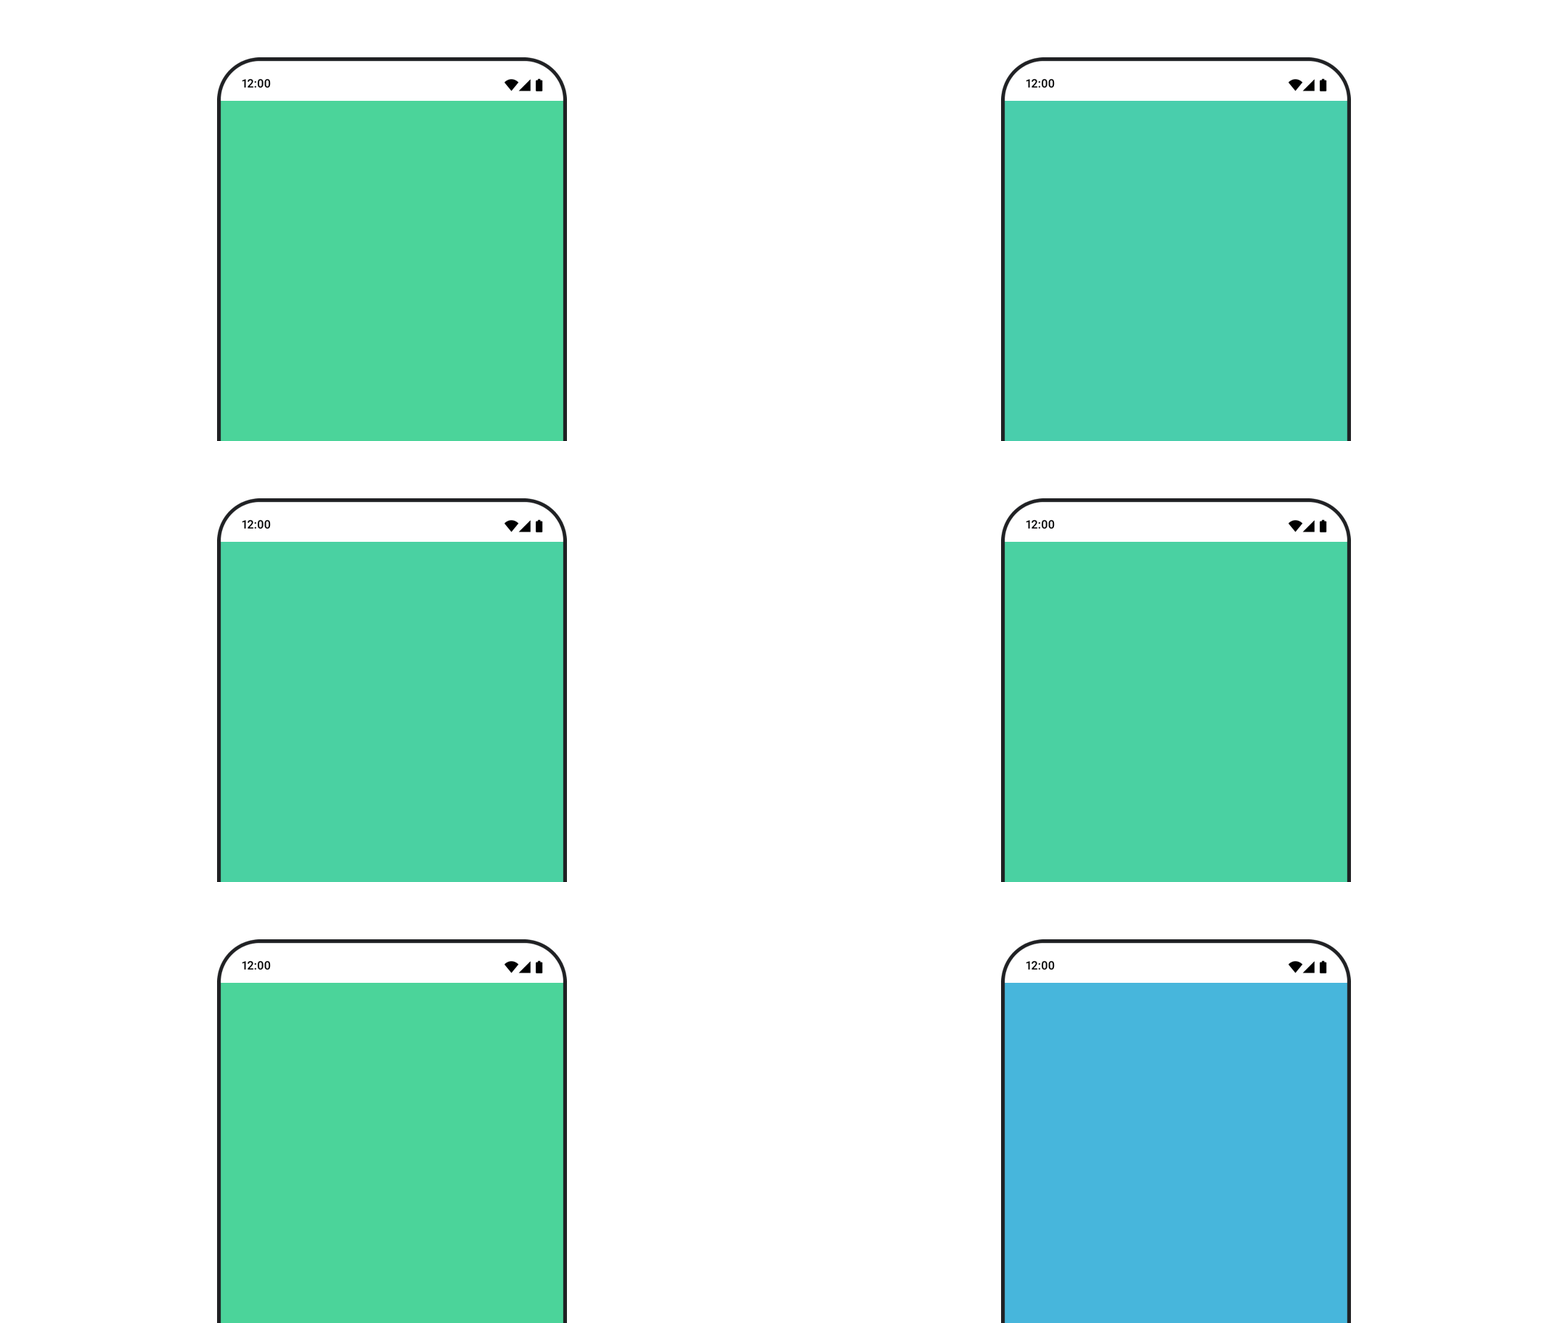
val animatedColor by animateColorAsState( if (animateBackgroundColor) colorGreen else colorBlue, label = "color" ) Column( modifier = Modifier.drawBehind { drawRect(animatedColor) } ) { // your composable here }
ตัวเลือกนี้มีประสิทธิภาพมากกว่าการใช้ Modifier.background()
Modifier.background() เป็นค่าที่ยอมรับได้สำหรับการตั้งค่าสีแบบครั้งเดียว แต่เมื่อสร้างภาพเคลื่อนไหวของสีเมื่อเวลาผ่านไป อาจทำให้เกิดการจัดองค์ประกอบใหม่มากกว่าที่จำเป็น
หากต้องการสร้างภาพเคลื่อนไหวสีพื้นหลังแบบไม่สิ้นสุด โปรดดูส่วนการทำซ้ำภาพเคลื่อนไหว
ทำให้ขนาดของ Composable เคลื่อนไหว
Compose ช่วยให้คุณสร้างภาพเคลื่อนไหวขนาดของ Composable ได้หลายวิธี ใช้ animateContentSize() สำหรับภาพเคลื่อนไหวระหว่างการเปลี่ยนแปลงขนาดที่ประกอบกันได้
ตัวอย่างเช่น หากคุณมีกล่องที่มีข้อความซึ่งสามารถขยายจากบรรทัดเดียวเป็นหลายบรรทัด คุณสามารถใช้ Modifier.animateContentSize() เพื่อให้การเปลี่ยนภาพราบรื่นขึ้นได้ ดังนี้
var expanded by remember { mutableStateOf(false) } Box( modifier = Modifier .background(colorBlue) .animateContentSize() .height(if (expanded) 400.dp else 200.dp) .fillMaxWidth() .clickable( interactionSource = remember { MutableInteractionSource() }, indication = null ) { expanded = !expanded } ) { }
คุณยังใช้ AnimatedContent กับ SizeTransform เพื่ออธิบายวิธีที่ควรเปลี่ยนแปลงขนาดได้ด้วย
ทำให้ตำแหน่งของ Composable เคลื่อนไหว
หากต้องการทำให้ตำแหน่งของ Composable เคลื่อนไหว ให้ใช้ Modifier.offset{ } ร่วมกับ animateIntOffsetAsState()
var moved by remember { mutableStateOf(false) } val pxToMove = with(LocalDensity.current) { 100.dp.toPx().roundToInt() } val offset by animateIntOffsetAsState( targetValue = if (moved) { IntOffset(pxToMove, pxToMove) } else { IntOffset.Zero }, label = "offset" ) Box( modifier = Modifier .offset { offset } .background(colorBlue) .size(100.dp) .clickable( interactionSource = remember { MutableInteractionSource() }, indication = null ) { moved = !moved } )

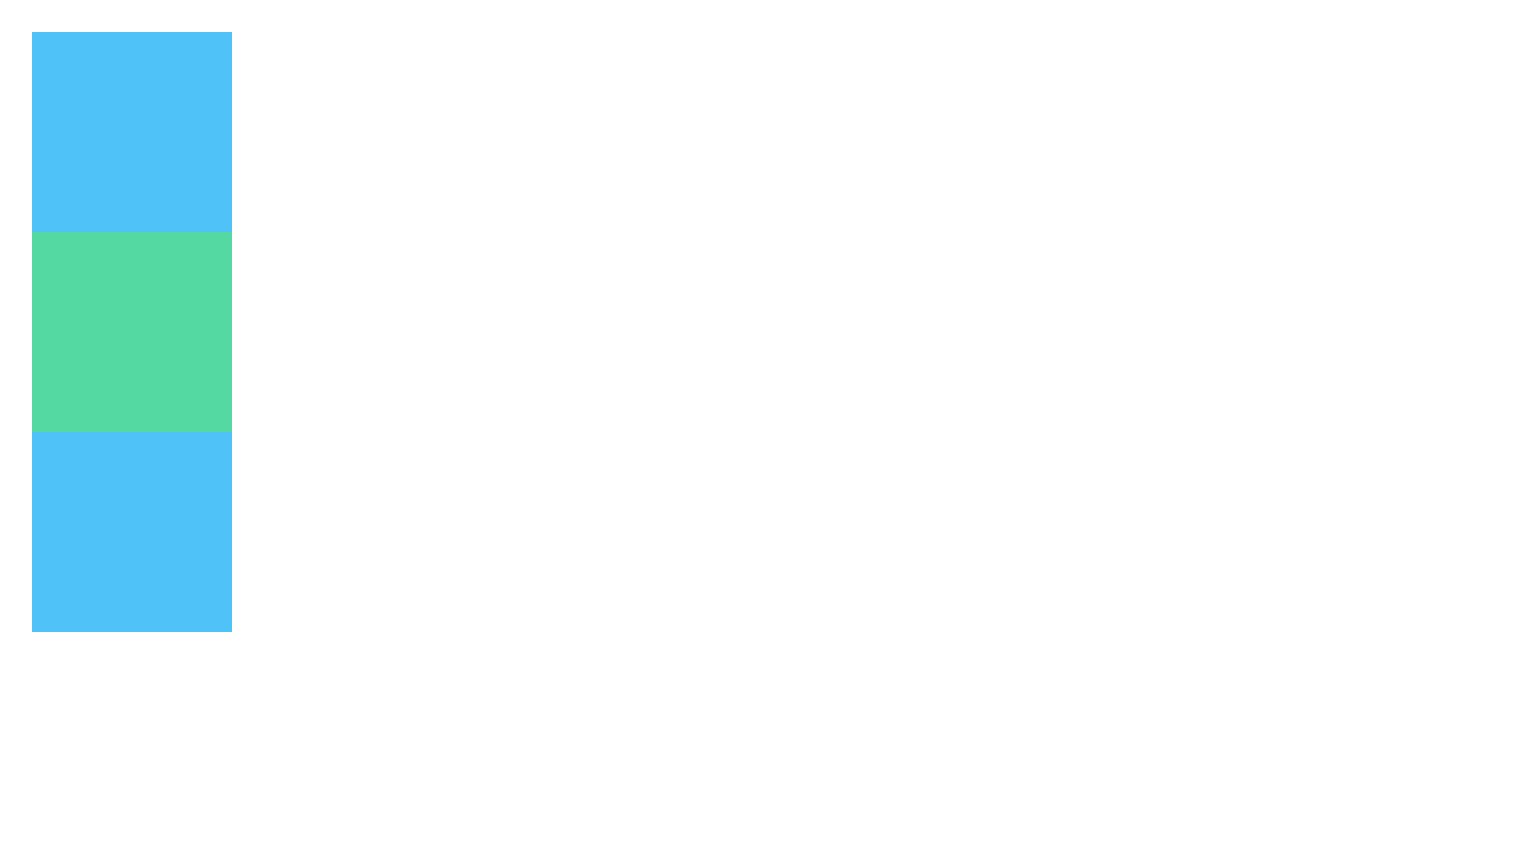
หากต้องการตรวจสอบว่าคอมโพสิเบิลไม่ได้วาดทับหรืออยู่ใต้คอมโพสิเบิลอื่นๆ เมื่อสร้างภาพเคลื่อนไหวตำแหน่งหรือขนาด ให้ใช้ Modifier.layout{ } ตัวแก้ไขนี้จะเผยแพร่การเปลี่ยนแปลงขนาดและตำแหน่งไปยังองค์ประกอบหลัก ซึ่งจะส่งผลต่อองค์ประกอบย่อยอื่นๆ
ตัวอย่างเช่น หากคุณกำลังย้าย Box ภายใน Column และองค์ประกอบย่อยอื่นๆ ต้องย้ายเมื่อ Box ย้าย ให้ใส่ข้อมูลออฟเซ็ตด้วย Modifier.layout{ } ดังนี้
var toggled by remember { mutableStateOf(false) } val interactionSource = remember { MutableInteractionSource() } Column( modifier = Modifier .padding(16.dp) .fillMaxSize() .clickable(indication = null, interactionSource = interactionSource) { toggled = !toggled } ) { val offsetTarget = if (toggled) { IntOffset(150, 150) } else { IntOffset.Zero } val offset = animateIntOffsetAsState( targetValue = offsetTarget, label = "offset" ) Box( modifier = Modifier .size(100.dp) .background(colorBlue) ) Box( modifier = Modifier .layout { measurable, constraints -> val offsetValue = if (isLookingAhead) offsetTarget else offset.value val placeable = measurable.measure(constraints) layout(placeable.width + offsetValue.x, placeable.height + offsetValue.y) { placeable.placeRelative(offsetValue) } } .size(100.dp) .background(colorGreen) ) Box( modifier = Modifier .size(100.dp) .background(colorBlue) ) }
Modifier.layout{ }ทำให้ระยะห่างจากขอบของ Composable เคลื่อนไหว
หากต้องการทำให้ระยะห่างจากขอบของ Composable เคลื่อนไหว ให้ใช้ animateDpAsState ร่วมกับ Modifier.padding() ดังนี้
var toggled by remember { mutableStateOf(false) } val animatedPadding by animateDpAsState( if (toggled) { 0.dp } else { 20.dp }, label = "padding" ) Box( modifier = Modifier .aspectRatio(1f) .fillMaxSize() .padding(animatedPadding) .background(Color(0xff53D9A1)) .clickable( interactionSource = remember { MutableInteractionSource() }, indication = null ) { toggled = !toggled } )

สร้างภาพเคลื่อนไหวระดับความสูงของ Composable
หากต้องการทำให้ระดับความสูงของ Composable เคลื่อนไหว ให้ใช้ animateDpAsState ร่วมกับ Modifier.graphicsLayer{ } สำหรับการเปลี่ยนแปลงระดับความสูงแบบครั้งเดียว ให้ใช้ Modifier.shadow() หากคุณกำลังสร้างภาพเคลื่อนไหวของเงา การใช้ตัวแก้ไข Modifier.graphicsLayer{ } จะเป็นตัวเลือกที่มีประสิทธิภาพมากกว่า
val mutableInteractionSource = remember { MutableInteractionSource() } val pressed = mutableInteractionSource.collectIsPressedAsState() val elevation = animateDpAsState( targetValue = if (pressed.value) { 32.dp } else { 8.dp }, label = "elevation" ) Box( modifier = Modifier .size(100.dp) .align(Alignment.Center) .graphicsLayer { this.shadowElevation = elevation.value.toPx() } .clickable(interactionSource = mutableInteractionSource, indication = null) { } .background(colorGreen) ) { }

หรือจะใช้ Composable Card และตั้งค่าพร็อพเพอร์ตี้ระดับความสูงเป็นค่าที่แตกต่างกันตามสถานะก็ได้
ปรับขนาดข้อความ การเปลี่ยนตำแหน่ง หรือการหมุนแบบเคลื่อนไหว
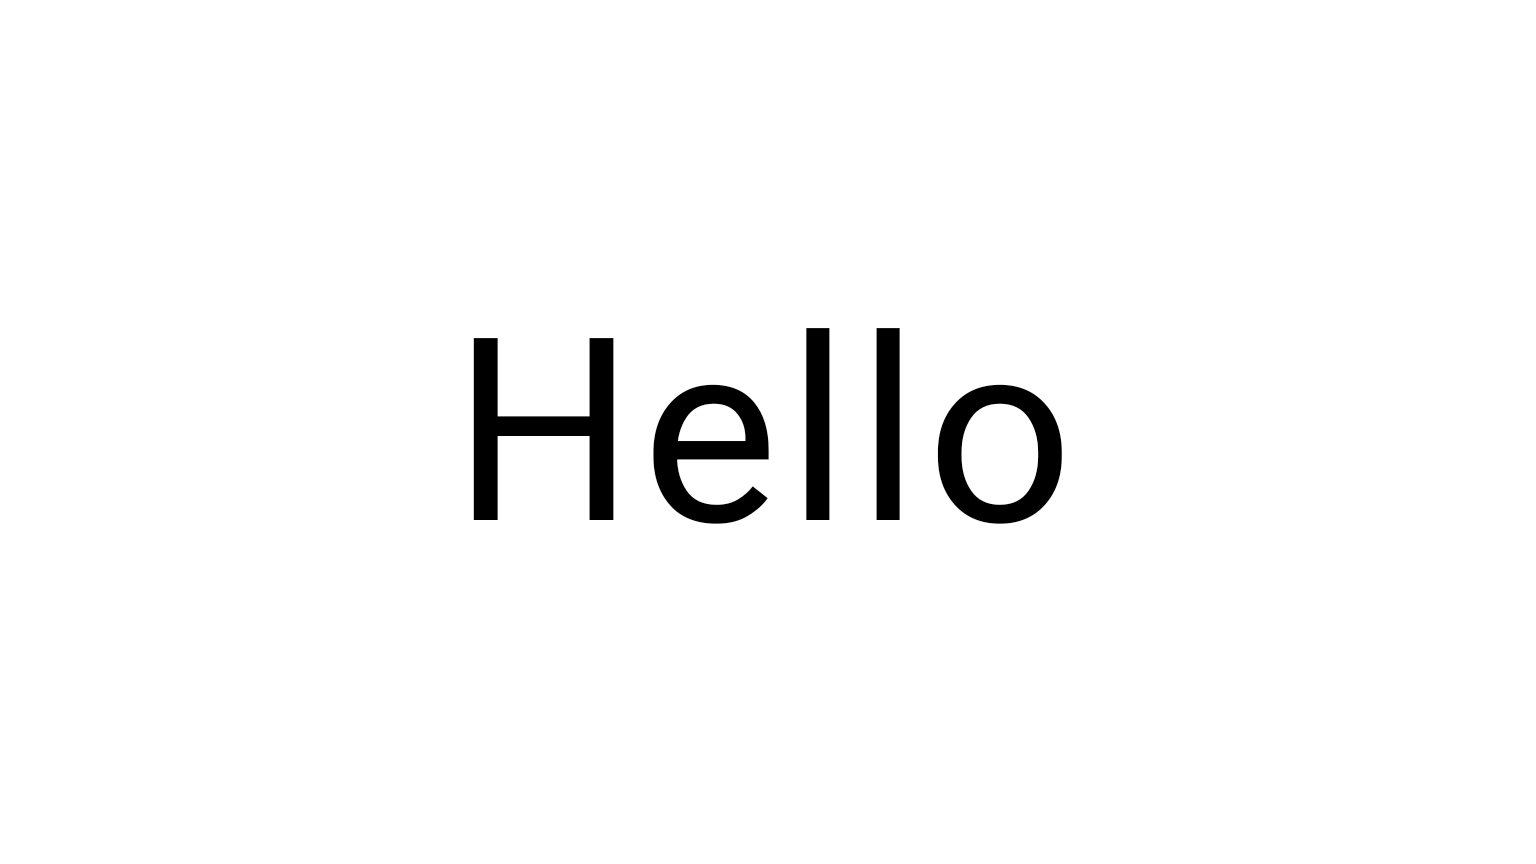
เมื่อปรับขนาด แปล หรือหมุนข้อความ ให้ตั้งค่าพารามิเตอร์ textMotion ใน TextStyle เป็น TextMotion.Animated ซึ่งจะช่วยให้การเปลี่ยนระหว่างภาพเคลื่อนไหวของข้อความราบรื่นยิ่งขึ้น ใช้ Modifier.graphicsLayer{ } เพื่อแปล หมุน หรือปรับขนาดข้อความ
val infiniteTransition = rememberInfiniteTransition(label = "infinite transition") val scale by infiniteTransition.animateFloat( initialValue = 1f, targetValue = 8f, animationSpec = infiniteRepeatable(tween(1000), RepeatMode.Reverse), label = "scale" ) Box(modifier = Modifier.fillMaxSize()) { Text( text = "Hello", modifier = Modifier .graphicsLayer { scaleX = scale scaleY = scale transformOrigin = TransformOrigin.Center } .align(Alignment.Center), // Text composable does not take TextMotion as a parameter. // Provide it via style argument but make sure that we are copying from current theme style = LocalTextStyle.current.copy(textMotion = TextMotion.Animated) ) }
สีข้อความเคลื่อนไหว
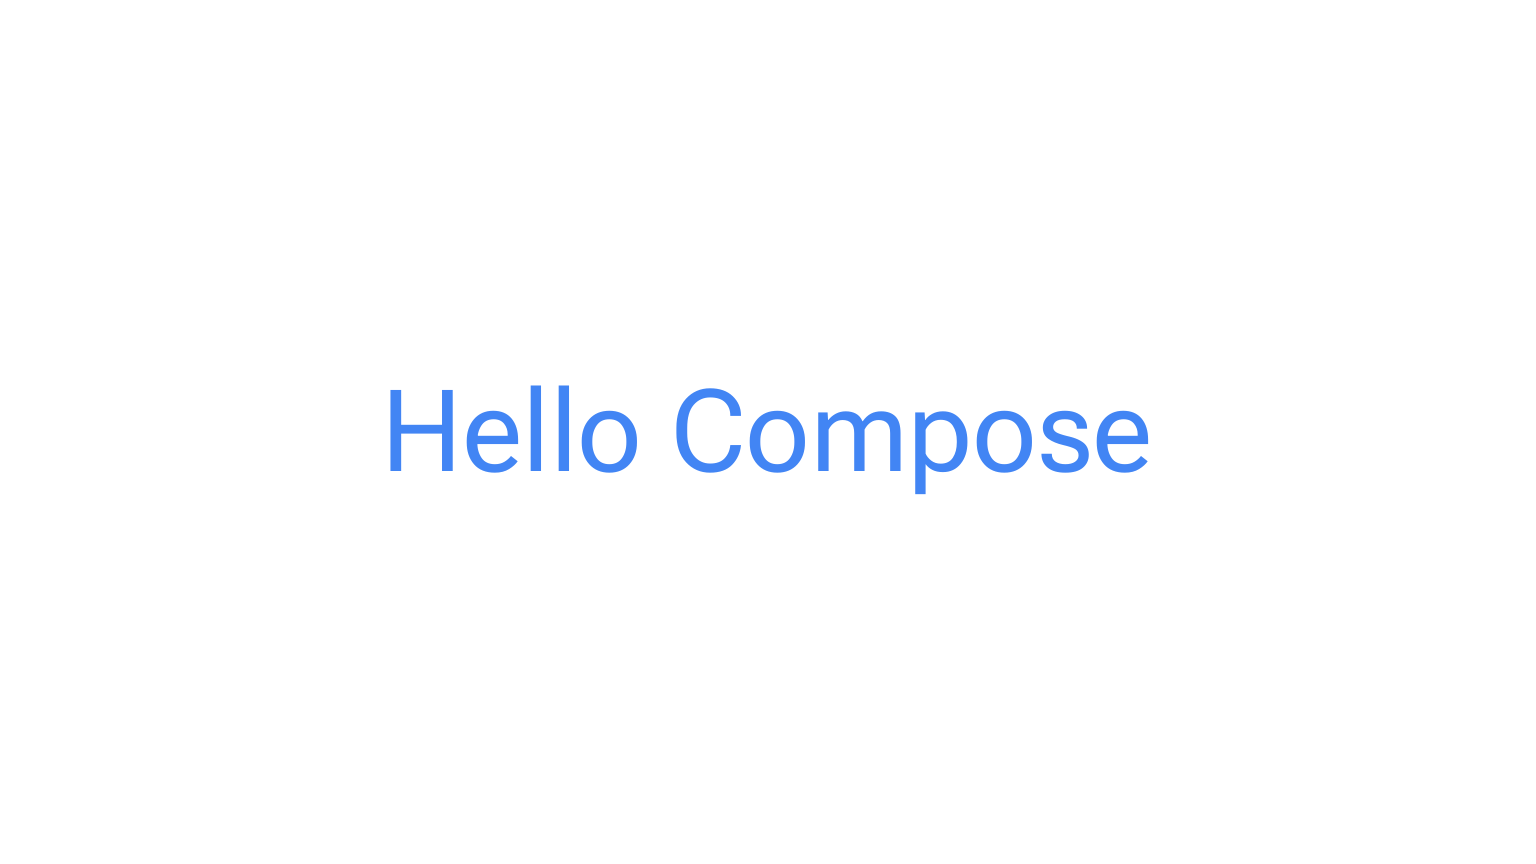
หากต้องการสร้างภาพเคลื่อนไหวให้สีข้อความ ให้ใช้ Lambda color ใน Composable BasicText ดังนี้
val infiniteTransition = rememberInfiniteTransition(label = "infinite transition") val animatedColor by infiniteTransition.animateColor( initialValue = Color(0xFF60DDAD), targetValue = Color(0xFF4285F4), animationSpec = infiniteRepeatable(tween(1000), RepeatMode.Reverse), label = "color" ) BasicText( text = "Hello Compose", color = { animatedColor }, // ... )
สลับระหว่างเนื้อหาประเภทต่างๆ
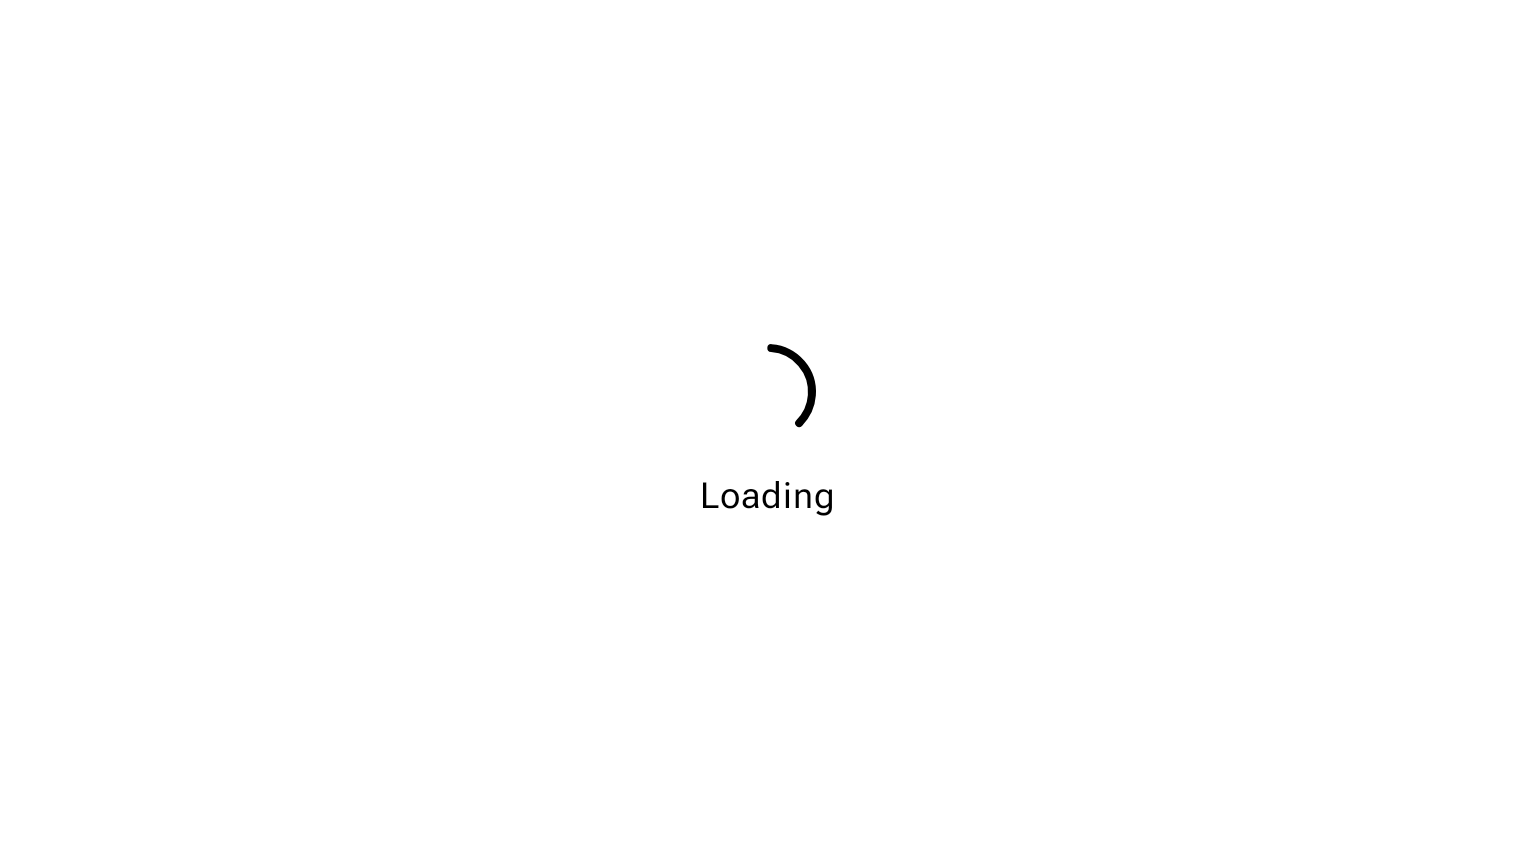
ใช้ AnimatedContent เพื่อสร้างภาพเคลื่อนไหวระหว่าง Composable ต่างๆ หากคุณต้องการแค่การเฟดมาตรฐานระหว่าง Composable ให้ใช้ Crossfade
var state by remember { mutableStateOf(UiState.Loading) } AnimatedContent( state, transitionSpec = { fadeIn( animationSpec = tween(3000) ) togetherWith fadeOut(animationSpec = tween(3000)) }, modifier = Modifier.clickable( interactionSource = remember { MutableInteractionSource() }, indication = null ) { state = when (state) { UiState.Loading -> UiState.Loaded UiState.Loaded -> UiState.Error UiState.Error -> UiState.Loading } }, label = "Animated Content" ) { targetState -> when (targetState) { UiState.Loading -> { LoadingScreen() } UiState.Loaded -> { LoadedScreen() } UiState.Error -> { ErrorScreen() } } }
AnimatedContent สามารถปรับแต่งให้แสดงการเปลี่ยนภาพเข้าและออกได้หลายประเภท ดูข้อมูลเพิ่มเติมได้ในเอกสารประกอบเกี่ยวกับ AnimatedContent หรืออ่านบล็อกโพสต์เกี่ยวกับ AnimatedContent
แสดงภาพเคลื่อนไหวขณะไปยังจุดหมายต่างๆ
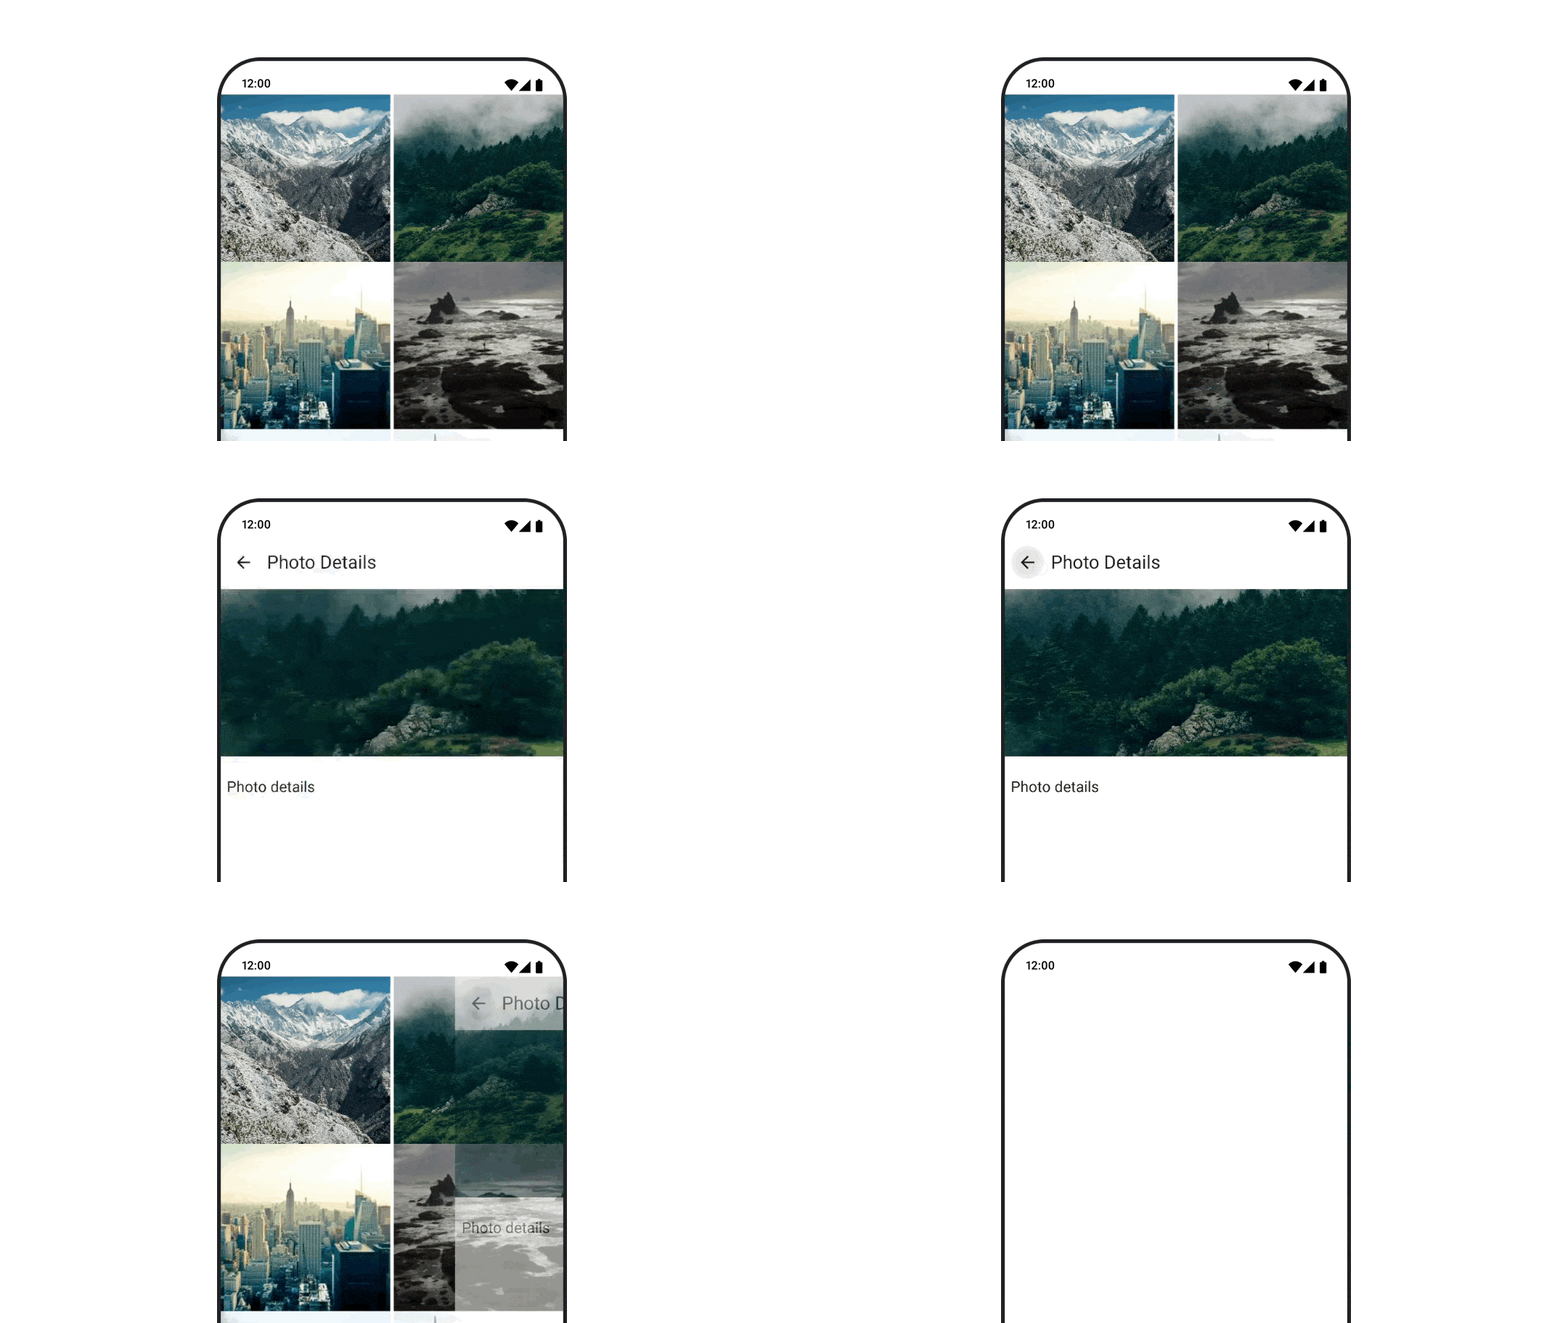
หากต้องการทำให้การเปลี่ยนระหว่างปลายทางเคลื่อนไหวเมื่อใช้ Navigation 3 ให้ตั้งค่าภาพเคลื่อนไหวเริ่มต้นสำหรับปลายทางทั้งหมดด้วยพารามิเตอร์ transitionSpec, popTransitionSpec และ predictivePopTransitionSpec ของ NavDisplay หากต้องการลบล้างข้อมูลเมตาสำหรับปลายทางเดียว ให้เพิ่มข้อมูลเมตา NavDisplay.TransitionKey, NavDisplay.PopTransitionKey และ NavDisplay.PredictivePopTransitionKey ลงในรายการของปลายทางนั้น ดังนี้
data object Landing data class Detail(val photoIndex: Int) @Preview @Composable fun AnimateBetweenComposableDestinations() { // To keep the back stack across configuration changes, use rememberNavBackStack instead. val backStack = remember { mutableStateListOf<Any>(Landing) } NavDisplay( backStack = backStack, onBack = { backStack.removeLastOrNull() }, // Default transitions for every destination: no animation. transitionSpec = { EnterTransition.None togetherWith ExitTransition.None }, popTransitionSpec = { EnterTransition.None togetherWith ExitTransition.None }, predictivePopTransitionSpec = { EnterTransition.None togetherWith ExitTransition.None }, entryProvider = entryProvider { entry<Landing> { ScreenLanding( // ... ) } entry<Detail>( // Override the transitions for this destination. metadata = metadata { put(NavDisplay.TransitionKey) { fadeIn( animationSpec = tween( 300, easing = LinearEasing ) ) + slideIntoContainer( animationSpec = tween(300, easing = EaseIn), towards = AnimatedContentTransitionScope.SlideDirection.Start ) togetherWith ExitTransition.KeepUntilTransitionsFinished } put(NavDisplay.PopTransitionKey) { EnterTransition.None togetherWith fadeOut( animationSpec = tween( 300, easing = LinearEasing ) ) + slideOutOfContainer( animationSpec = tween(300, easing = EaseOut), towards = AnimatedContentTransitionScope.SlideDirection.End ) } put(NavDisplay.PredictivePopTransitionKey) { EnterTransition.None togetherWith fadeOut( animationSpec = tween( 300, easing = LinearEasing ) ) + slideOutOfContainer( animationSpec = tween(300, easing = EaseOut), towards = AnimatedContentTransitionScope.SlideDirection.End ) } } ) { detail -> ScreenDetails( // ... ) } } ) }
มีทรานซิชันเข้าและออกหลายประเภทที่ใช้เอฟเฟกต์ต่างๆ กับเนื้อหาขาเข้าและขาออก โปรดดูข้อมูลเพิ่มเติมในเอกสารประกอบ ดูข้อมูลเพิ่มเติมเกี่ยวกับการสร้างภาพเคลื่อนไหวของปลายทาง รวมถึงการย้อนกลับที่คาดการณ์ได้ที่หัวข้อสร้างภาพเคลื่อนไหวระหว่างปลายทาง
เล่นภาพเคลื่อนไหวซ้ำ
ใช้ rememberInfiniteTransition กับ infiniteRepeatable
animationSpec เพื่อเล่นภาพเคลื่อนไหวซ้ำอย่างต่อเนื่อง เปลี่ยน RepeatMode เพื่อระบุวิธีที่ควรย้อนกลับไปมา
ใช้ repeatable เพื่อทำซ้ำตามจำนวนครั้งที่กำหนด
val infiniteTransition = rememberInfiniteTransition(label = "infinite") val color by infiniteTransition.animateColor( initialValue = Color.Green, targetValue = Color.Blue, animationSpec = infiniteRepeatable( animation = tween(1000, easing = LinearEasing), repeatMode = RepeatMode.Reverse ), label = "color" ) Column( modifier = Modifier.drawBehind { drawRect(color) } ) { // your composable here }
เริ่มภาพเคลื่อนไหวเมื่อเปิดใช้งาน Composable
LaunchedEffect จะทำงานเมื่อ Composable เข้าสู่ Composition ซึ่งจะเริ่มภาพเคลื่อนไหวเมื่อเปิดใช้ Composable คุณสามารถใช้ฟังก์ชันนี้เพื่อขับเคลื่อนการเปลี่ยนแปลงสถานะของภาพเคลื่อนไหวได้ การใช้ Animatable กับเมธอด animateTo เพื่อเริ่มภาพเคลื่อนไหวเมื่อเปิดใช้งาน
val alphaAnimation = remember { Animatable(0f) } LaunchedEffect(Unit) { alphaAnimation.animateTo(1f) } Box( modifier = Modifier.graphicsLayer { alpha = alphaAnimation.value } )
สร้างภาพเคลื่อนไหวตามลำดับ
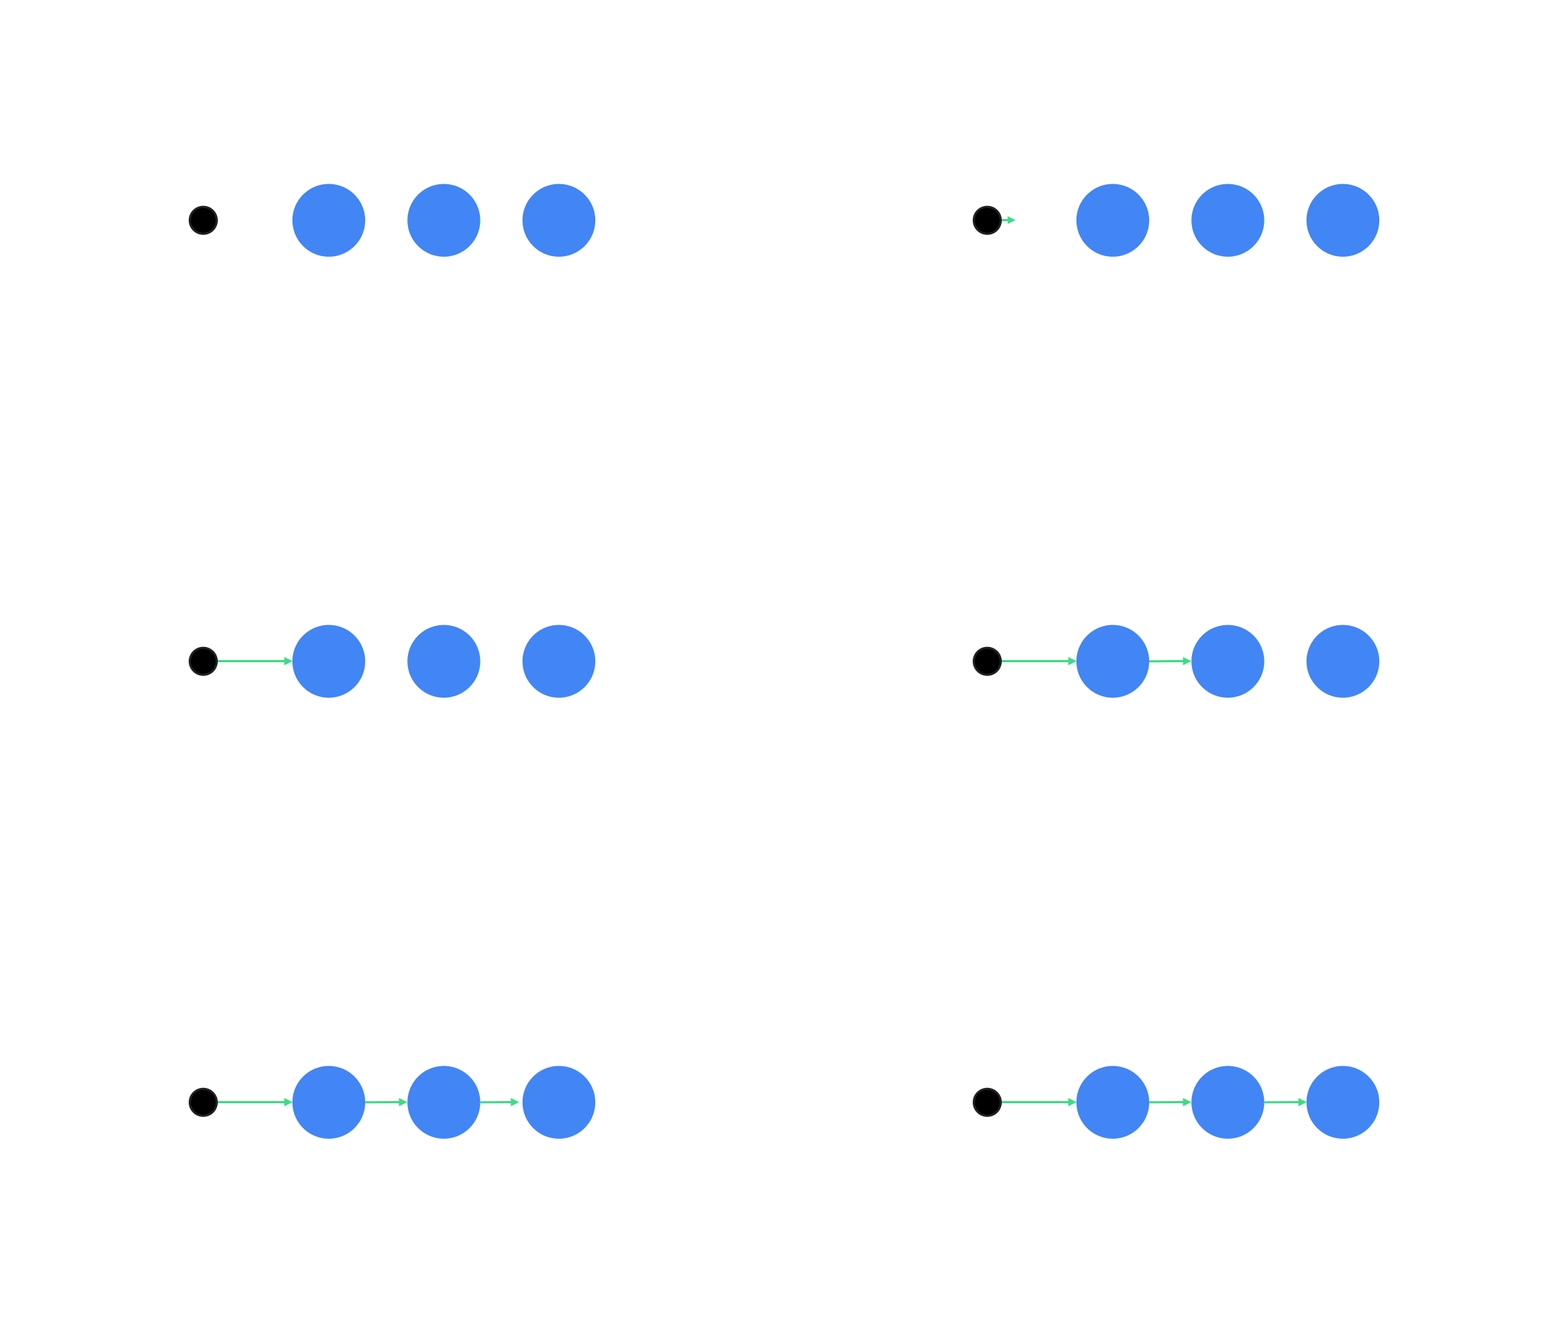
ใช้ Animatable API โครูทีน เพื่อปฏิบัติภาพเคลื่อนไหวแบบตามลำดับหรือพร้อมกัน การเรียกใช้ animateTo ใน Animatable ต่อเนื่องกันจะทำให้ภาพเคลื่อนไหวแต่ละรายการรอให้ภาพเคลื่อนไหวก่อนหน้าเสร็จสิ้นก่อนจึงจะดำเนินการต่อ
เนื่องจากเป็นฟังก์ชันระงับ
val alphaAnimation = remember { Animatable(0f) } val yAnimation = remember { Animatable(0f) } LaunchedEffect("animationKey") { alphaAnimation.animateTo(1f) yAnimation.animateTo(100f) yAnimation.animateTo(500f, animationSpec = tween(100)) }
สร้างภาพเคลื่อนไหวพร้อมกัน
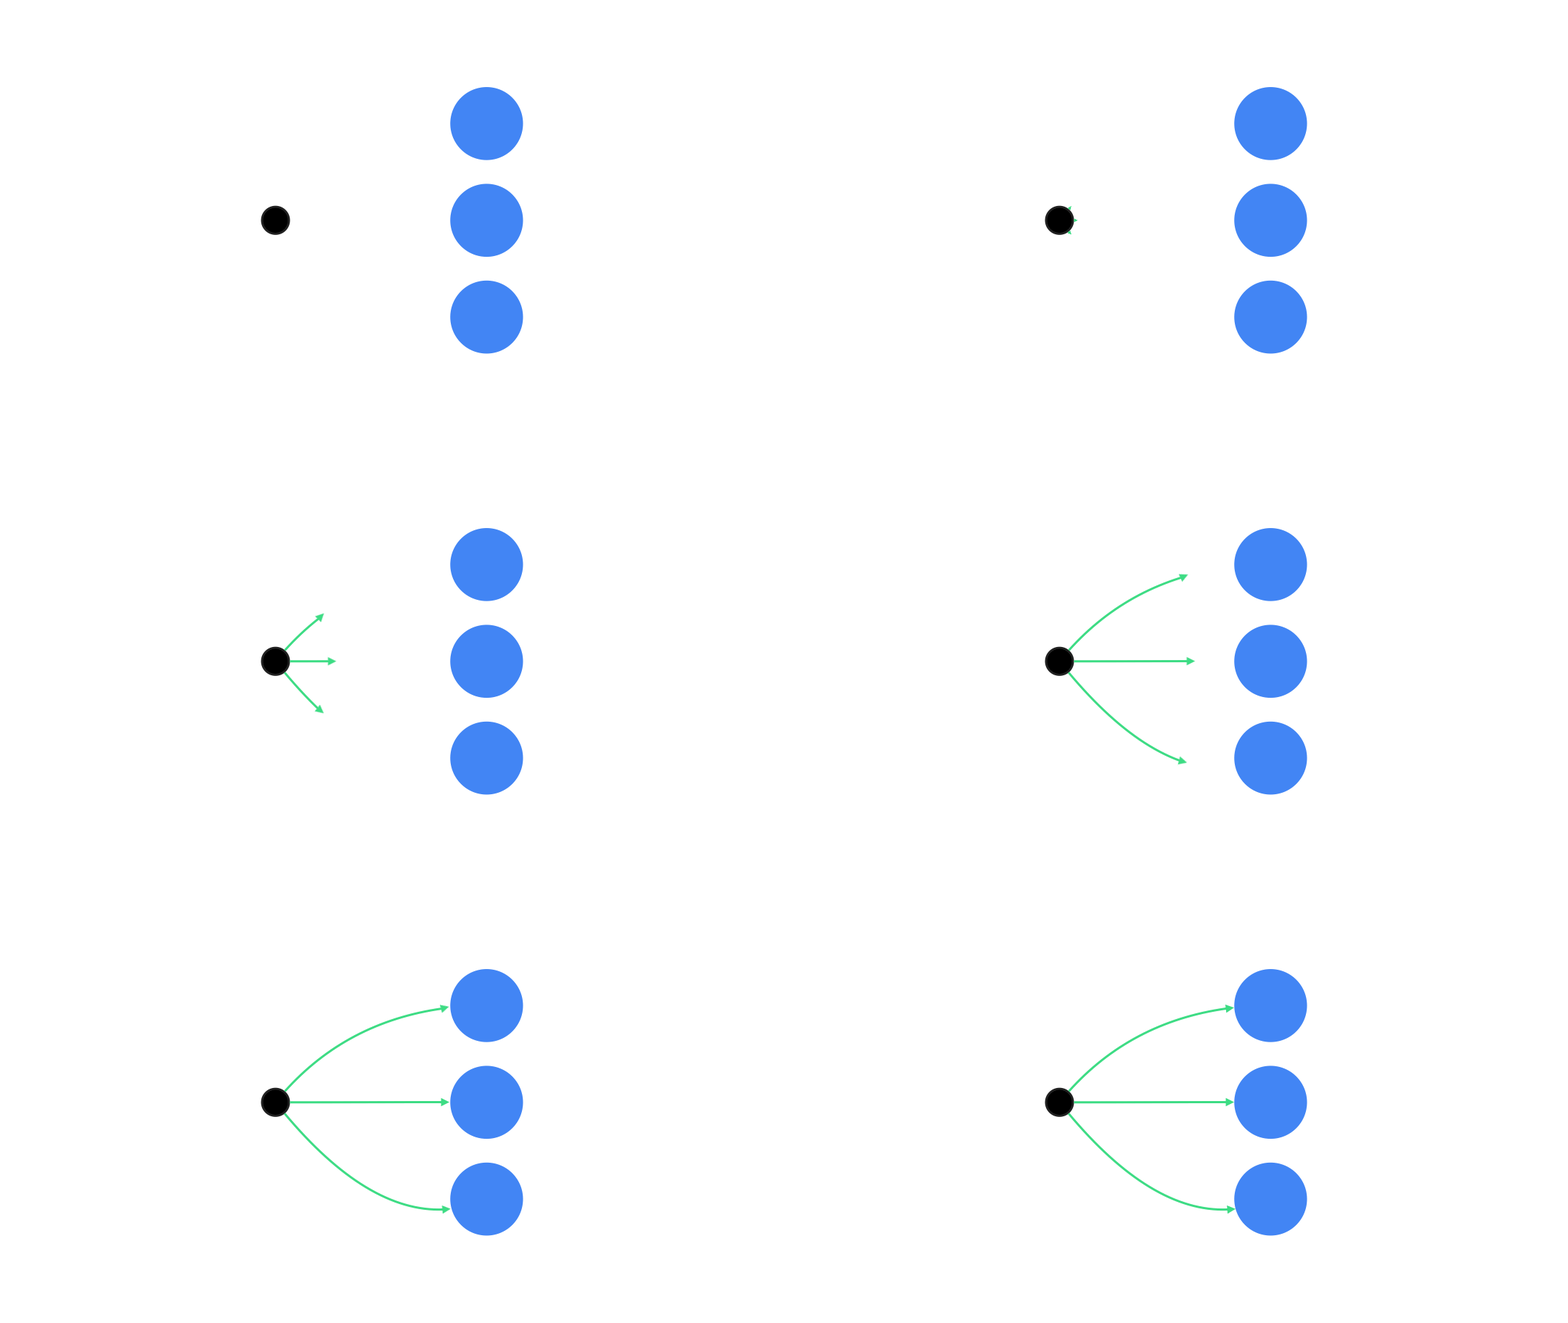
ใช้ Coroutine API (Animatable#animateTo() หรือ animate) หรือ API Transition เพื่อให้ได้ภาพเคลื่อนไหวที่เกิดขึ้นพร้อมกัน หากคุณใช้ฟังก์ชันเปิดหลายฟังก์ชันในบริบท Coroutine ระบบจะเปิดภาพเคลื่อนไหวพร้อมกัน ดังนี้
val alphaAnimation = remember { Animatable(0f) } val yAnimation = remember { Animatable(0f) } LaunchedEffect("animationKey") { launch { alphaAnimation.animateTo(1f) } launch { yAnimation.animateTo(100f) } }
คุณสามารถใช้ updateTransition API เพื่อใช้สถานะเดียวกันในการขับเคลื่อนภาพเคลื่อนไหวของพร็อพเพอร์ตี้ต่างๆ มากมายพร้อมกันได้ ตัวอย่างต่อไปนี้จะทำให้พร็อพเพอร์ตี้ 2 รายการที่ควบคุมโดยการเปลี่ยนแปลงสถานะเคลื่อนไหว ซึ่งได้แก่ rect และ borderWidth
var currentState by remember { mutableStateOf(BoxState.Collapsed) } val transition = updateTransition(currentState, label = "transition") val rect by transition.animateRect(label = "rect") { state -> when (state) { BoxState.Collapsed -> Rect(0f, 0f, 100f, 100f) BoxState.Expanded -> Rect(100f, 100f, 300f, 300f) } } val borderWidth by transition.animateDp(label = "borderWidth") { state -> when (state) { BoxState.Collapsed -> 1.dp BoxState.Expanded -> 0.dp } }
เพิ่มประสิทธิภาพของภาพเคลื่อนไหว
ภาพเคลื่อนไหวใน Compose อาจทำให้เกิดปัญหาด้านประสิทธิภาพ ซึ่งเป็นเพราะลักษณะของภาพเคลื่อนไหวที่พิกเซลบนหน้าจอเคลื่อนไหวหรือเปลี่ยนแปลงอย่างรวดเร็วแบบเฟรมต่อเฟรมเพื่อสร้างภาพลวงตาของการเคลื่อนไหว
พิจารณาระยะต่างๆ ของ Compose ซึ่งได้แก่ องค์ประกอบ เลย์เอาต์ และการวาด หากภาพเคลื่อนไหวเปลี่ยนระยะเลย์เอาต์ คอมโพสิเบิลที่ได้รับผลกระทบทั้งหมดจะต้องจัดเลย์เอาต์และวาดใหม่ หากภาพเคลื่อนไหวเกิดขึ้นในระยะการวาด โดยค่าเริ่มต้นแล้วจะมีประสิทธิภาพมากกว่าการเรียกใช้ภาพเคลื่อนไหวในระยะเลย์เอาต์ เนื่องจากจะมีงานที่ต้องทำโดยรวมน้อยกว่า
เพื่อให้แอปทำงานน้อยที่สุดขณะแสดงภาพเคลื่อนไหว ให้เลือกเวอร์ชัน Lambda ของ Modifier หากเป็นไปได้ ซึ่งจะข้ามการจัดองค์ประกอบใหม่และแสดงภาพเคลื่อนไหวนอกระยะการจัดองค์ประกอบ ไม่เช่นนั้นให้ใช้ Modifier.graphicsLayer{ } เนื่องจากตัวแก้ไขนี้จะทำงานในระยะการวาดเสมอ ดูข้อมูลเพิ่มเติมเกี่ยวกับเรื่องนี้ได้ที่ส่วนการเลื่อนการอ่านในเอกสารประกอบเกี่ยวกับประสิทธิภาพ
เปลี่ยนเวลาของภาพเคลื่อนไหว
โดยค่าเริ่มต้น Compose จะใช้แอนิเมชันแรงสปริงสำหรับแอนิเมชันส่วนใหญ่ สปริงหรือภาพเคลื่อนไหวตามหลักฟิสิกส์จะให้ความรู้สึกเป็นธรรมชาติมากกว่า นอกจากนี้ยังขัดจังหวะได้เนื่องจากจะพิจารณาความเร็วปัจจุบันของวัตถุแทนเวลาที่แน่นอน
หากต้องการลบล้างค่าเริ่มต้น API ภาพเคลื่อนไหวทั้งหมดที่แสดงก่อนหน้านี้จะสามารถตั้งค่า animationSpec เพื่อปรับแต่งวิธีที่ภาพเคลื่อนไหวทำงานได้ ไม่ว่าคุณจะต้องการให้ทำงานในระยะเวลาหนึ่งหรือให้เด้งมากขึ้น
ต่อไปนี้เป็นสรุปตัวเลือก animationSpec ต่างๆ
spring: ภาพเคลื่อนไหวตามหลักฟิสิกส์ ซึ่งเป็นค่าเริ่มต้นสำหรับภาพเคลื่อนไหวทั้งหมด คุณสามารถเปลี่ยน stiffness หรือ dampingRatio เพื่อให้ได้รูปลักษณ์และความรู้สึกของภาพเคลื่อนไหวที่แตกต่างกันtween(ย่อมาจาก between): ภาพเคลื่อนไหวตามระยะเวลา โดยจะเคลื่อนไหวระหว่างค่า 2 ค่าด้วยฟังก์ชันEasingkeyframes: ข้อกำหนดสำหรับการระบุค่าที่จุดสำคัญบางจุดในภาพเคลื่อนไหวrepeatable: ข้อกำหนดตามระยะเวลาที่ทำงานตามจำนวนครั้งที่ระบุโดยRepeatModeinfiniteRepeatable: ข้อกำหนดตามระยะเวลาที่ทำงานตลอดไปsnap: เลื่อนไปยังค่าสุดท้ายทันทีโดยไม่มีภาพเคลื่อนไหว
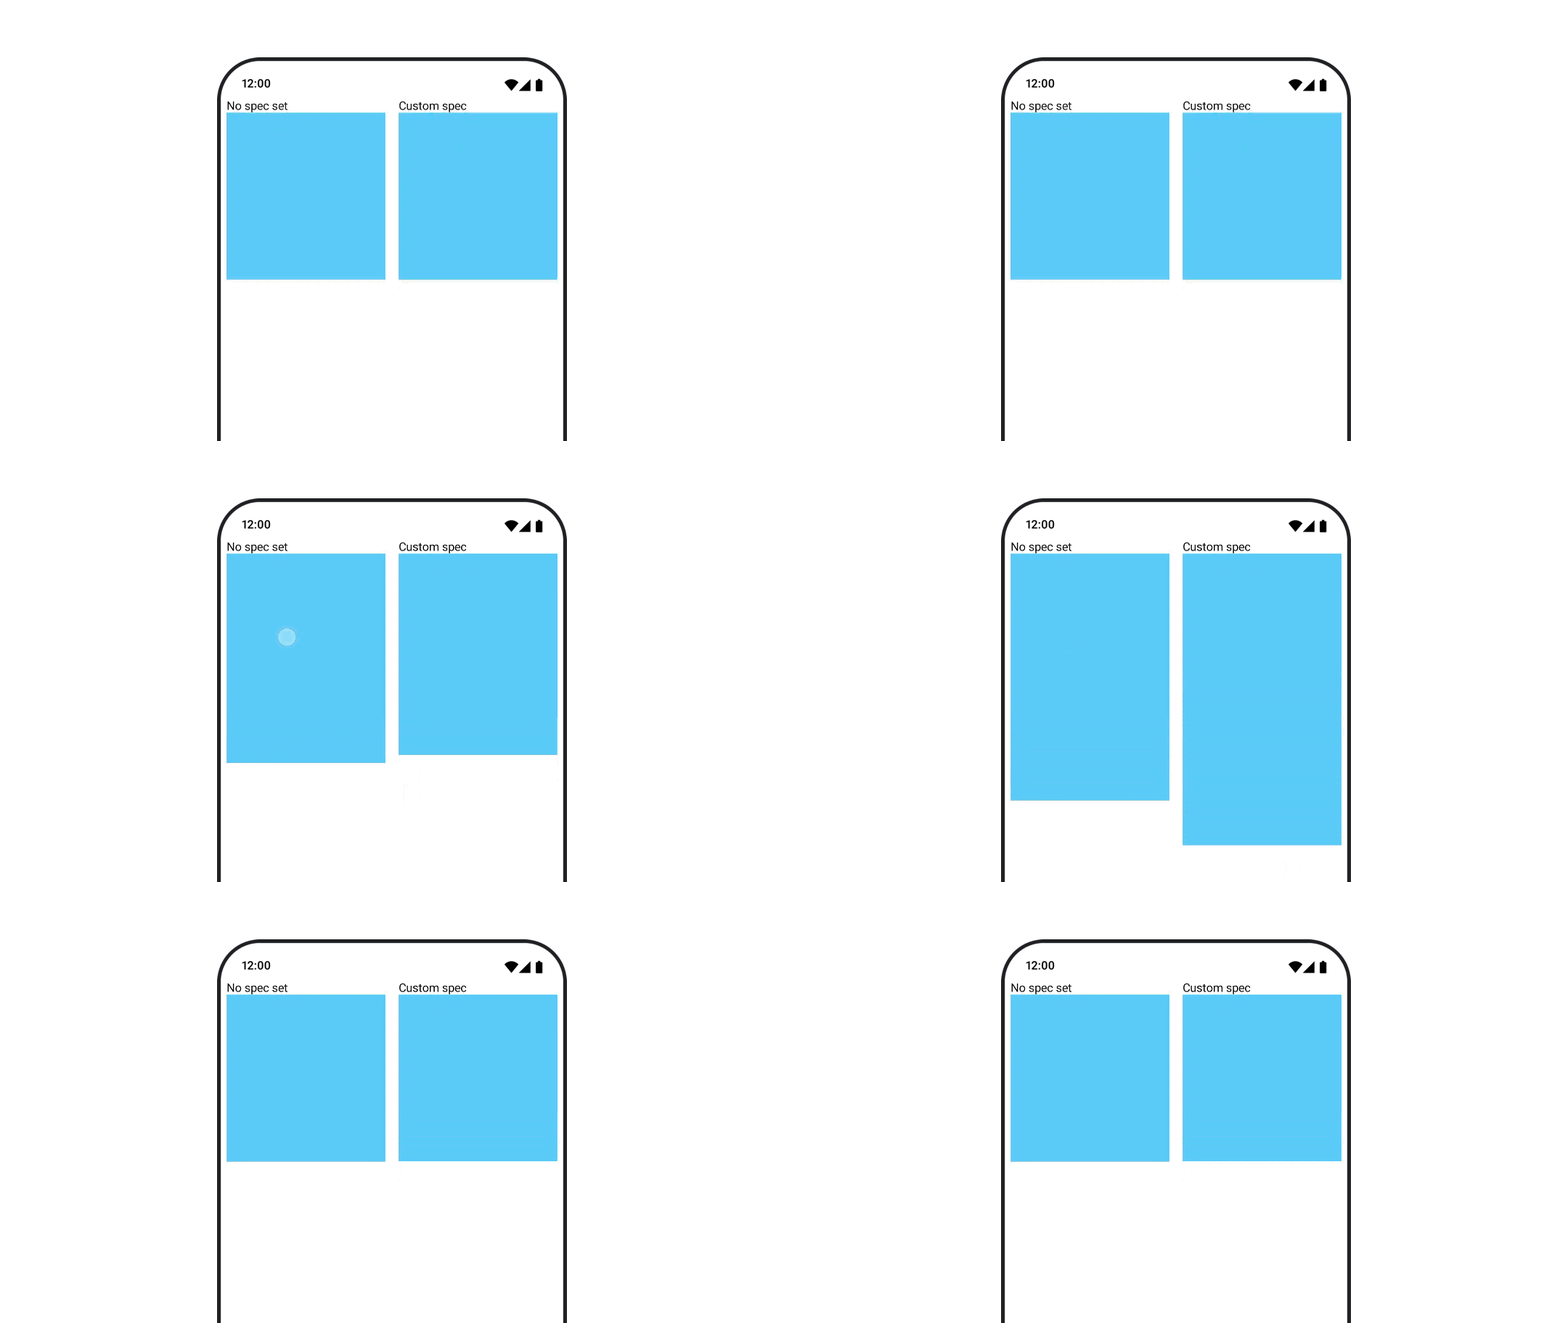
อ่านเอกสารประกอบฉบับเต็มเพื่อดูข้อมูลเพิ่มเติมเกี่ยวกับ animationSpecs
แหล่งข้อมูลเพิ่มเติม
ดูตัวอย่างเพิ่มเติมเกี่ยวกับภาพเคลื่อนไหวสนุกๆ ใน Compose ได้ที่ด้านล่าง
- ภาพเคลื่อนไหวแบบรวดเร็ว 5 แบบใน Compose
- การทำให้แมงกะพรุนเคลื่อนไหวใน Compose
- การปรับแต่ง
AnimatedContentใน Compose - การเปลี่ยนผ่านไปใช้ฟังก์ชันการค่อยๆ เปลี่ยนใน Compose