本页介绍了 AGSL 基础知识,以及在 Android 中使用 AGSL 的不同方式 应用。
简单的 AGSL 着色器
系统会为每个绘制的像素调用着色器代码,并返回像素的颜色
绘制的区域。非常简单的着色器
一种颜色;本例使用红色着色器在 String 内定义。
Kotlin
private const val COLOR_SHADER_SRC =
   """half4 main(float2 fragCoord) {
      return half4(1,0,0,1);
   }"""
Java
private static final String COLOR_SHADER_SRC =
   "half4 main(float2 fragCoord) {\n" +
      "return half4(1,0,0,1);\n" +
   "}";
下一步是创建 RuntimeShader
使用着色器字符串初始化的对象。这也会编译着色器。
Kotlin
val fixedColorShader = RuntimeShader(COLOR_SHADER_SRC)
Java
RuntimeShader fixedColorShader = new RuntimeShader(COLOR_SHADER_SRC);
RuntimeShader 可用于标准 Android 着色器的任何位置。作为
例如,您可以用它来绘制自定义 View(使用
Canvas。
Kotlin
val paint = Paint()
paint.shader = fixedColorShader
override fun onDrawForeground(canvas: Canvas?) {
   canvas?.let {
      canvas.drawPaint(paint) // fill the Canvas with the shader
   }
}
Java
Paint paint = new Paint();
paint.setShader(fixedColorShader);
public void onDrawForeground(@Nullable Canvas canvas) {
   if (canvas != null) {
      canvas.drawPaint(paint); // fill the Canvas with the shader
   }
}
这将绘制一个红色的 View。您可以使用 uniform 将颜色参数传递到
要绘制的着色器首先,将颜色 uniform 添加到着色器:
Kotlin
private const val COLOR_SHADER_SRC =
"""layout(color) uniform half4 iColor;
   half4 main(float2 fragCoord) {
      return iColor;
   }"""
Java
private static final String COLOR_SHADER_SRC =
   "layout(color) uniform half4 iColor;\n"+
      "half4 main(float2 fragCoord) {\n" +
      "return iColor;\n" +
   "}";
然后,从自定义 View 调用 setColorUniform,以传递所需的颜色
插入 AGSL 着色器。
Kotlin
fixedColorShader.setColorUniform("iColor", Color.GREEN )
Java
fixedColorShader.setColorUniform("iColor", Color.GREEN );
现在,您会得到一个绿色的 View;View 颜色使用
参数,而不是嵌入到View
着色器。
您可以改为创建颜色渐变效果。您首先需要将
着色器以接受 View 分辨率作为输入:
Kotlin
private const val COLOR_SHADER_SRC =
"""uniform float2 iResolution;
   half4 main(float2 fragCoord) {
      float2 scaled = fragCoord/iResolution.xy;
      return half4(scaled, 0, 1);
   }"""
Java
private static final String COLOR_SHADER_SRC =
   "uniform float2 iResolution;\n" +
      "half4 main(float2 fragCoord) {\n" +
      "float2 scaled = fragCoord/iResolution.xy;\n" +
      "return half4(scaled, 0, 1);\n" +
   "}";
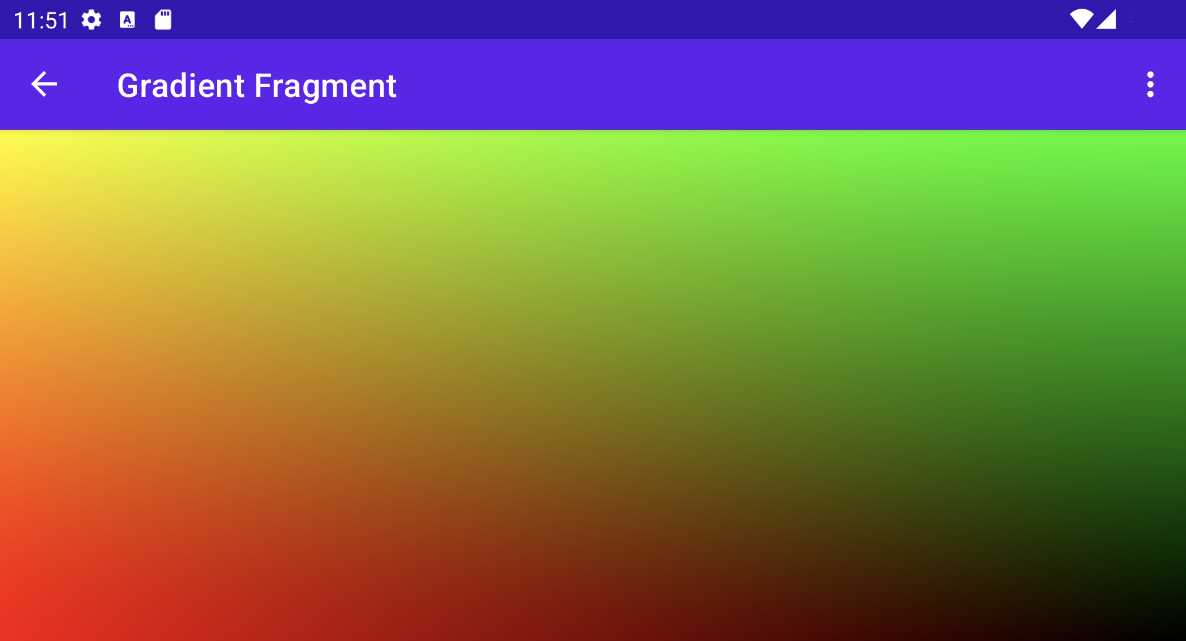
绘制渐变
此着色器会执行一些稍微炫酷的操作。对于每个像素,它会创建一个 float2
矢量,该矢量包含 x 和 y 坐标除以分辨率得到的结果,
会创建一个介于 0 和 1 之间的值。然后,它会使用该缩放矢量
构造返回颜色的红色和绿色分量。
通过调用以下方法,将 View 的分辨率传递给 AGSL 着色器 uniform:
setFloatUniform。
Kotlin
val paint = Paint()
paint.shader = fixedColorShader
override fun onDrawForeground(canvas: Canvas?) {
   canvas?.let {
      fixedColorShader.setFloatUniform("iResolution", width.toFloat(), height.toFloat())
      canvas.drawPaint(paint)
   }
}
Java
Paint paint = new Paint();
paint.setShader(fixedColorShader);
public void onDrawForeground(@Nullable Canvas canvas) {
   if (canvas != null) {
      fixedColorShader.setFloatUniform("iResolution", (float)getWidth(), (float()getHeight()));
      canvas.drawPaint(paint);
   }
}
为着色器添加动画效果
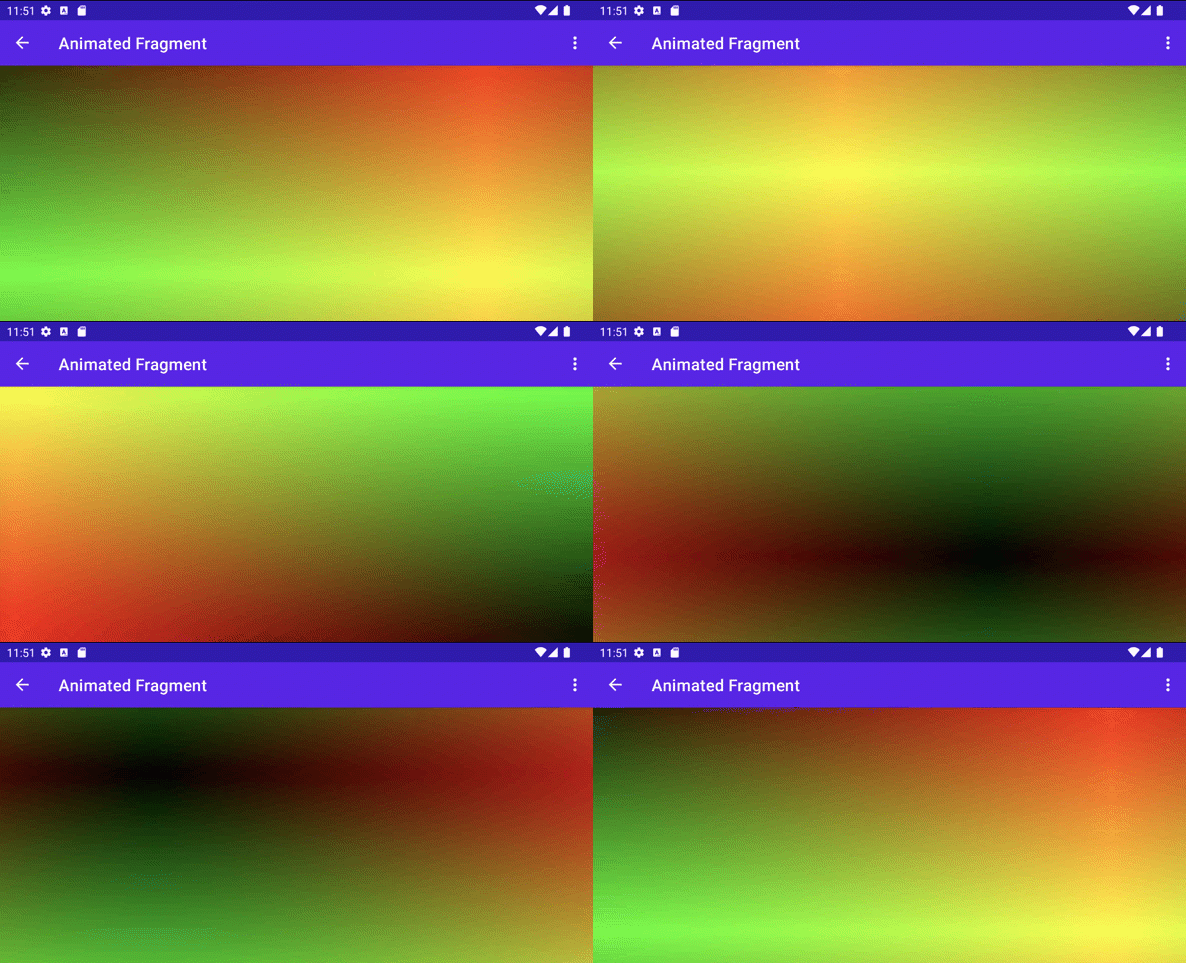
您可以使用类似的技术为着色器添加动画效果,方法是修改着色器以接收 iTime 和 iDuration uniform。着色器将使用这些值来创建
三角形波,使颜色在其渐变值中来回循环。
Kotlin
private const val DURATION = 4000f
private const val COLOR_SHADER_SRC = """
   uniform float2 iResolution;
   uniform float iTime;
   uniform float iDuration;
   half4 main(in float2 fragCoord) {
      float2 scaled = abs(1.0-mod(fragCoord/iResolution.xy+iTime/(iDuration/2.0),2.0));
      return half4(scaled, 0, 1.0);
   }
"""
Java
private static final float DURATION = 4000f;
private static final String COLOR_SHADER_SRC =
   "uniform float2 iResolution;\n"+
   "uniform float iTime;\n"+
   "uniform float iDuration;\n"+
   "half4 main(in float2 fragCoord) {\n"+
      "float2 scaled = abs(1.0-mod(fragCoord/iResolution.xy+iTime/(iDuration/2.0),2.0));\n"+
      "return half4(scaled, 0, 1.0);\n"+
   "}";
在自定义视图源代码中,
ValueAnimator 更新了
iTime制服。
Kotlin
// declare the ValueAnimator
private val shaderAnimator = ValueAnimator.ofFloat(0f, DURATION)

// use it to animate the time uniform
shaderAnimator.duration = DURATION.toLong()
shaderAnimator.repeatCount = ValueAnimator.INFINITE
shaderAnimator.repeatMode = ValueAnimator.RESTART
shaderAnimator.interpolator = LinearInterpolator()

animatedShader.setFloatUniform("iDuration", DURATION )
shaderAnimator.addUpdateListener { animation ->
    animatedShader.setFloatUniform("iTime", animation.animatedValue as Float )
}
shaderAnimator.start()
Java
// declare the ValueAnimator
private final ValueAnimator shaderAnimator = ValueAnimator.ofFloat(0f, DURATION);

// use it to animate the time uniform
shaderAnimator.setDuration((long)DURATION);
shaderAnimator.setRepeatCount(ValueAnimator.INFINITE);
shaderAnimator.setRepeatMode(ValueAnimator.RESTART);
shaderAnimator.setInterpolator(new LinearInterpolator());

animatedShader.setFloatUniform("iDuration", DURATION );
shaderAnimator.addUpdateListener(new ValueAnimator.AnimatorUpdateListener() {
   public final void onAnimationUpdate(ValueAnimator animation) {
      animatedShader.setFloatUniform("iTime", (float)animation.getAnimatedValue());
   }
});
绘制复杂的物体
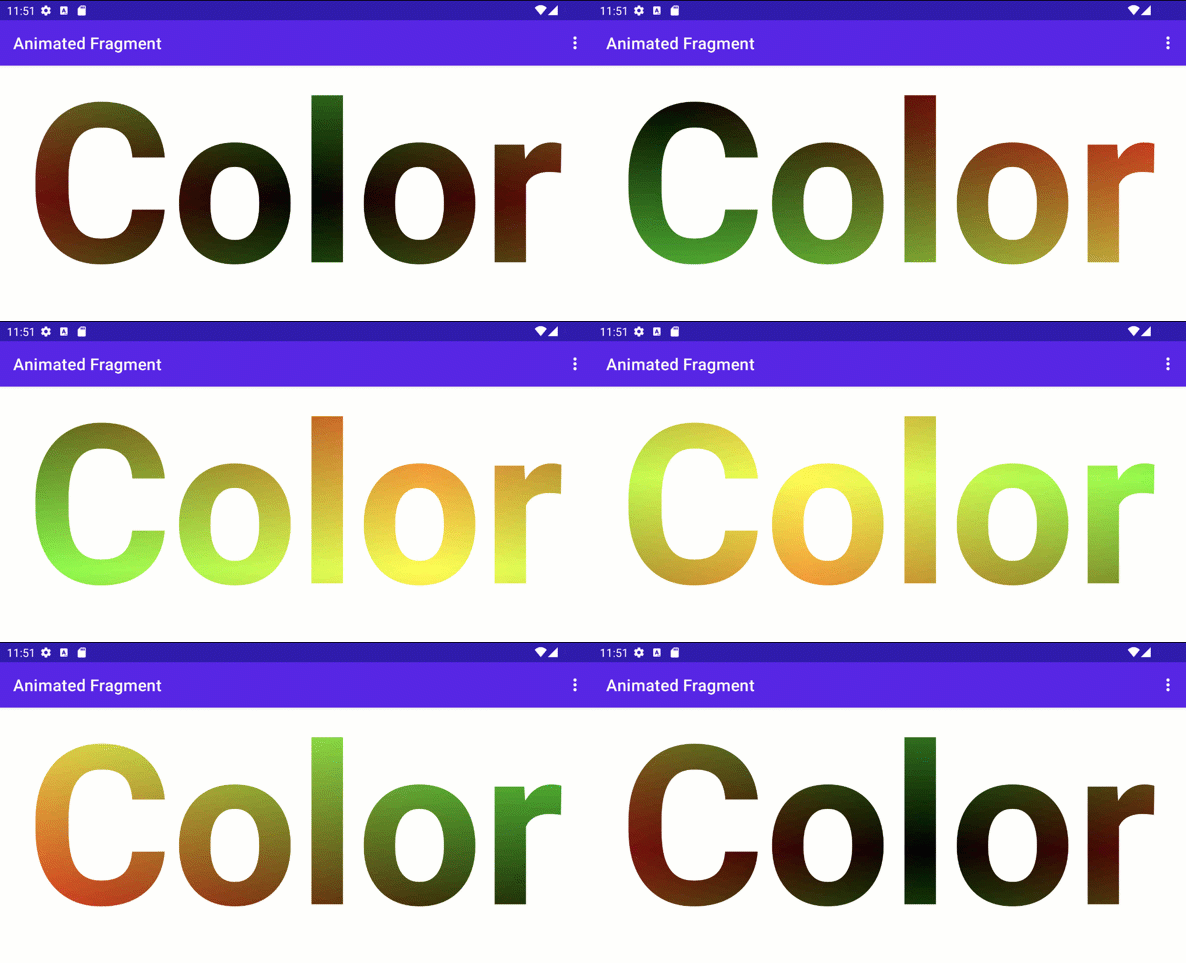
您无需绘制着色器来填充背景;可以是
可用于任何接受
Paint 对象,例如
drawText。
Kotlin
canvas.drawText(ANIMATED_TEXT, TEXT_MARGIN_DP, TEXT_MARGIN_DP + bounds.height(),
   paint)
Java
canvas.drawText(ANIMATED_TEXT, TEXT_MARGIN_DP, TEXT_MARGIN_DP + bounds.height(),
   paint);
着色和画布转换
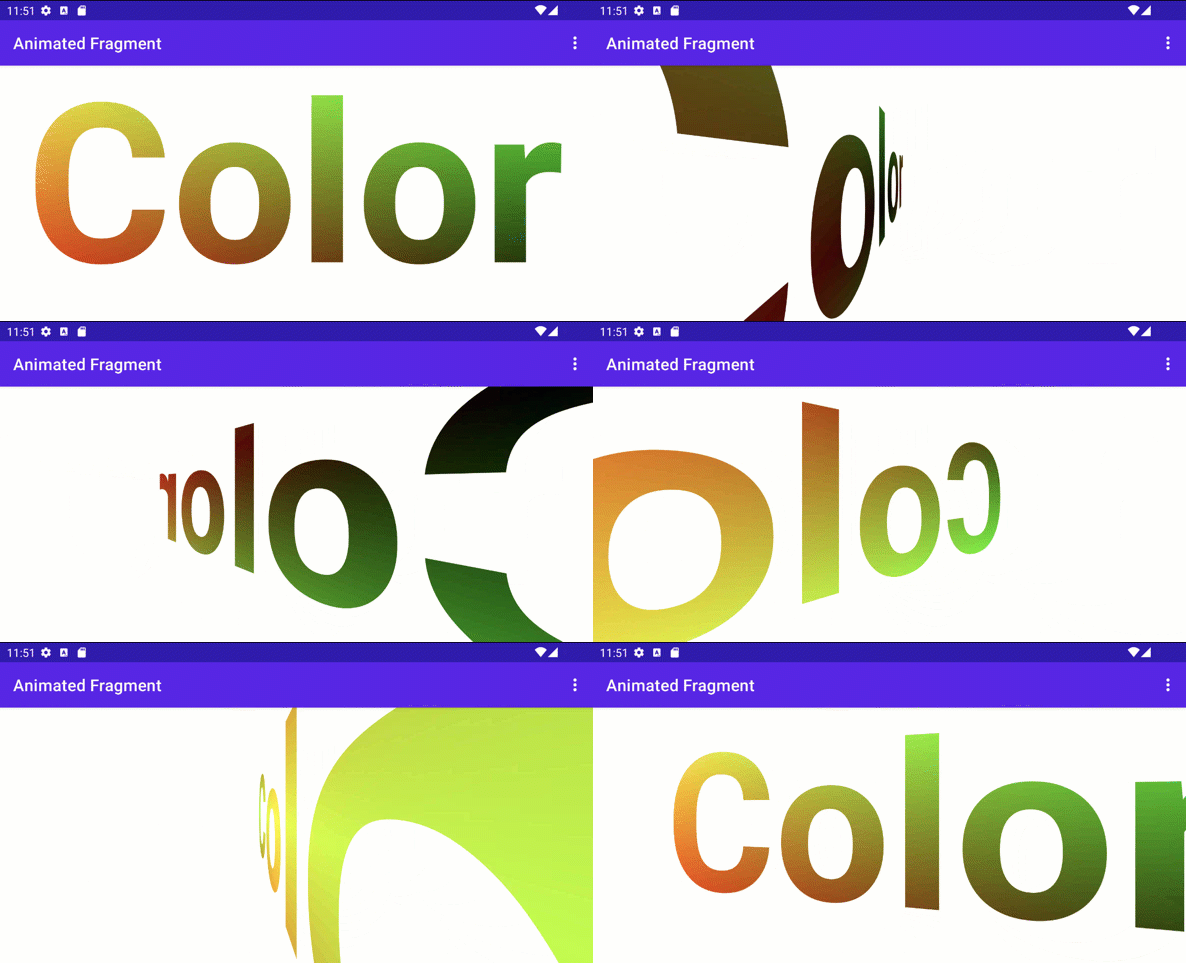
您可以对着色文本应用其他 Canvas 转换,例如
轮替。在 ValueAnimator 中,您可以更新 3D 旋转矩阵
使用内置的
android.graphics.Camera 类。
Kotlin
// in the ValueAnimator
camera.rotate(0.0f, animation.animatedValue as Float / DURATION * 360f, 0.0f)
Java
// in the ValueAnimator
camera.rotate(0.0f, (Float)animation.getAnimatedValue() / DURATION * 360f, 0.0f);
由于您想要从中心轴(而不是从角落)旋转文本,
获取文本边界,然后使用 preTranslate 和 postTranslate 更改
矩阵,以便 0,0 为旋转中心,
更改文本在屏幕上的绘制位置。
Kotlin
linearColorPaint.getTextBounds(ANIMATED_TEXT, 0, ANIMATED_TEXT.length, bounds)
camera.getMatrix(rotationMatrix)
val centerX = (bounds.width().toFloat())/2
val centerY = (bounds.height().toFloat())/2
rotationMatrix.preTranslate(-centerX, -centerY)
rotationMatrix.postTranslate(centerX, centerY)
canvas.save()
canvas.concat(rotationMatrix)
canvas.drawText(ANIMATED_TEXT, 0f, 0f + bounds.height(), paint)
canvas.restore()
Java
linearColorPaint.getTextBounds(ANIMATED_TEXT, 0, ANIMATED_TEXT.length(), bounds);
camera.getMatrix(rotationMatrix);
float centerX = (float)bounds.width()/2.0f;
float centerY = (float)bounds.height()/2.0f;
rotationMatrix.preTranslate(-centerX, -centerY);
rotationMatrix.postTranslate(centerX, centerY);
canvas.save();
canvas.concat(rotationMatrix);
canvas.drawText(ANIMATED_TEXT, 0f, 0f + bounds.height(), paint);
canvas.restore();
将 RuntimeShader 与 Jetpack Compose 搭配使用
如果您使用 RuntimeShader 来渲染界面,会更方便
Jetpack Compose。从相同的渐变着色器开始,
早于:
private const val COLOR_SHADER_SRC =
    """uniform float2 iResolution;
   half4 main(float2 fragCoord) {
   float2 scaled = fragCoord/iResolution.xy;
   return half4(scaled, 0, 1);
}"""
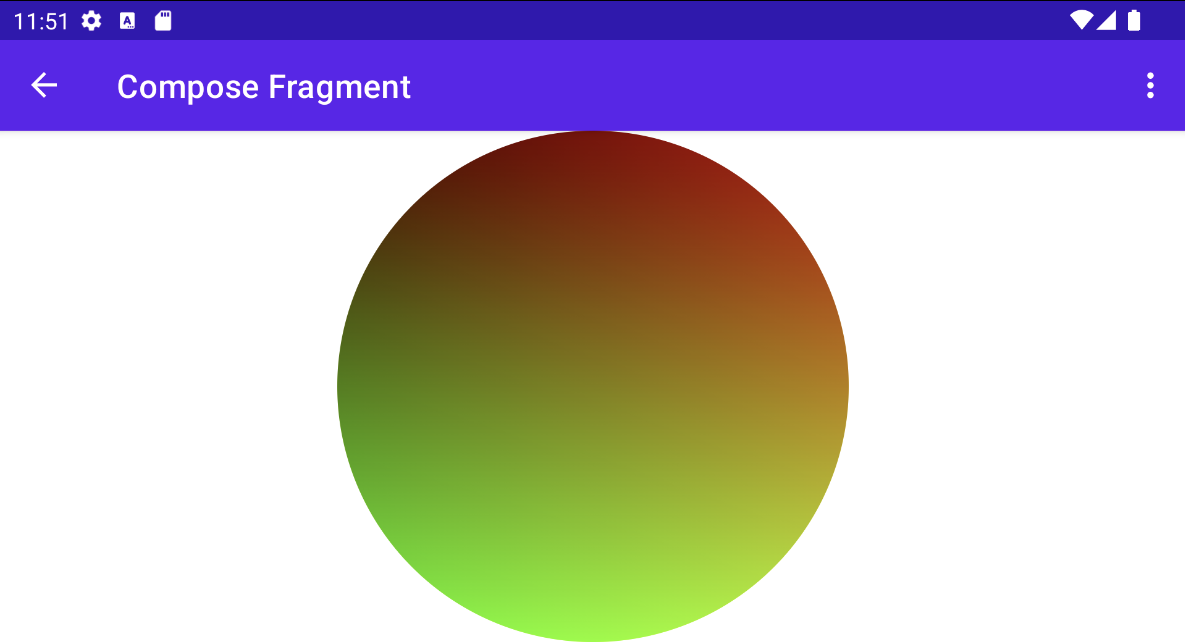
您可以将该着色器应用于
ShaderBrush。您
然后使用 ShaderBrush 作为
Canvas 的绘制作用域。
// created as top level constants
val colorShader = RuntimeShader(COLOR_SHADER_SRC)
val shaderBrush = ShaderBrush(colorShader)

Canvas(
   modifier = Modifier.fillMaxSize()
) {
   colorShader.setFloatUniform("iResolution",
   size.width, size.height)
   drawCircle(brush = shaderBrush)
}
将 RuntimeShader 与 RenderEffect 搭配使用
您可以使用
RenderEffect,以应用
RuntimeShader 发送给家长 (View)
和所有子视图。这比绘制自定义 View 开销更高。但是
你可以轻松制作一种效果
最初是用
createRuntimeShaderEffect。
Kotlin
view.setRenderEffect(RenderEffect.createRuntimeShaderEffect(myShader, "background"))
Java
view.setRenderEffect(RenderEffect.createRuntimeShaderEffect(myShader, "background"));
第二个参数是着色器统一名称,eval
Coordinate 参数(例如在 fragCoord 中传递的)获取原始颜色
的
RenderNode(该 View 及其子级)
视图),可让您执行各种效果。
uniform shader background;       // Root node of View tree to be altered
return mix(returnColor, background.eval(fragCoord), 0.5);
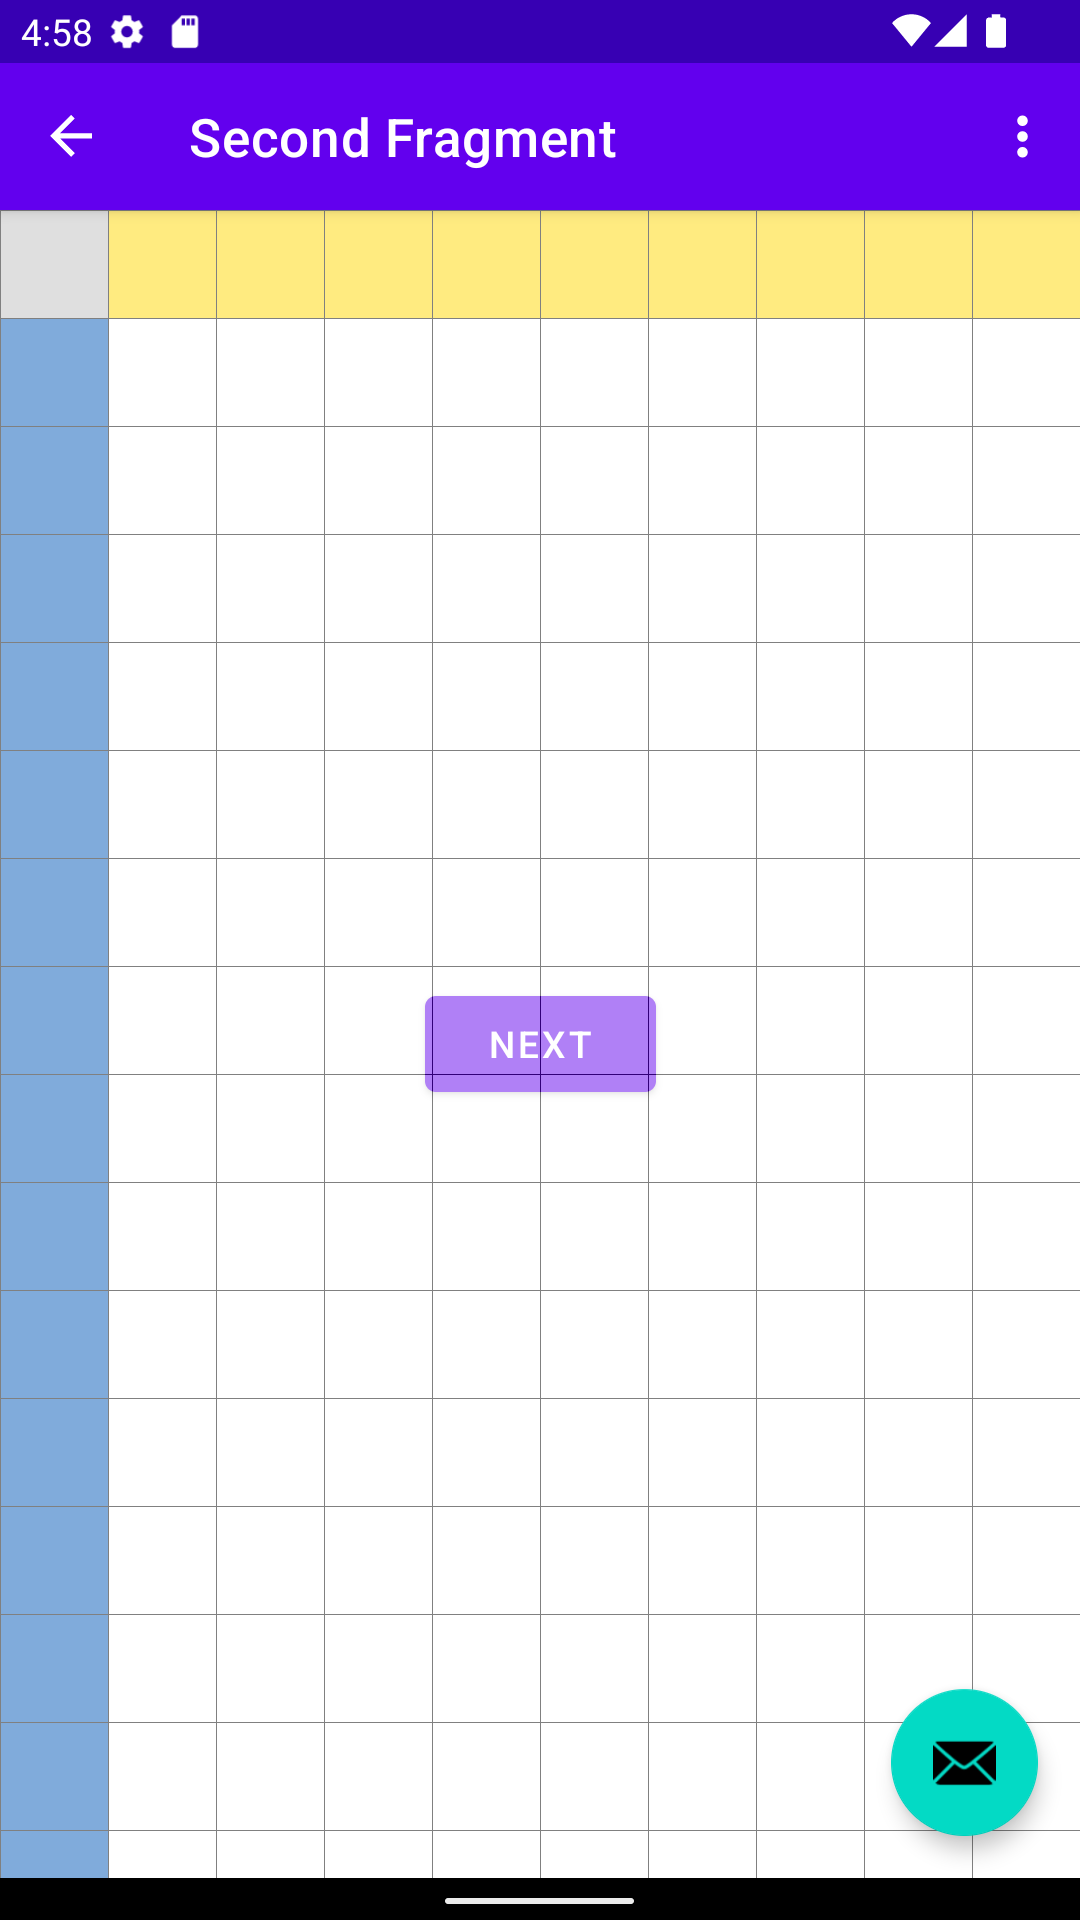
混合在按钮上的网格效果,但位于悬浮操作按钮下方
(因为它位于不同的 View 层次结构中)。
